Technical Information
68
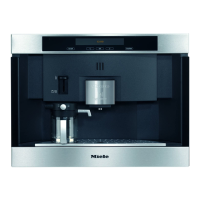
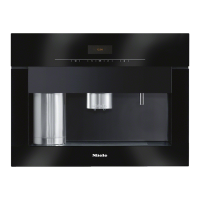
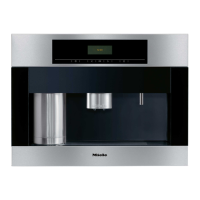
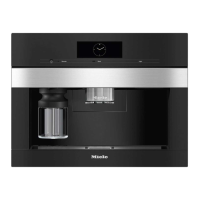
CVA 4062/CVA 4066/CVA 4068 Coffee Systems
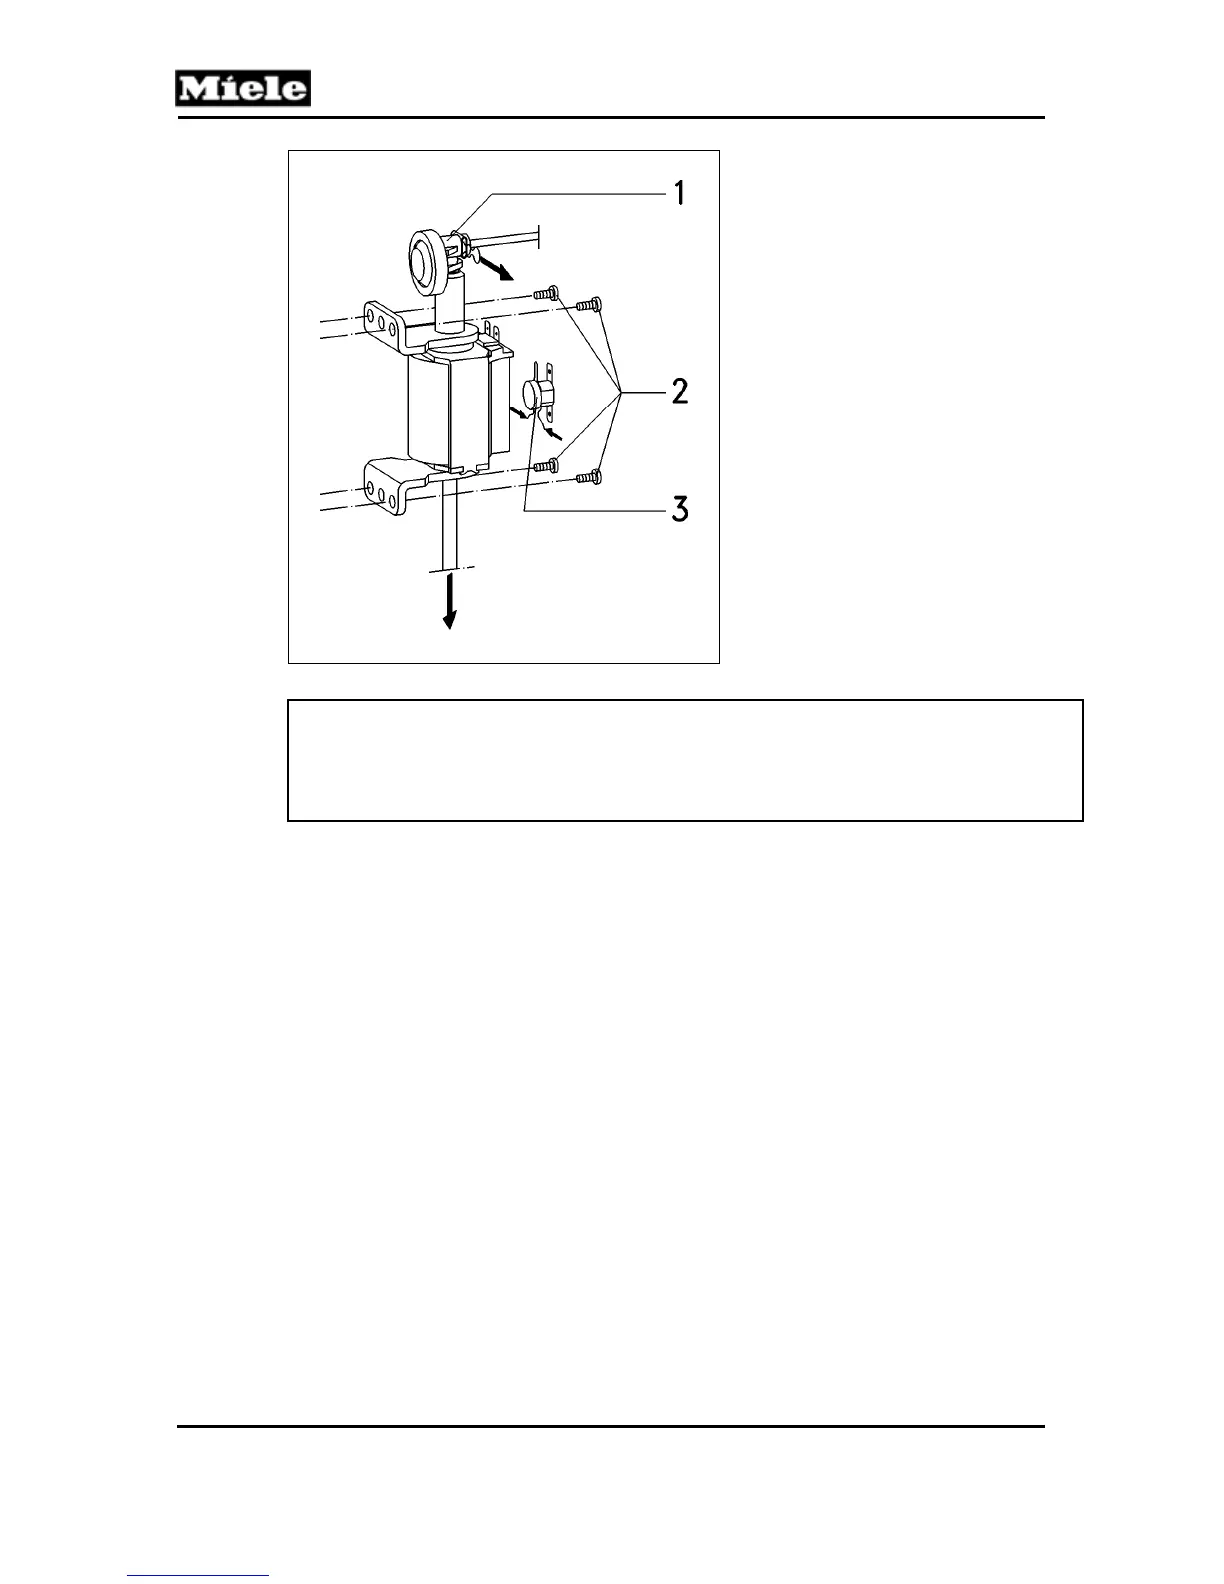
Figure 051-15: Coffee/Hot Water Pump
Warning!
In order to avoid possible water system faults (e.g., clogging or blocking
of valves), grease, oil or other slip lubricants should never be used when
assembling and installing water system parts.
4.4 Steam Pump (1M7) Removal
1. Remove the appliance from its cabinet. See Section 010-4.1.
2. Carefully remove the top cover retaining screws. The larger (T20) screws have
metal washers underneath that can easily be misplaced.
3. Remove the top cover.
4. Remove the three service door retaining screws; see Figure 051-12, Item 1.
5. Release the wiring harness (black cable) connecting the control and power
electronics from its guide.
6. Open the service door. See Figure 051-13.
7. Remove the two bottom rear panel retaining screws.
8. Remove the bottom rear panel.
9. The steam pump is shown in Figure 051-14, Item 2.
10. Disconnect the pump electrical connections.
11. Remove the four pump retaining screws (T10); see Figure 051-16, Item 1.
12. Remove the pump.
13. Release the spring clip securing the Teflon hose and pull the hose free; see Figure
051-16.
14. Pull the silicone hose off of the pump; see Figure 051-16.
15. Release the spring clip securing the temperature limiter (needlenose pliers) and
remove the temperature limiter. See Figure 051-16, Item 2.
16. Pull off the pump rubber brackets (top and bottom).
1 Pressure relief valve
2 Pump retaining screws
3 Temperature limiter
 Loading...