44
Chapter 4 Inspection
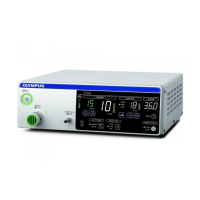
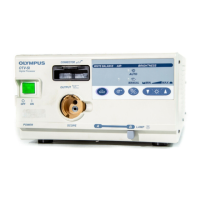
VIDEO SYSTEM OTV-SI
Chapter 4 Inspection
Before each case, inspect this instrument as instructed
below. Inspect other equipment to be used with this
instrument as instructed in their respective instruction
manuals. Should the slightest irregularity be suspected, do
not use the instrument and see Chapter 7, “Troubleshooting”.
If the irregularity is still suspected after consulting Chapter 7,
contact Olympus. Damage or irregularity may compromise
patient or operator safety and may result in more severe
equipment damage.
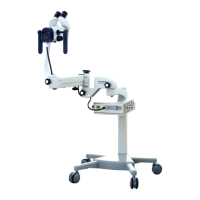
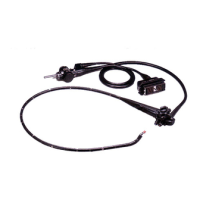
Prepare this instrument and other compatible equipment used with this
instrument before each use (shown in the “System chart” in the Appendix) for
each particular case. Refer to the respective instruction manuals for each piece
of equipment.
4.1 Inspection of the power supply
Press the power switch to turn this instrument ON. Confirm that the power switch
lamp is lit green and the cooling fan can be heard in operation.
If the power fails to come on
If the power fails to come on, inspect the system as follows:
1. Confirm that the power cord is connected securely to a wall mains outlet and
the AC power inlet on this instrument.
2. Turn this instrument OFF, and remove the power cord from the wall mains
outlet and the AC power inlet on this instrument.
 Loading...