Chapter 4 Inspection
47
VIDEO SYSTEM OTV-SI
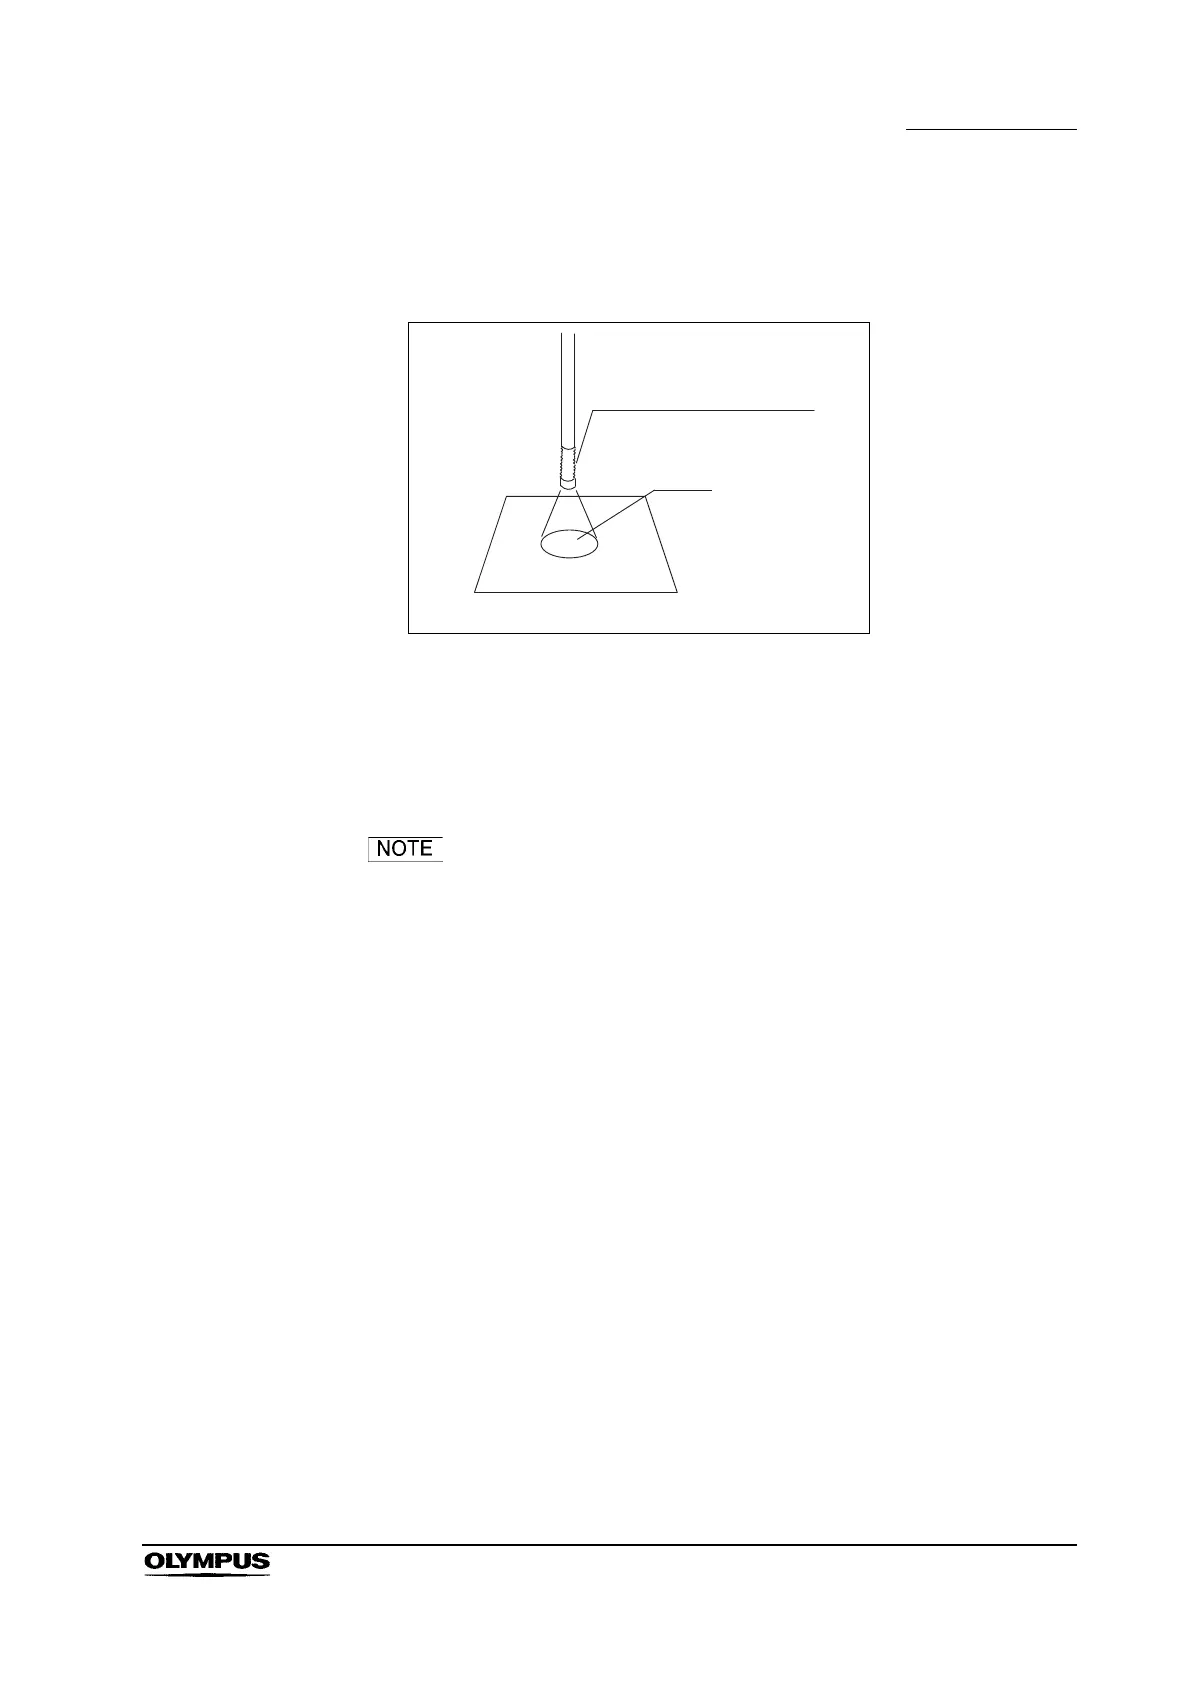
1. Confirm that light is emitted from the distal end of the endoscope (see
Figure 4.3).
Figure 4.3
2. Move the lamp selection lever to the left and right to confirm that lamp A and
B light up at each positions. If a lamp has burned out, immediately stop
using the equipment and replace it following the instructions given in
Section 6.2, “Lamp replacement”.
When the lamp selection lever is not set properly, the
message “LAMP POSITION ERROR” is displayed on the
video monitor. In this case, move the lamp selection lever to
the left or right to set it to the proper position.
4.3 Inspection of the display on the monitor
When the video system is turned ON after connecting a videoscope or camera
head, the endoscopic image appears on the monitor screen.
1. Confirm that the endoscopic image appears on the monitor (see Figure 4.4).
2. Place your hand over the distal end of the endoscope. Confirm that the
illumination light is emitted and that the image is free from noise, blur, fog or
other irregularities.
3. Joggle the camera cable and confirm that the endoscopic image is free from
irregularities such as momentary disappearing or flickering.
4. Confirm that the date and time are correct. If the date and time are incorrect,
adjust them as described in Section 5.3, “Clock adjustment”.
Distal end of endoscope
Light
Confirmation of illumination
 Loading...