6.21
PVT System
6
Clutch Assembly
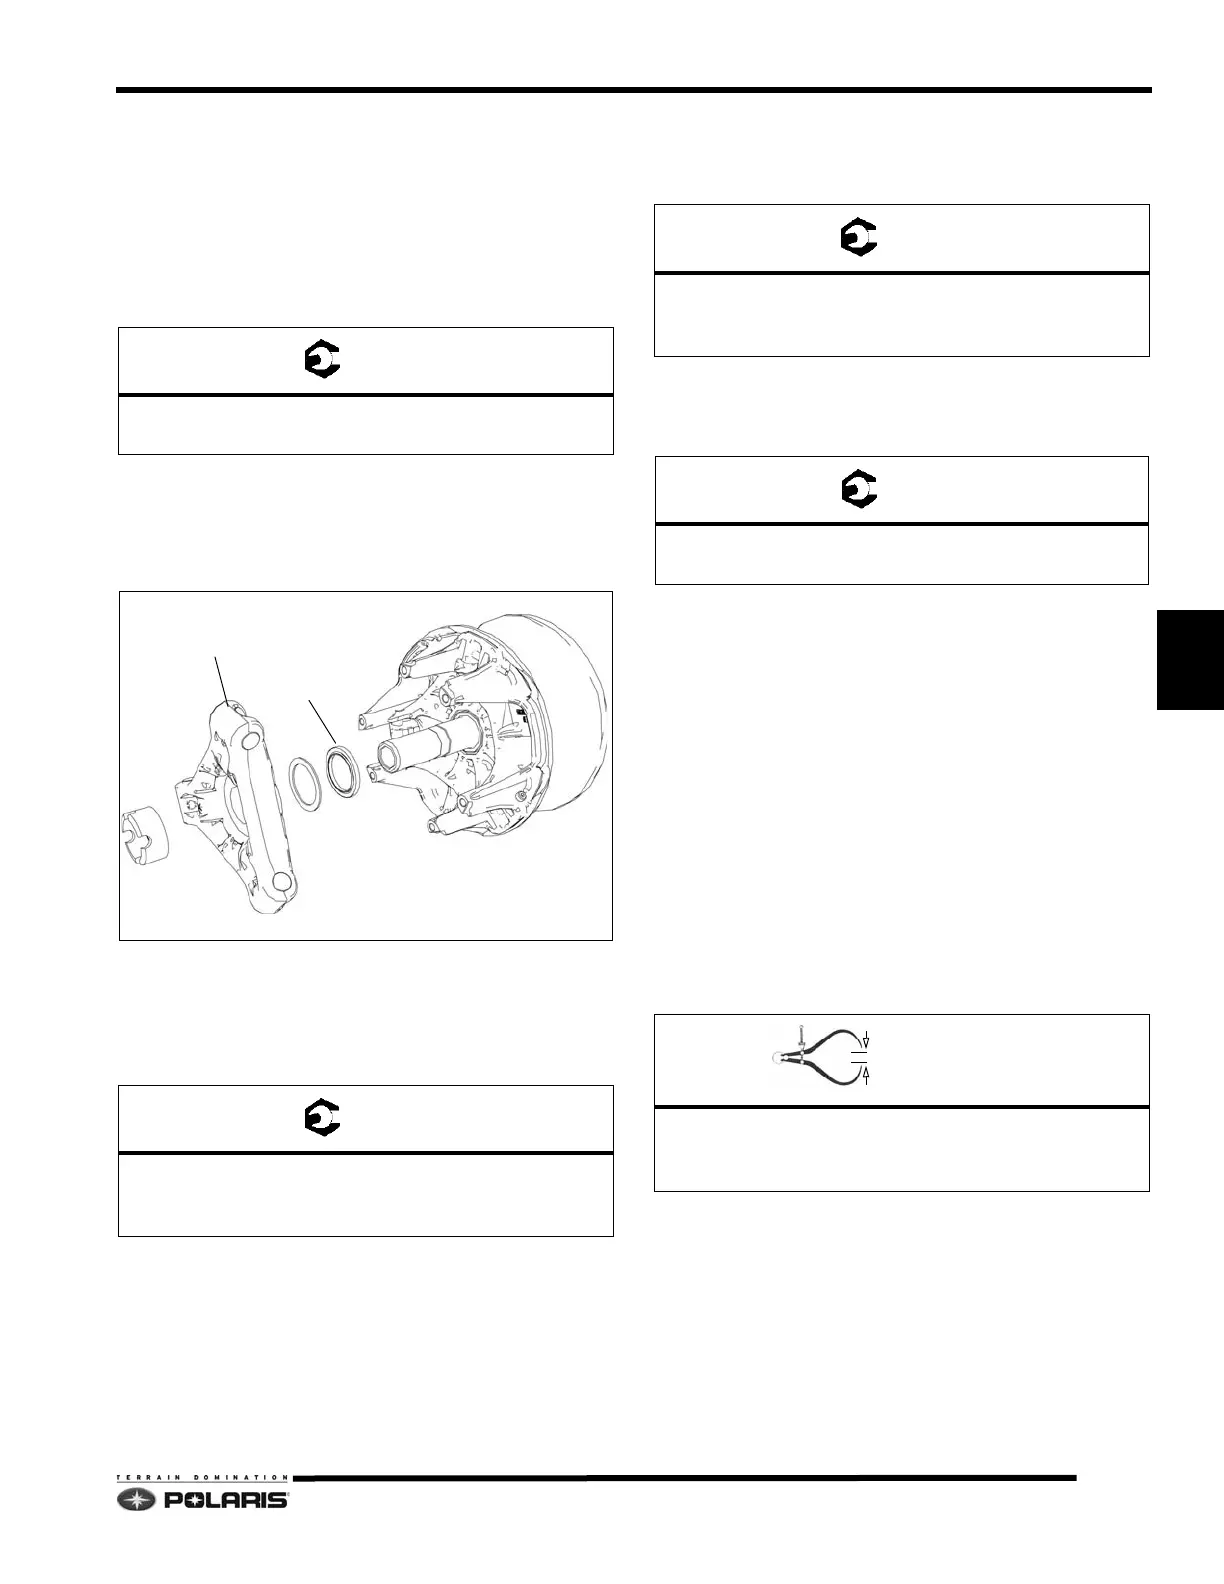
1. Assemble the rollers, bushings and roller pins if they
were removed.
2. Install the head of the weight pin
so that it is on the
leading side of rotation. This will orientate the nut on
the trailing side of rotation.
3. Torque weight pin to specification.
4. Place the moveable sheave onto the stationary
sheave.
5. Place the same number of spacers on top of the
stepp
ed spacer onto the shaft of the stationary
sheave.
6. Thread the spider onto the stationary sheave shaft.
7. Index the spider. See “Spider Indexing” on page 6.22.
8. Apply Loctite® 243™ to shaft threads. Do not get
Lo
ctite® on moveable bushing. Using the spider tool
(PN 2870341) torque to specification.
9. Apply Loctite® 243™ to shaft threads. Do not get
Lo
ctite® on moveable bushing.Install the jam nut onto
the shaft and torque it to specification.
10. Place the drive spring on the shaft.
11. Place the cover onto the clutch and torque the cover
fa
steners to specification.
NOTE: Do not allow side loading or mis-alignment of
th
e cover or the bushing may become damaged.
Belt-to-Sheave Clearance Adjustment
Belt-to-sheave clearance is an important factor when
evaluating drive clutch performance as it controls the
starting drive ratio and the position of the drive clutch
weights in relation to engine RPM.
If the clearance is too small, the drive belt will drag on the
fac
e of the sheaves when the engine is at idle speed.
If the clearance is too large, the belt
will slip during initial
engagement causing belt burning and low-speed engine
bogging.
Belt-to-sheave clearance can be adjusted by inst
alling a
different drive belt, or by adding or removing shims
washers) located under the spider assembly.
To measure belt-to-sheave clearance, follow these steps:
1. Verify the drive clutch sheave faces are clean and the
d
rive belt is in good condition, and not damaged or
excessively worn.
2. Push the drive belt tight against one side of the drive
Weight Pin Torque:
20-30 in-lbs (2.2-3.4 Nm)
Spider Torque:
280-300 ft-lbs (380-406 Nm)
Apply Loctite® 243™ to Threads
JAM NUT
SPACER(S)
CLUTCH SPACER
SPIDER
Spider Jam Nut Torque:
290-330 ft-lbs (394-447 Nm)
Apply Loctite® 243™ to Threads
Cover Fastener Torque:
100 in-lbs (11 Nm) Use cross pattern.
Belt-to-Sheave Clearance:
Nominal = .020in. (0.508mm)
Range = .005 - .035in. (0.127 - 0.89mm)
 Loading...


