8.80
Steering and Suspensions
Fine Tuning Adjustments
Additional minor adjustments can be made to the spring
length to adjust the feel of the vehicle. Do not exceed the
minimum and maximum installed length requirements.
For more ski lift (transfer), reduce spring preload by
inc
reasing the installed length. Rotate the spring 1-2 full
turns counter-clockwise (when viewed from bottom). This
will enhance maneuverability, making the snowmobile
more “flickable” although it may hinder climbing
performance.
For less ski lift (transfer), increase spring preload by
r
educing the installed length. Rotate the spring 1-2 full
turns clockwise (when viewed from bottom). This will
improve climbing ability and rider control.
To control the overall balance of the vehicle use the
follow
ing guidelines:
• More rear track shock spring preload
increases ski
pressure. Less preload decreases ski pressure.
• Spring preload can affect bottoming resistance.
Mor
e preload means less bottoming. Less preload
means a softer ride (and more bottoming).
Both adjustments will affect ov
erall balance and ski
pressure.
After adjusting RTSS preload, the front track shock (FTS)
spr
ing preload and independent front suspension (IFS)
spring preload can also be adjusted.
For a softer ride on rough, washboard surfaces, reduce
fro
nt track shock (FTS) spring preload by 1-2 turns.
To improve corner stability, increase front
suspension
(IFS) spring preload by 1-2 turns on both sides of the
vehicle.
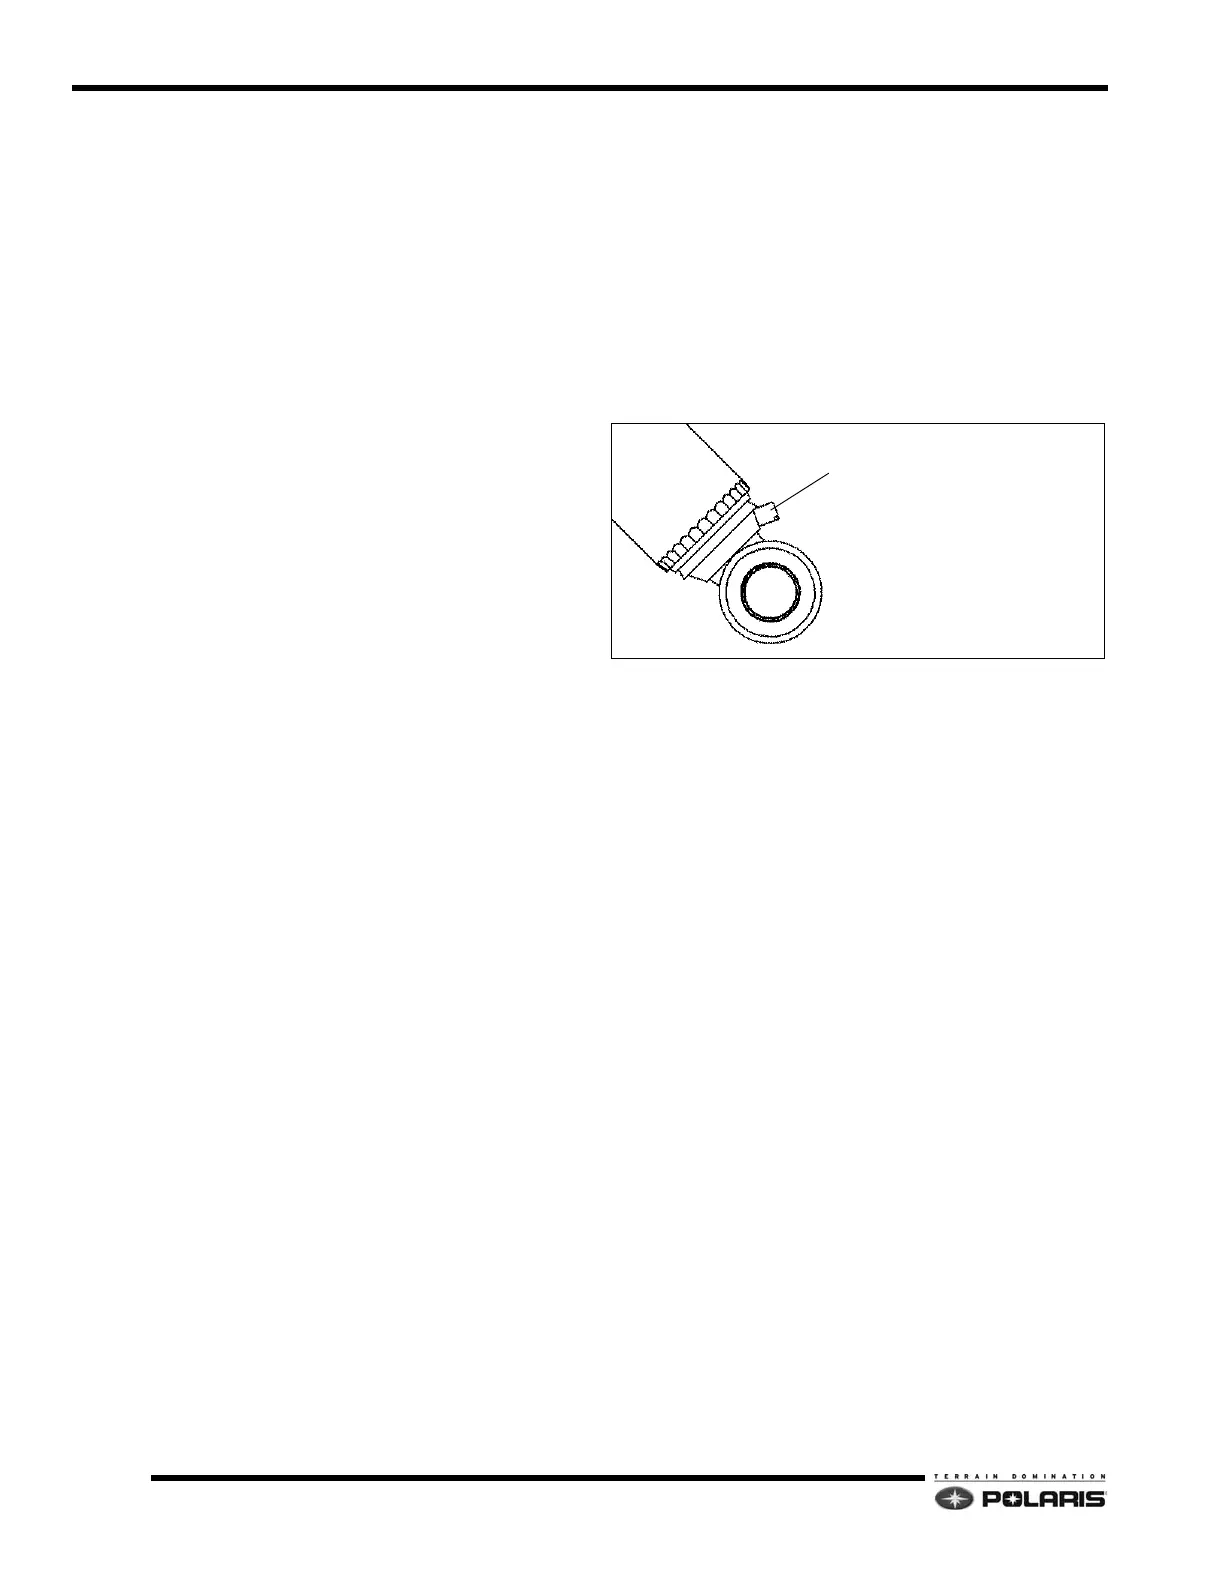
Shock Dampening
Compression damping adjustments can be made on 800
RMK and 800 RMK Assault models to control ride quality
and bottoming resistance.
600/800 RMK - Rear Track Shock
Make the adjustments in half-tur
n increments, then test
ride. To stop bottoming, turn the damping screw clockwise
one half-turn, then test ride. Repeat the adjustment until
bottoming stops and the desired ride quality is achieved.
800 RMK Assault - IFS and Rear Track Shocks
Compression damping can be adjusted at the front
su
spension and at the rear track shock. Make adjustments
in 2-click increments, then test ride. When adjusting the
front suspension, always adjust both clickers equally.
To stop bottoming of the front or rear suspension (stiffer
ride), rot
ate the clicker(s) clockwise two clicks (as viewed
from the top of the clicker), then test ride. Repeat the
adjustment until bottoming stops and the desired ride
quality is achieved.
For a more plush ride at the front or rear suspension, rotate
t
he clicker(s) counterclockwise two clicks, then test ride.
Repeat the adjustment until the desired ride quality is
achieved.
 Loading...


