7.29
Shocks
7
FOX™ PS-5 DISASSEMBLY
TIP: Extreme cleanliness is very important during all
disassembly and reassembly operations. This prevents
dirt or foreign particles from entering the shock, which
causes premature failure.
1. Remove the shock from the vehicle. Clean the shock
assem
bly thoroughly with warm, soapy water.
2. Remove eyelet bushings and sleeves from body cap
an
d shock rod eyelet.
3. Remove the button head screw from the charge port.
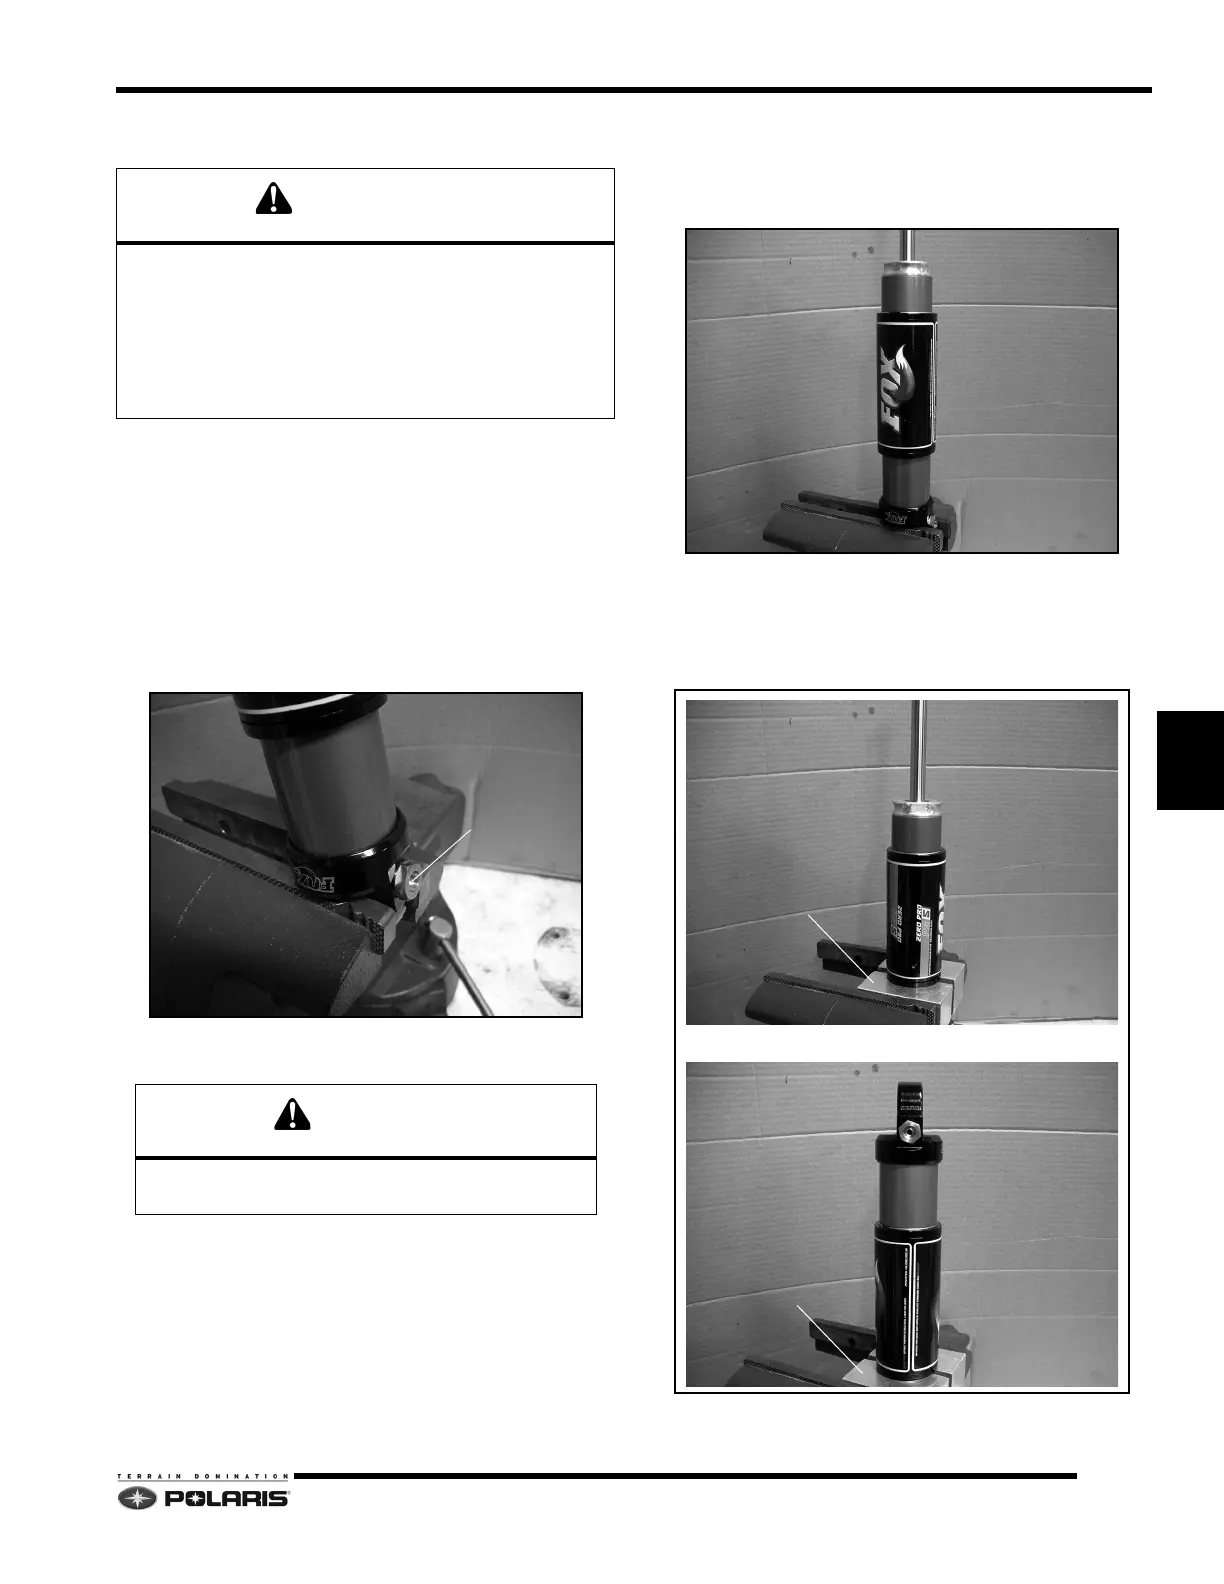
4. Secure the shock body cap in bench vise with the
charge port
accessible.
5. Insert the needle of the gas fill tool into the c
harge port.
Depress the fill tool and discharge the nitrogen gas.
Push the shock rod down to expel all of the gas.
6. When the shock is completely discharged, remove the
gas
fill tool needle in a straight, smooth motion.
7. Using the 1 3/8” wrench, loosen and unscrew the
b
earing assembly from the shock body. If the body
cap unscrews instead of the bearing, that is OK. You
will need to remove both for this rebuild procedure.
8. Clamp the shock in the vice using the body clamp
blocks
(2871071). If the bearing is still in the body, use
wrench to remove the bearing. If the body cap is what
needs removal, use a large crescent wrench to loosen
and unthread the body cap.
Shocks contain high pressure nitrogen gas. Extreme
caution must be used while handling and working with
shocks and related high pressure service equipment.
The pressure must be released from the shock before
disassembly. It is strongly recommended you wear
safety glasses and ear protection during these
procedures.
Point air valve away from face and body when
charging or discharging any shock.
 Loading...


