8.76
Steering and Suspensions
9. Locate and remove the two fasteners and threaded
pivot shafts securing the front torque arm to the
tunnel.
10. The suspension should now be hanging inside the
track
.
11. Lower the snowmobile down to the floor. Remove the
sled lift.
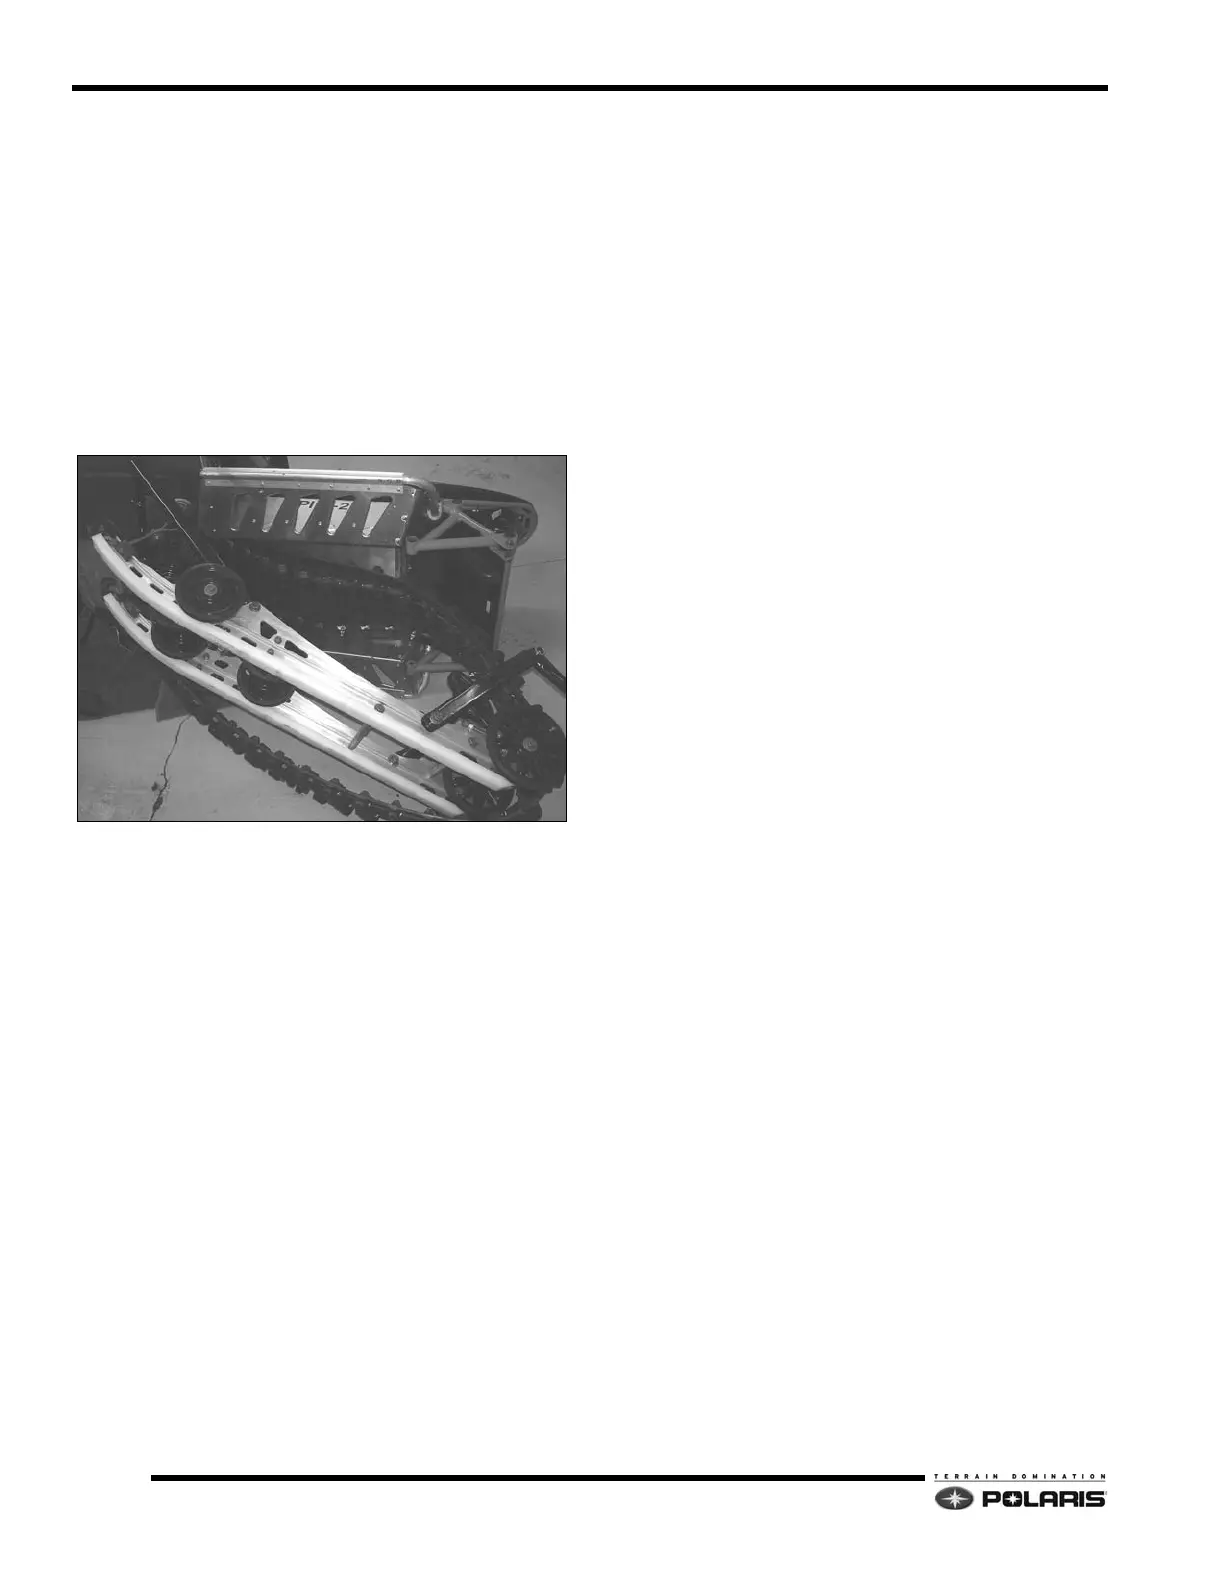
12. Carefully role the snowmobile on to its side making
sur
e the plastics are protected by the mat or blanket
previously placed on the ground.
13. Fold the rear scissor forward. Remove the suspension
fr
om the track by working the rear free from the track,
and then pulling the front torque arm out of the tunnel.
14. Roll the snowmobile back over on to the skis.
15. If the track removal is required, reference the
d
riveshaft removal procedure in chapter five. The
track can be removed after the driveshaft is removed
from the vehicle.
16. The rear suspension bushings, shafts, and pivots
sho
uld be inspected. Replace bushings that are worn
or damaged. Replace any part that is worn
excessively or damaged.
Installation
1. If the track was removed, reinstall the track into the
tunnel. Verify the arrow marks on the track point in
the direction of forward vehicle travel.
2. Reference the driveshaft installation procedure
o
utlined in chapter five.
3. Place a protective mat, shop
blanket, or large piece
of cardboard on the ground next to the vehicle.
4. Carefully roll the snowmobile
on to its side making
sure the plastics are protected by the mat, blanket or
cardboard.
5. Install the rear suspension into the track by inserting
the
front torque arm assembly into the tunnel at an
angle.
6. Fold the rear scissor forward, and then work the rear
of the skid
into the track.
7. Once the suspension is installed in the track, work the
t
rack to align the sliders with the track clips and
guides.
8. Position the front torque arm and align its mounting
hole
s with the holes in the tunnel. Loosely install the
front torque arm threaded pivots and fasteners.
9. Loosely install the rear pivot-to-rear crank carriage
b
olts and nuts. Verify the carriage bolts are fully
seated into the rear crank.
10. Roll the snowmobile back on to its skis. Raise the
sn
owmobile up off the ground using a snowmobile lift.
11. Torque the front torque arm mounting bolts to
s
pecification.
12. Torque the rear pivot mounting nuts to specification.
13. Reinstall the upper carrier wheel as
sembly. Torque
fasteners to specification.
14. Reinstall the rear bumper assembly. Loosely install all
of
the bumper fasteners first, and then torque to
specification.
15. Set the track tension to specification using the track
te
nsion adjustment screws. Once the track tension is
set, torque the jam nuts to specification.
16. Torque the rear idler fasteners to specification.
Rear Crank Service
1. To remove the rear crank assembly, raise the
snowmobile off the ground using a snowmobile lift.
2. Remove the rear track shock spring tension by turning
th
e preload adjuster counter-clockwise.
3. Remove the fasteners securing the upper carrier
asse
mbly to the rear crank.
4. Remove the fasteners securing the rear crank to the
r
ear pivot. Allow the suspension rail assembly to drop
to the ground.
5. Remove the rear track shock fastener from the rear
cr
ank.
6. Remove the two fasteners securing the rear crank to
th
e tunnel mounts. Remove the screws attaching the
reservoir to the rear crank.
7. Remove the rear crank assembly.
8. Reverse procedure to assemble the rear crank.
Re
ference to torque specifications located on the
assembly view illustrations.
 Loading...


