71
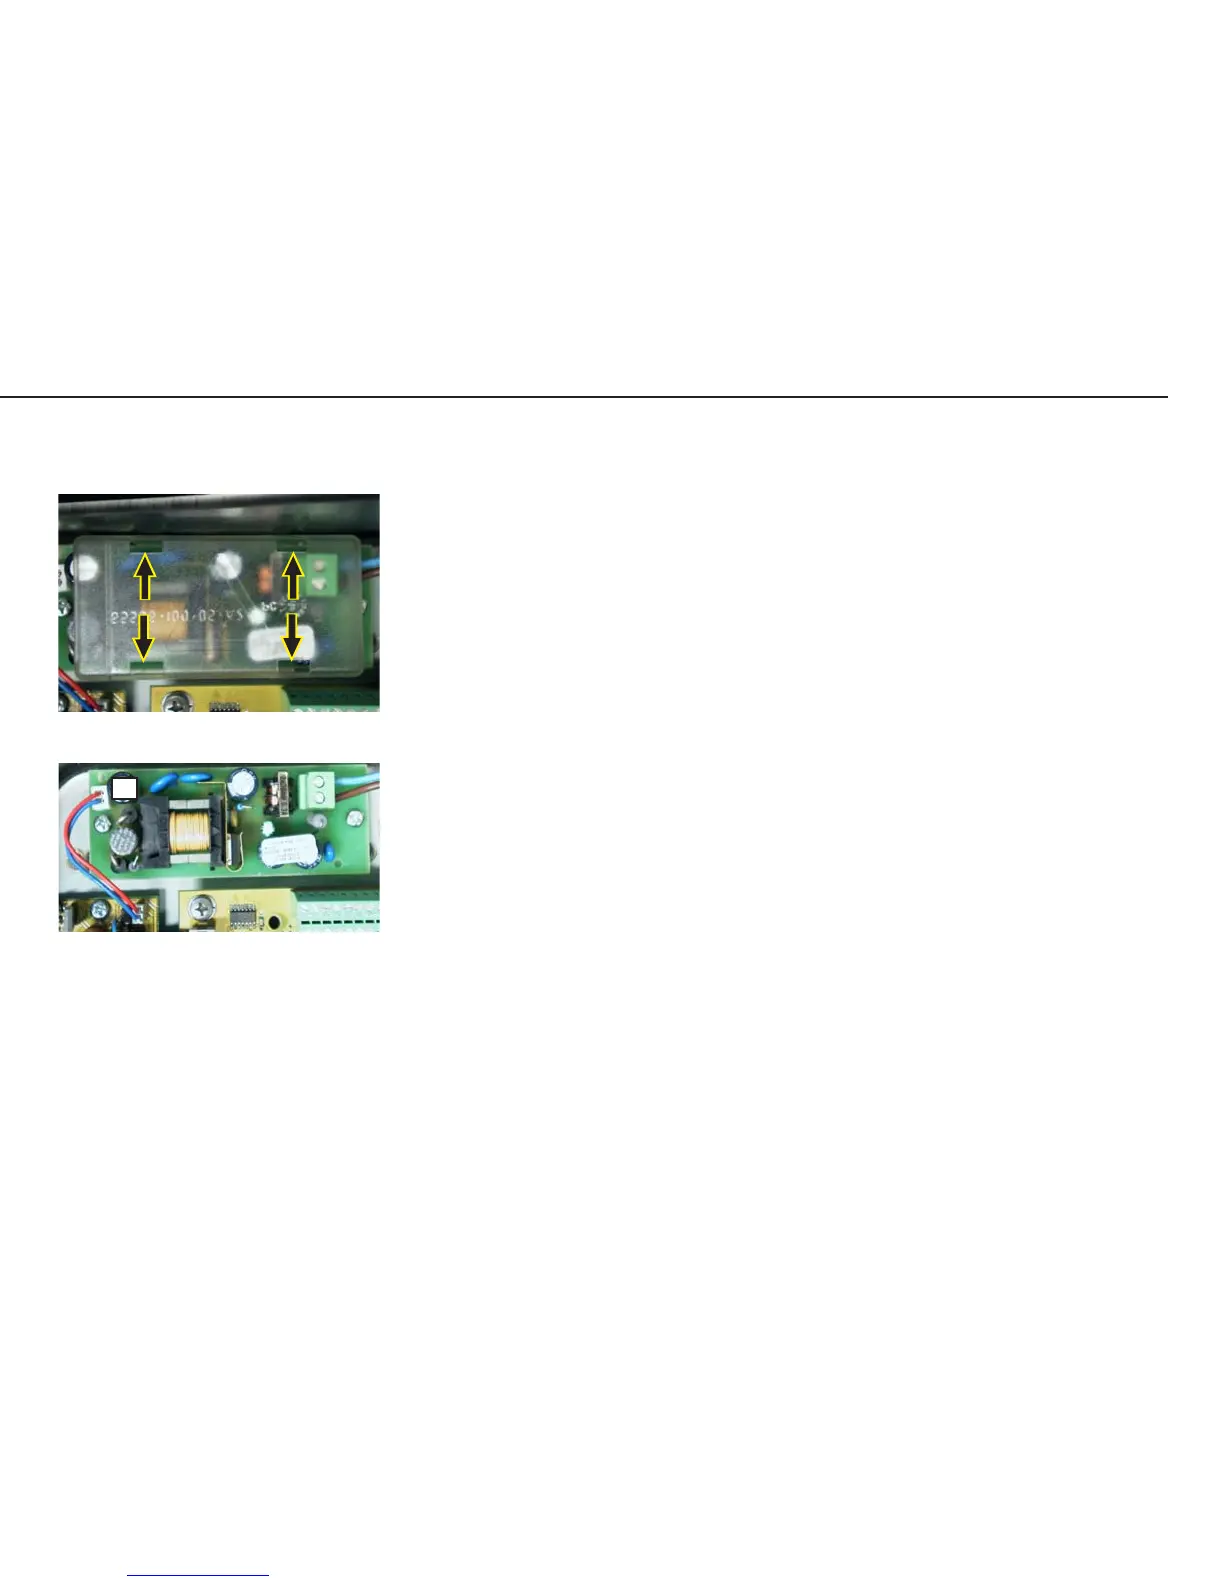
Replacing the Power PCB
– Disconnect the cable from the power source.
– Pry the protective cap from the power PCB.
To do this, insert the end of a slotted-head screwdriver into each of the
four openings on the protective cap and carefully push the retainer clips,
located further down, to one side.
– Remove the protective cap and disconnect the two wires (blue/brown).
– Unplug connector A, remove the 2 screws and replace the power supply.
After replaceing the PCB, make sure to return the protective cap to its
original position.
netzt_kappe.jpg
netzteil.jpg
A
 Loading...