Applying Special Effects (Other Effects)
Amount of moiré reduction
Degree of motion detection
Degree of motion detection
Chapter
10
DME
Operations
Selecting an interpolation method
1
Open the DME >Input/Output >Process menu (4163).
2
In the <Video Field/Frame Mode> group, select the
interpolation method for the video signal.
Adaptive Y/C: Detect changes in the luminance and
chrominance components of the video signal
separately, and switch automatically between
fields and frames.
Adaptive Y: Detect changes in the luminance
component of the video signal separately, and
switch automatically between fields and frames.
Field: Perform interpolation in field units. This gives
natural movement, suitable for moving video.
Frame: Perform interpolation in frame units. This
gives higher image precision, suitable for still
pictures.
3
If you selected [Adaptive Y/C] or [Adaptive Y] in step
2, set the following parameter.
Mode3 (sharp): Do not suppress aliasing when
expanding or reducing the picture.
Applying the anti-moiré filter
You can reduce the moiré patterns created by interpolation
when an image is enlarged, compressed, or rotated.
Notes
This function is enabled only when using the MKS-6570
or MVE-8000A.
1
Open the DME >Input/Output >Process menu (4163).
2
Press [Anti Moire Filter], turning it on.
3
Set the following parameters.
Corner Pinning Settings
4
In the <Key Field/Frame Mode> group, select the
interpolation method for the key signal.
Adaptive: Detect changes in the luminance
component of the key signal separately, and
switch automatically between fields and frames.
Field: Perform interpolation in field units. This gives
natural movement, suitable for moving video.
Frame: Perform interpolation in frame units. This
gives higher image precision, suitable for still
pictures.
5
If you selected [Adaptive] in step 4, set the following
parameter.
6
In the <Interpolation Mode> group, set the number of
pixels to use in interpolation.
Multi: Use multi-point interpolation. This gives
higher picture quality.
Linear: Use two-point interpolation.
7
In the <Filter Mode> group, select the method used to
show the picture reduced or expanded.
Mode1 (standard): Even when the picture is reduced,
add compensation so that it can be seen clearly.
Mode2 (soft): Suppress aliasing when expanding or
reducing the picture.
Notes
When the Brick effect is enabled, the Corner Pinning
function cannot be used.
Setting the Foreground Corner Pinning
positions
1
Open the DME >Non Linear/Corner Pin >Corner
Pinning menu (4142).
2
Set [Corner Pinning] to On.
3
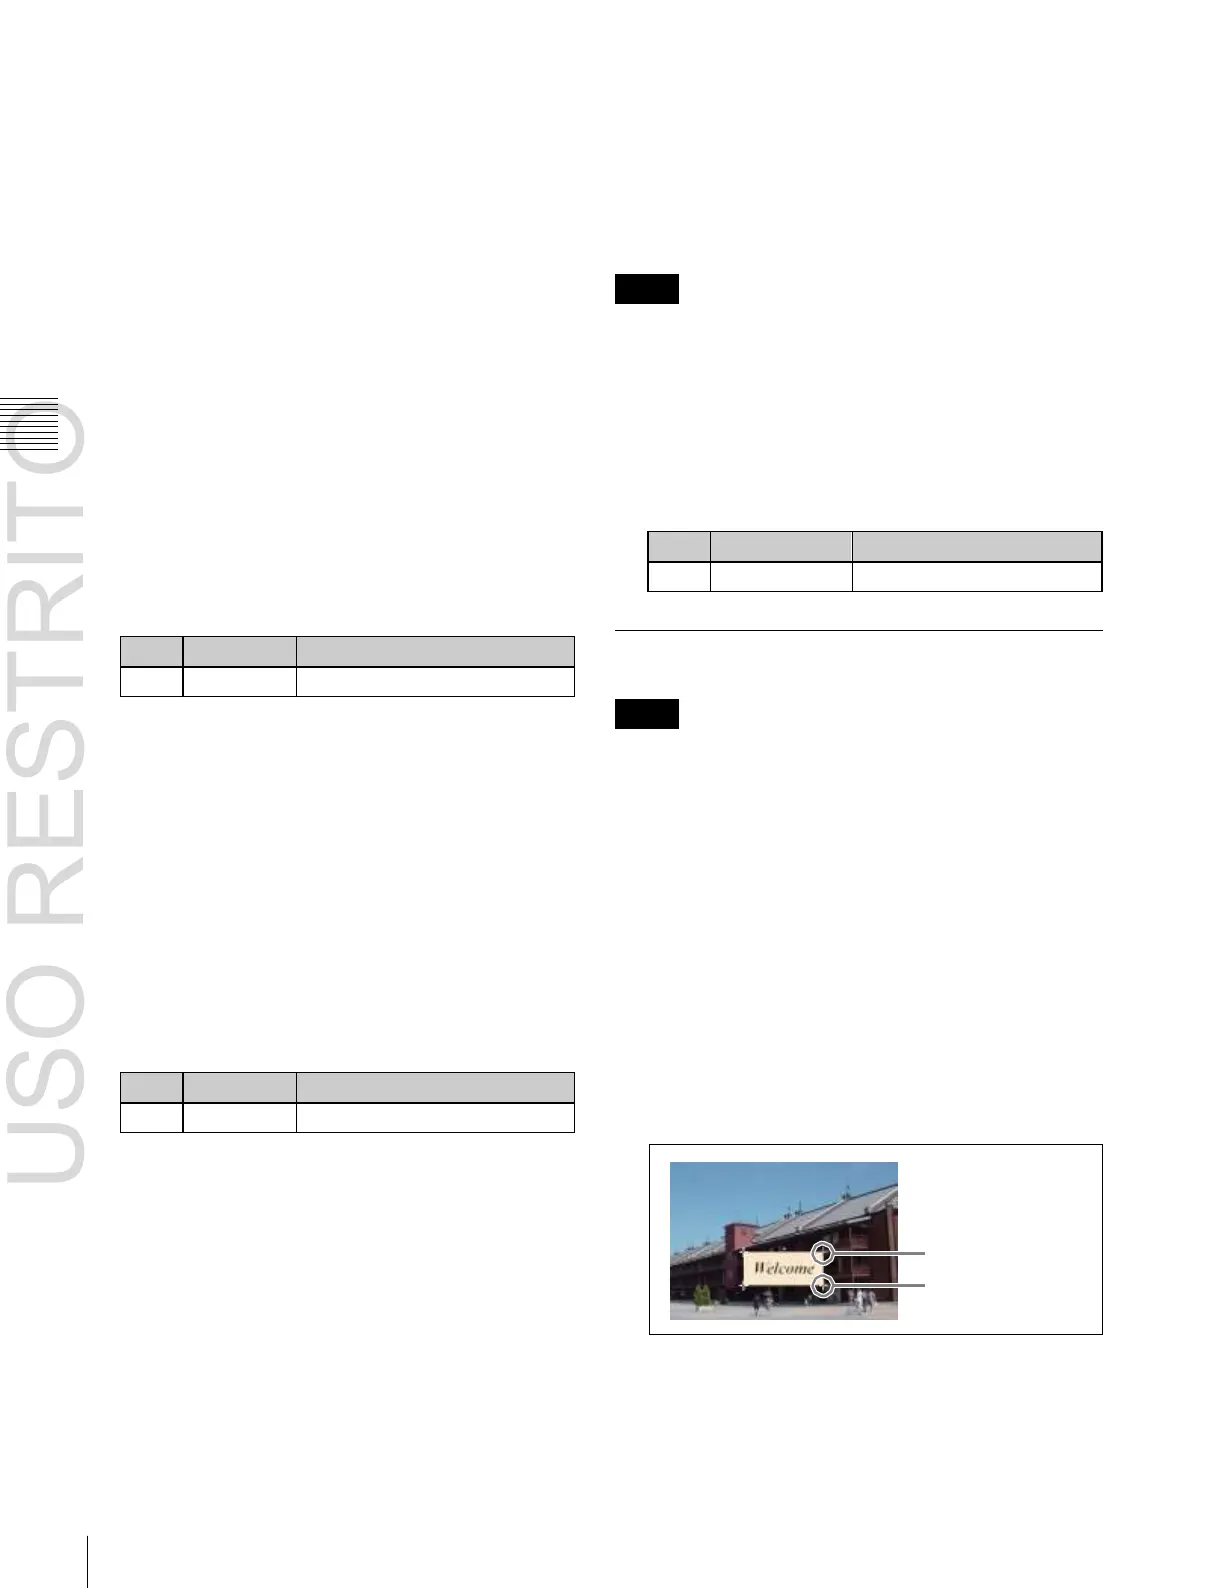
Set [Corner Marker] to On.
A marker appears for each corner. The marker for the
selected corner is distinguished from the other
markers.
Marker for selected
corner
Other markers
4
In the <Corner Select> group, select the corner to
operate on.
Top Left
Top Right
 Loading...