2-14
764333-675
Display shows:
PLACE JUMPER ON
TP 1 & 3 PRESS SV
Locate test points on connector board and jumper TP1
and TP3 (high points). Press SAVE VALUES touch
pad. Display shows:
STABILIZING HIGH
CONC = XX
Display shows:
* UPDATING *
* MEMORY *
Display shows:
* CONC MONITOR *
* CALIBRATION *
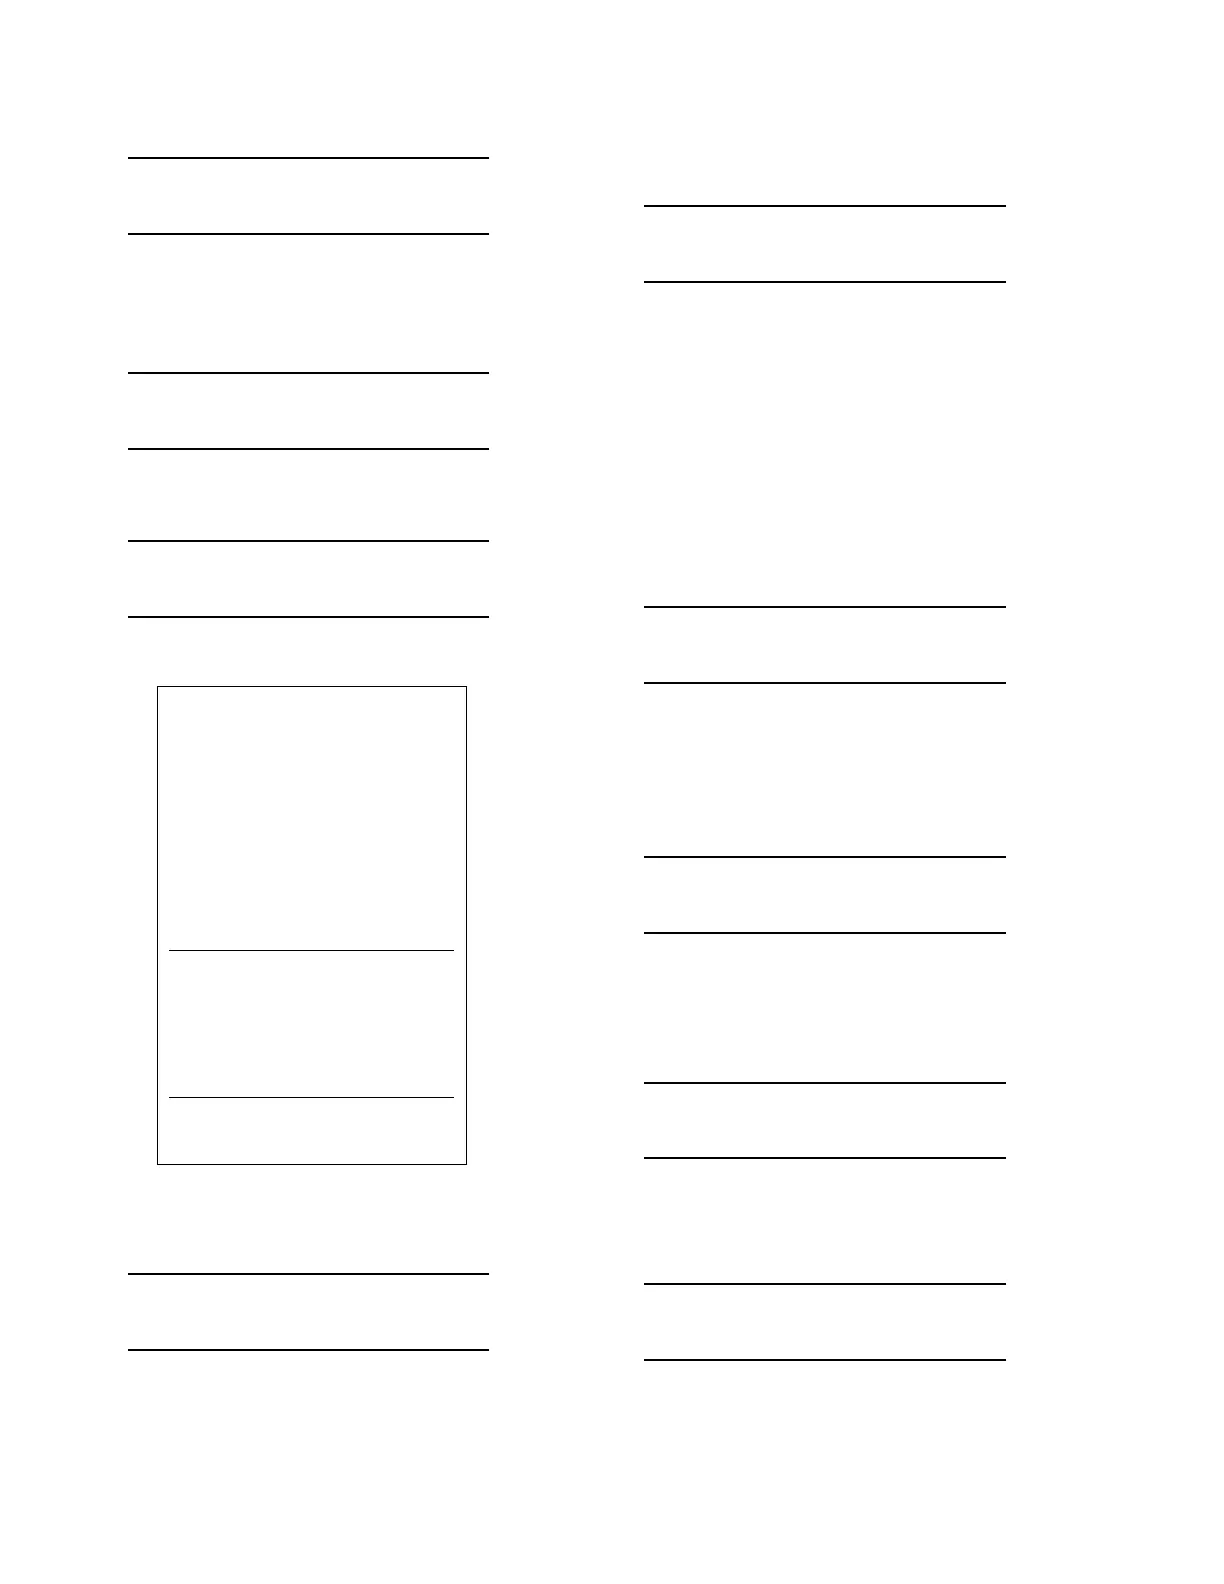
Printer then prints new calibration data. See Figure 2-8.
Remove jumpers from board and press SAVE
VALUES. Display Shows:
MFG TESTS
VALUES CALIB
Reinstall CN9.
• UV Sensor Calibration
Connect 4-20 mA signal generator to UV connector on
back panel.
Select CALIB and press the SAVE VALUES
pushbutton.
The following displays with one of the options
flashing:
CALIB RESTORE
VIEW PRINT
Select CALIB and press the SAVE VALUES
pushbutton.
The following displays with one of the options
flashing:
PRESS TEMPS
CONC MORE
Select MORE and press the SAVE VALUES
pushbutton.
The following displays with UV flashing:
UV
DEFAULT
Select UV and press the SAVE VALUES pushbutton.
The following displays:
WARNING CALIB
WILL BE CHANGED!
Press the SAVE VALUES pushbutton.
=====================
====CONCENTRATION====
=====CALIBRATED======
=====================
AT X:XX:XX
ON XX-XX-XX
PREVIOUS VALUES
CONCENTRATION MONITOR
LOW RAW = XXXXX
HIGH RAW = XXXXX
CALIBRATED VALUES
CONCENTRATION MONITOR
LOW RAW = XXXXX
HIGH RAW = XXXXX
Figure 2-8. Concentration Probe Calibration

 Loading...