4-64 FI SYSTEM DIAGNOSIS
TO SENSOR INSPECTION
TO SENSOR REMOVAL AND INSTALLATION
The tip-over sensor is located inside the front leg shield.
(#4-47)
• Remove the TO sensor.
• Install the TO sensor in the reverse order of removal.
NOTE:
When installing the TO sensor, the arrow mark must be pointed
upward.
HO2 SENSOR INSPECTION
The heated oxygen sensor is installed to the exhaust pipe.
(#4-60)
HO2 SENSOR REMOVAL AND
INSTALLATION
• Remove the right side leg shield. (#8-8)
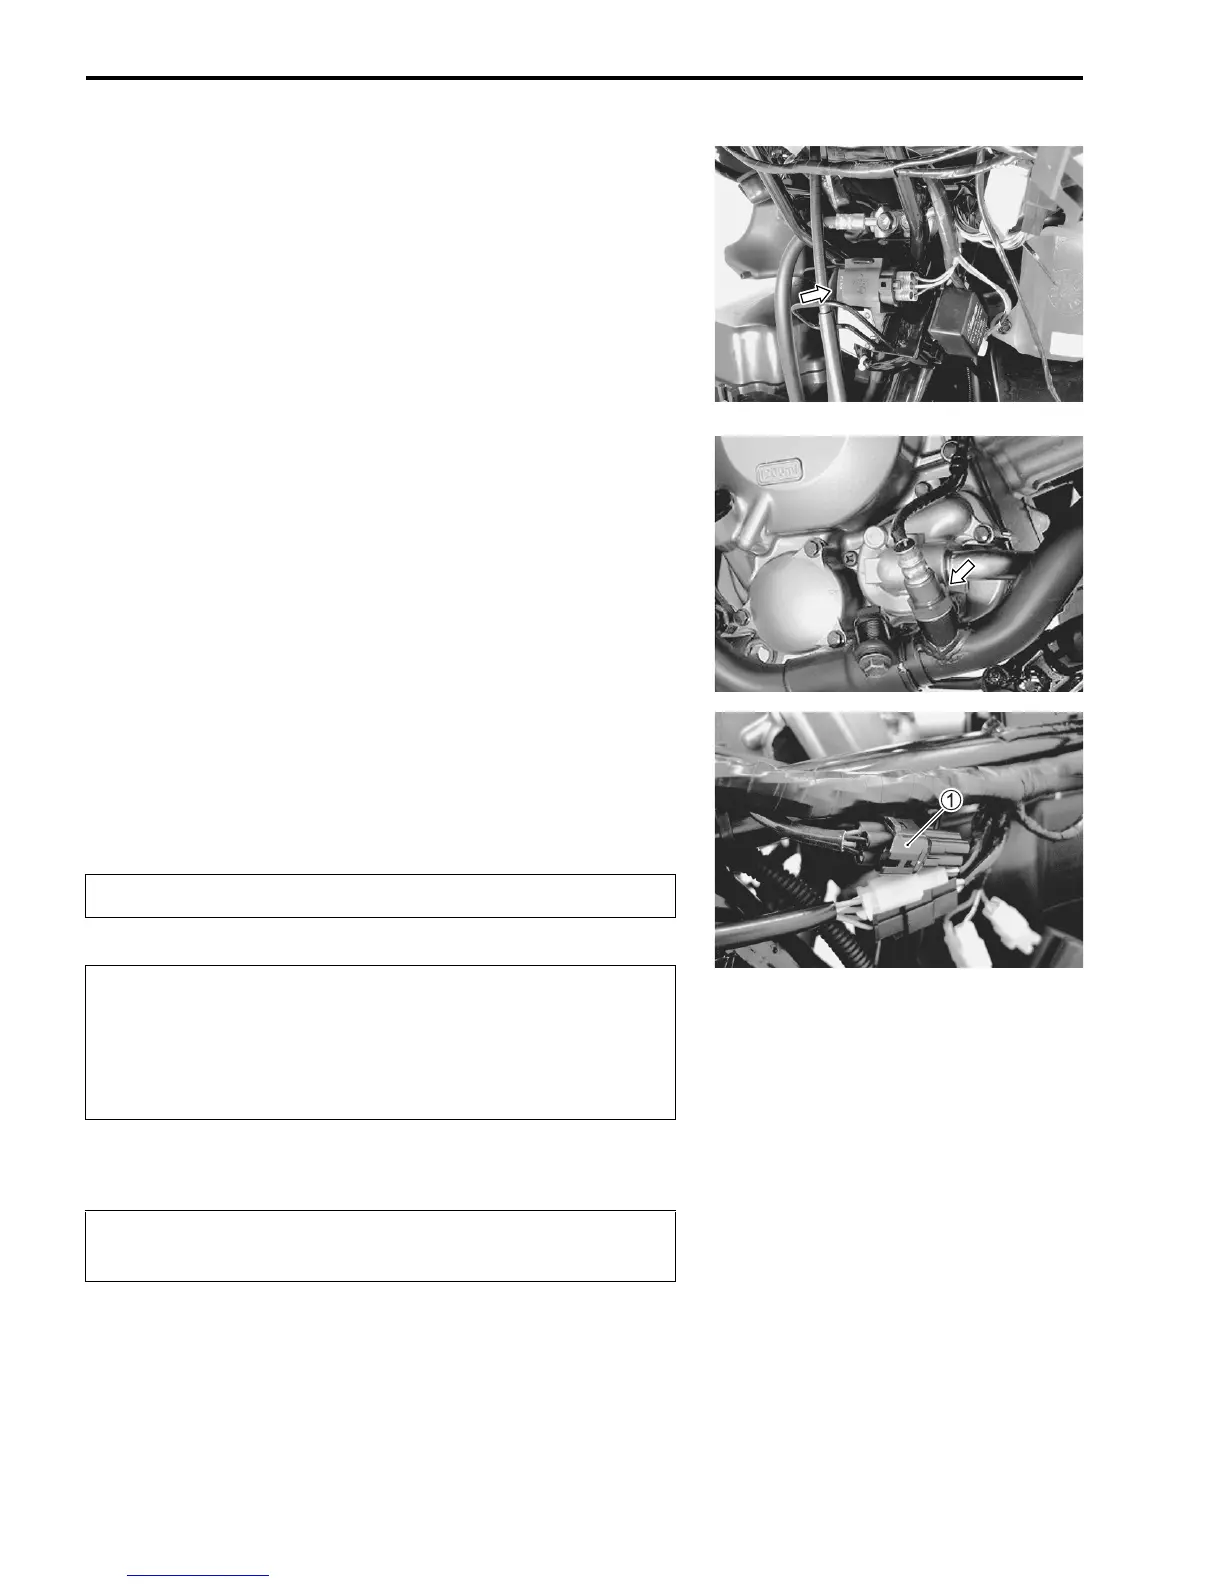
• Disconnect the coupler
1 and remove the HO2 sensor.
+
"
• Installation is in the reverse order of removal.
"
• Tighten the sensor unit to the specified torque.
* HO2 sensor: 48 N·m (4.8 kgf-m)
• Route the HO2 sensor lead wire properly.(#10-21)
Do not remove the HO2 sensor while it is hot.
Be careful not to expose it to excessive shock.
Do not use an impact wrench while removing or
installing the HO2 sensor.
Be careful not to twist or damage the sensor lead
wires.
Do not apply oil or other materials to the sensor air
hole.
 Loading...