4C-8 Rear Brakes:
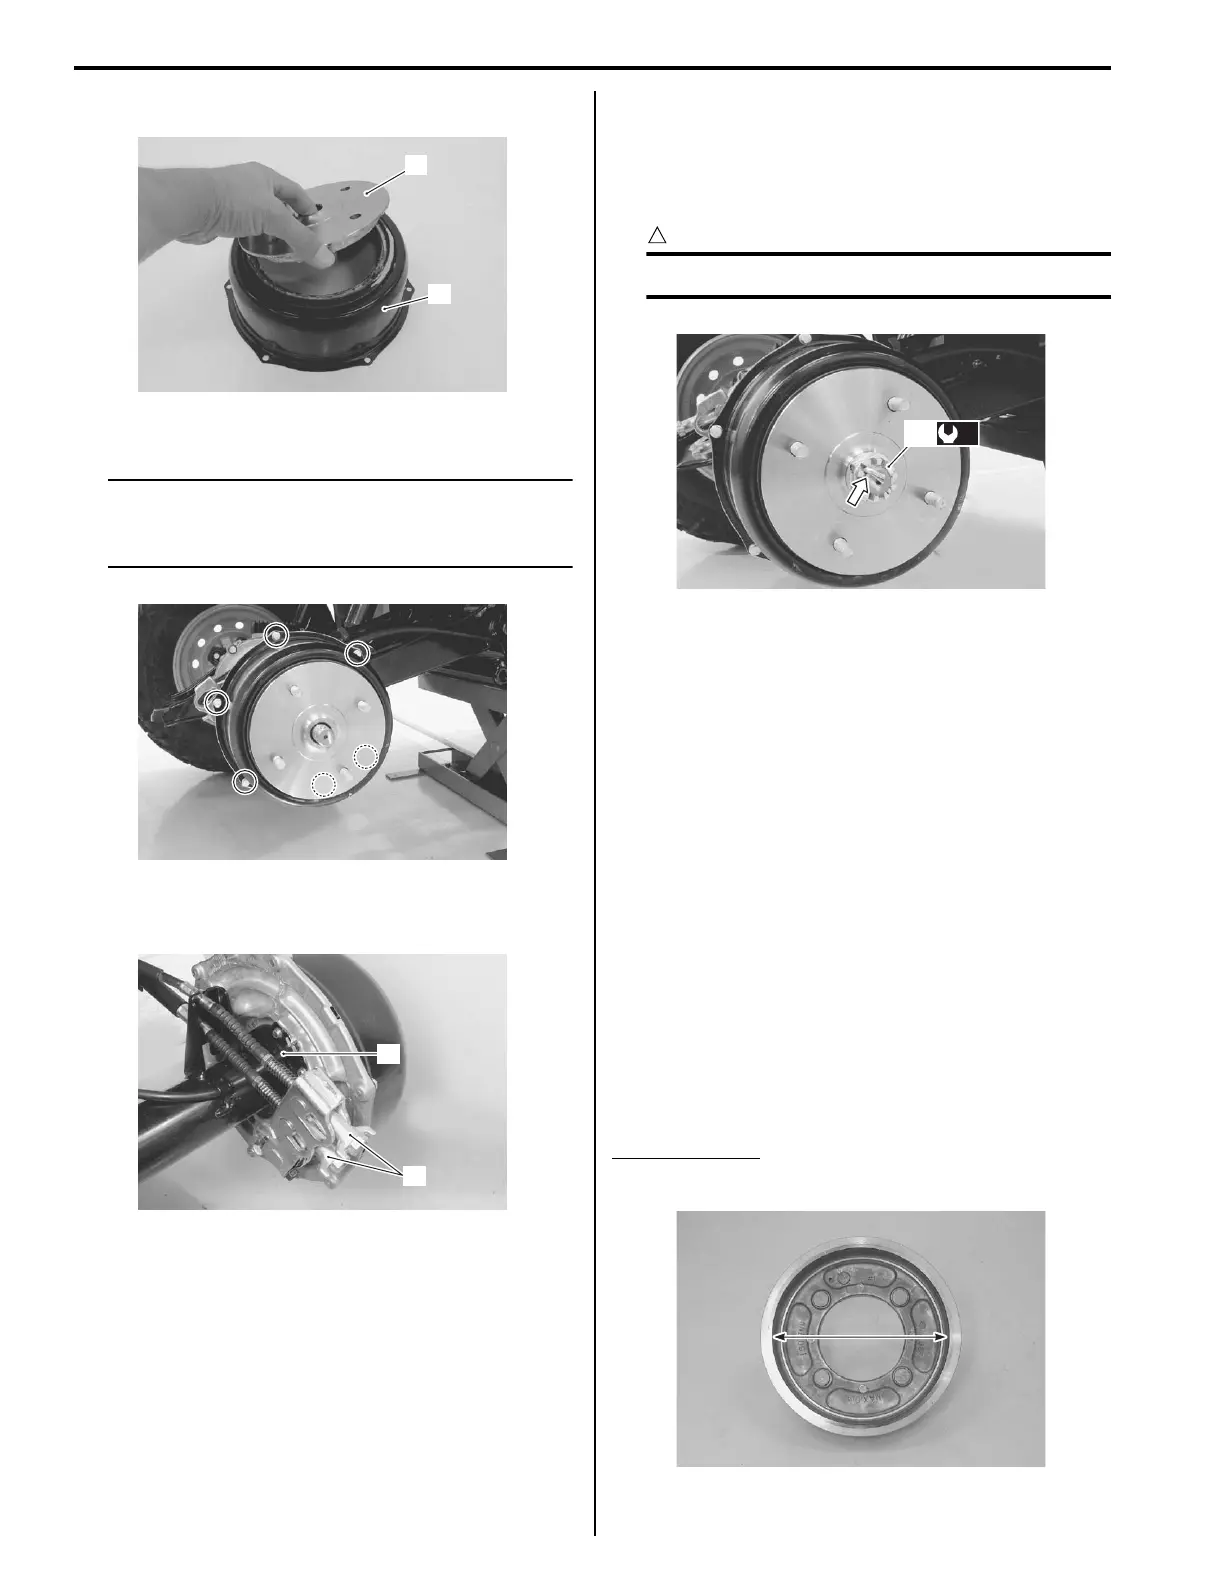
• Assemble the drum cover (11) and rear hub (13).
• Install the drum cover and tighten the bolts.
NOTE
When installing the drum cover, make sure
that the O-ring must be fitted into the groove
on the brake panel securely.
• Connect the breather hose (14) and brake cables
(15).
• Tighten the rear hub nut (16) to the specified torque.
Tightening torque
Rear hub nut (c): 121 N·m (12.1 kgf-m, 87.5 lb-ft)
• Install the new cotter pin into the rear axle.
CAUTION
!
Replace the cotter pin with a new one.
• Install the rear wheel assembly. Refer to “Front / Rear
Wheel Removal and Installation in Section 2D
(Page 2D-3)”.
• After installing the rear brake, adjust the following
items.
– Brake pedal free travel. Refer to “Rear Brake Pedal
/ Rear Brake (Parking Brake) Lever Inspection and
Adjustment in Section 0B (Page 0B-16)”.
– Brake lever play. Refer to “Rear Brake Pedal / Rear
Brake (Parking Brake) Lever Inspection and
Adjustment in Section 0B (Page 0B-16)”.
Rear Brake Related Parts Inspection
B827H14306006
Refer to “Rear Brake Disassembly and Assembly
(Page 4C-3)”.
Brake Drum
Measure the brake drum I.D. to determine the extent of
wear. If the measurement value exceeds the service
limit, replace the brake drum with a new one.
Brake drum I.D.
Service Limit: 160.7 mm (6.33 in)
13
11
I827H1430025-03
I827H1430027-01
14
15
I827H1430028-02
(c)
16
I827H1430035-02
I827H1430036-01
 Loading...


