Lighting Systems: 9B-3
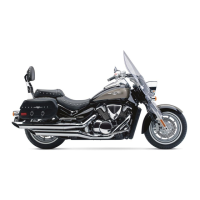
2) Remove the bulb socket rubber cap (1).
3) Replace the headlight bulb (2) by unhooking the bulb
holder spring (3).
4) Install the headlight assembly and headlight cover.
Refer to “Headlight Removal and Installation
(Page 9B-2)”.
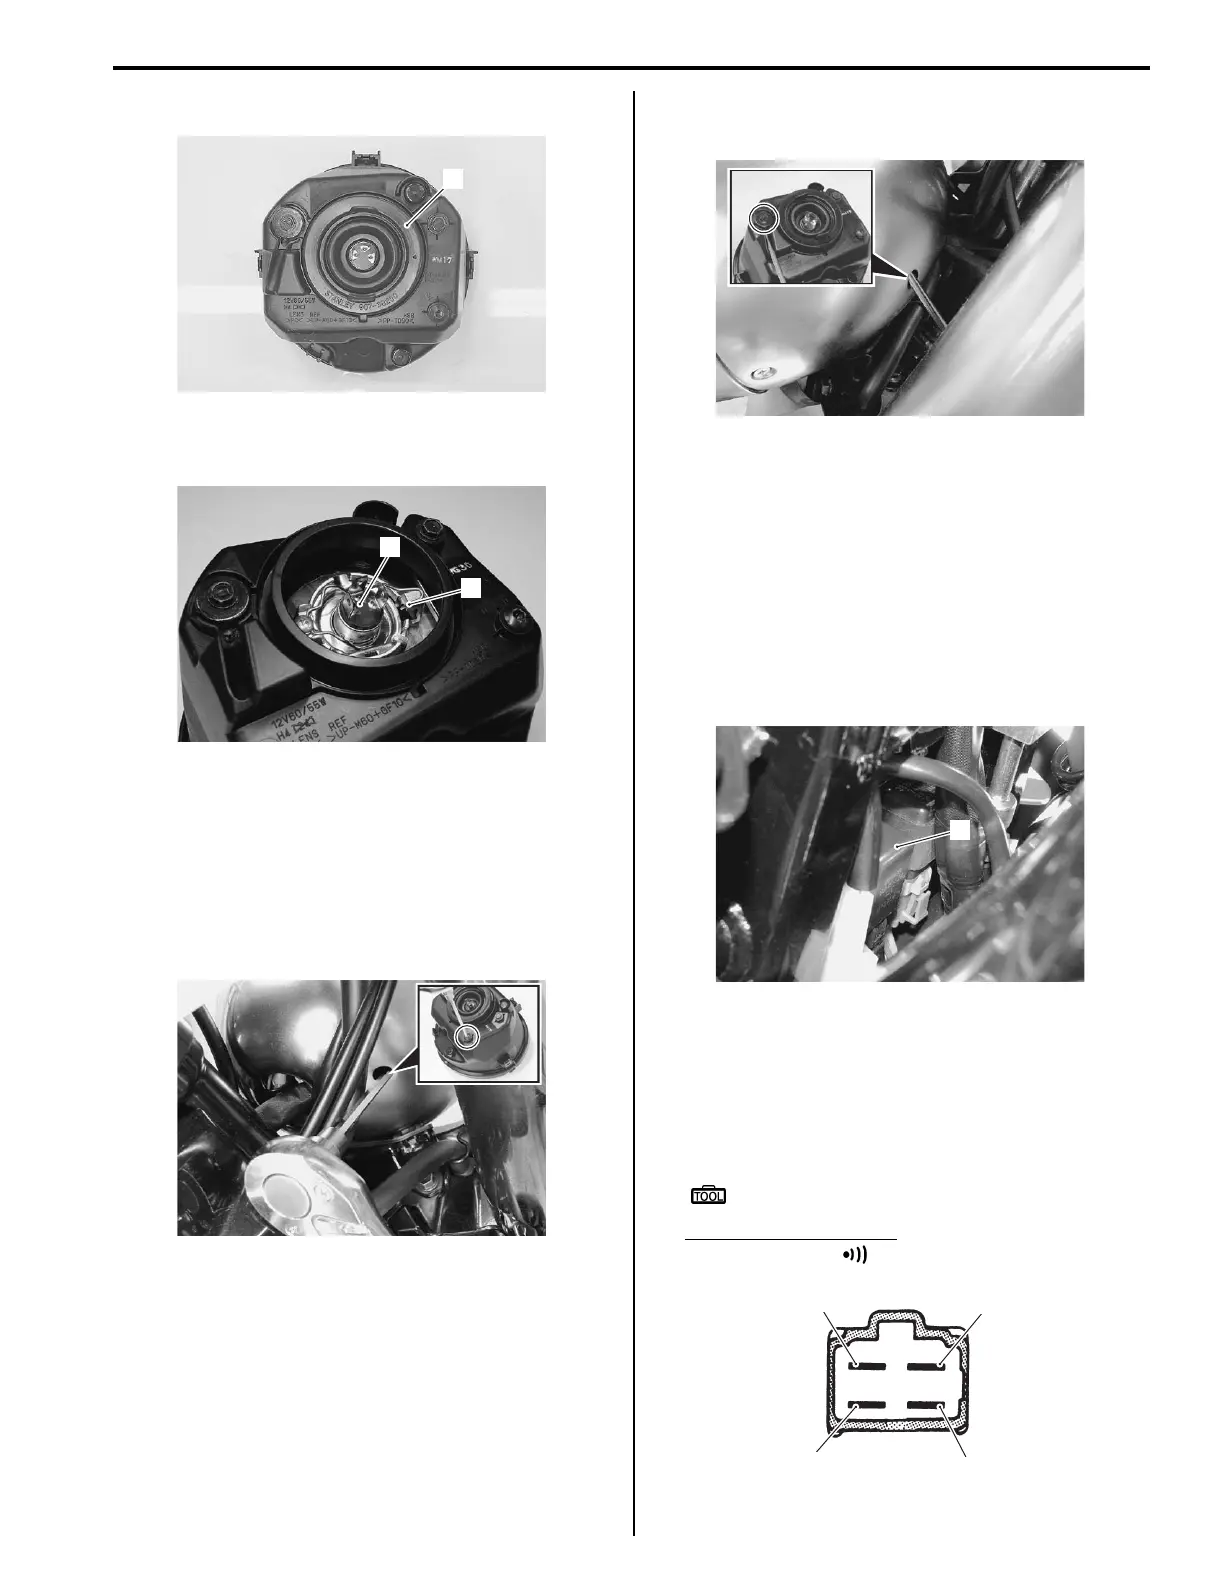
Headlight Beam Adjustment
B822H19206004
1) Insert 3 mm hexagon wrench as shown in the figure
and adjust the headlight beam horizontally.
2) Adjust the headlight beam vertically with a
screwdriver.
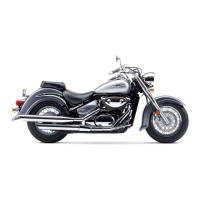
Headlight Relay Inspection
B822H19206023
Inspect the headlight relay in the following procedures:
1) Remove the right frame cover (All models) and
EVAP canister (For E-33). Refer to “Exterior Parts
Removal and Installation in Section 9D (Page 9D-3)”
(All models) and “Evaporative Emission Control
System Diagram (Only for E-33) in Section 1B
(Page 1B-5)” (For E-33).
2) Remove the headlight relay (1).
3) First, check for continuity with the tester between
terminals “A” and “B”. Next, check for continuity
between “A” and “B” with 12 V voltage applied,
positive (+) to terminal “C” and negative (–) to
terminal “D”. If the continuity is found when 12 V is
applied, replace the relay with a new one.
Special tool
: 09900–25008 (Multi-circuit tester set)
Tester knob indication
Continuity test ( )
1
I822H1920006-03
2
3
I822H1920007-01
I822H1920008-04
I822H1920009-04
1
I822H1920033-01
“A”
“B”
“C”
“D”
I718H1170013-01