Engine Mechanical: 1D-68
Engine Bottom Side Assembly
B822H11406025
Assembly the engine bottom side in the reverse of
disassembly. Pay attention to the following points:
NOTE
Apply engine oil to each running and sliding
part before reassembling.
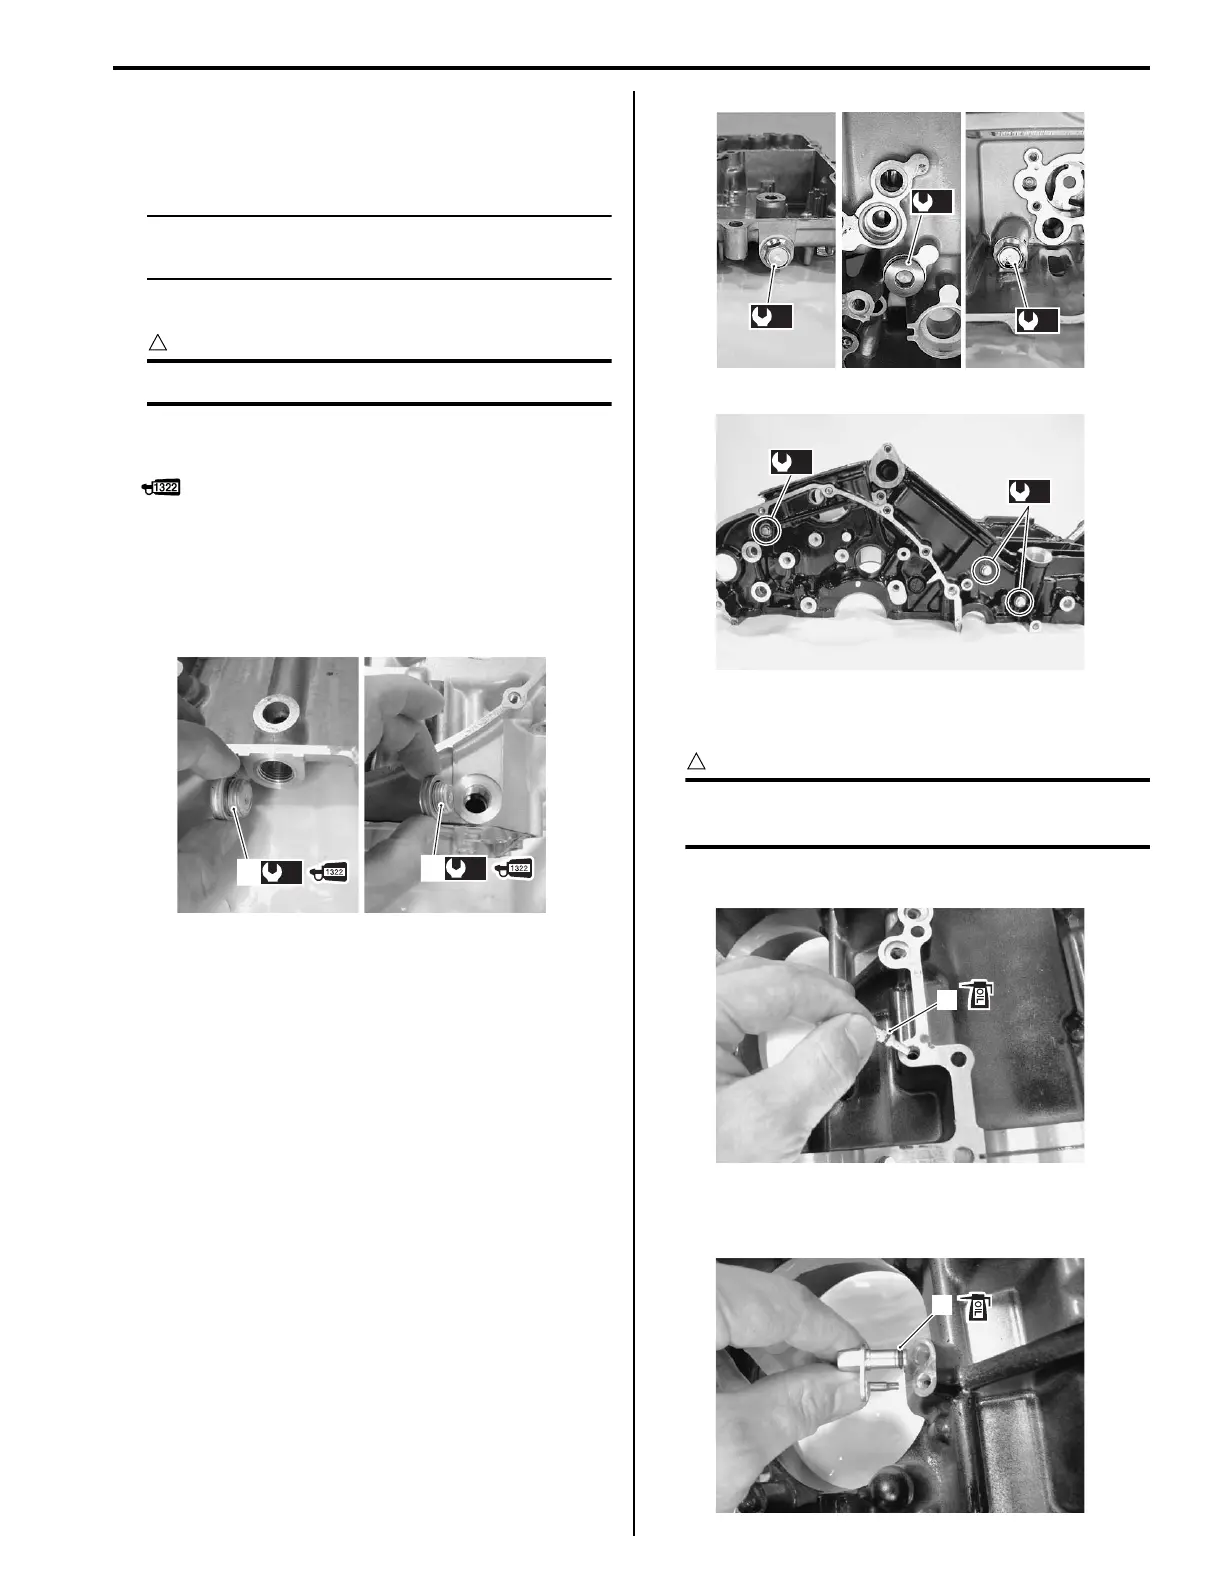
Oil Gallery Plug
CAUTION
!
Use each new gasket.
• Apply thread lock to the oil gallery plug (1) and tighten
it to the specified torque.
: Thread lock cement 99000–32110
(THREAD LOCK CEMENT SUPER 1322 or
equivalent)
Tightening torque
Oil gallery plug (M16) (a): 35 N·m (3.5 kgf-m, 25.5
lb-ft)
• Tighten each plugs to the specified torque.
Tightening torque
Oil gallery plug (M10) (b): 20 N·m (2.0 kgf-m, 14.5
lb-ft)
Oil gallery plug (M14) (c): 25 N·m (2.5 kgf-m, 18.0
lb-ft)
Oil gallery plug (M12) (d): 21 N·m (2.1 kgf-m, 15.0
lb-ft)
Oil gallery plug (M6) (e): 10 N·m (1.0 kgf-m, 7.0 lb-
ft)
Oil Jet
CAUTION
!
Use the new O-rings to prevent oil pressure
leak.
• Apply engine oil to the new O-ring (1).
• Fit the new O-ring (2) to each piston cooling oil jets
and apply engine oil to them.
(a)
1
(a)
1
I822H1140211-02
(b)
(c)
(d)
I822H1140212-01
(e)
(e)
I822H1140213-01
1
I822H1140214-01
2
I822H1140215-02

 Loading...