Analyzing waveforms
Control marks
From the Analyze menu, select Mark.
Overview
Use the Mark Control Window to manually set and clear marks on acquired waveforms in areas of interest.
To use
Use the controls in this window to set a mark on a waveform. You can return to the mark and analyze the waveform in the area at
a later time.
1. Press the MultiView Zoom button on the instrument front panel. The instrument uses Zoom 1 to set marks.
2. From the Menu bar, select Analyze > Mark.
3. Move the zoom box to the area of interest on the waveform with the multipurpose knob.
4. Use the controls described below to set and clear marks.
NOTE. Marks appear as either green or white triangles on-screen. Green triangles represent locations placed automatically by
the instrument; white triangles represent locations placed manually by the user.
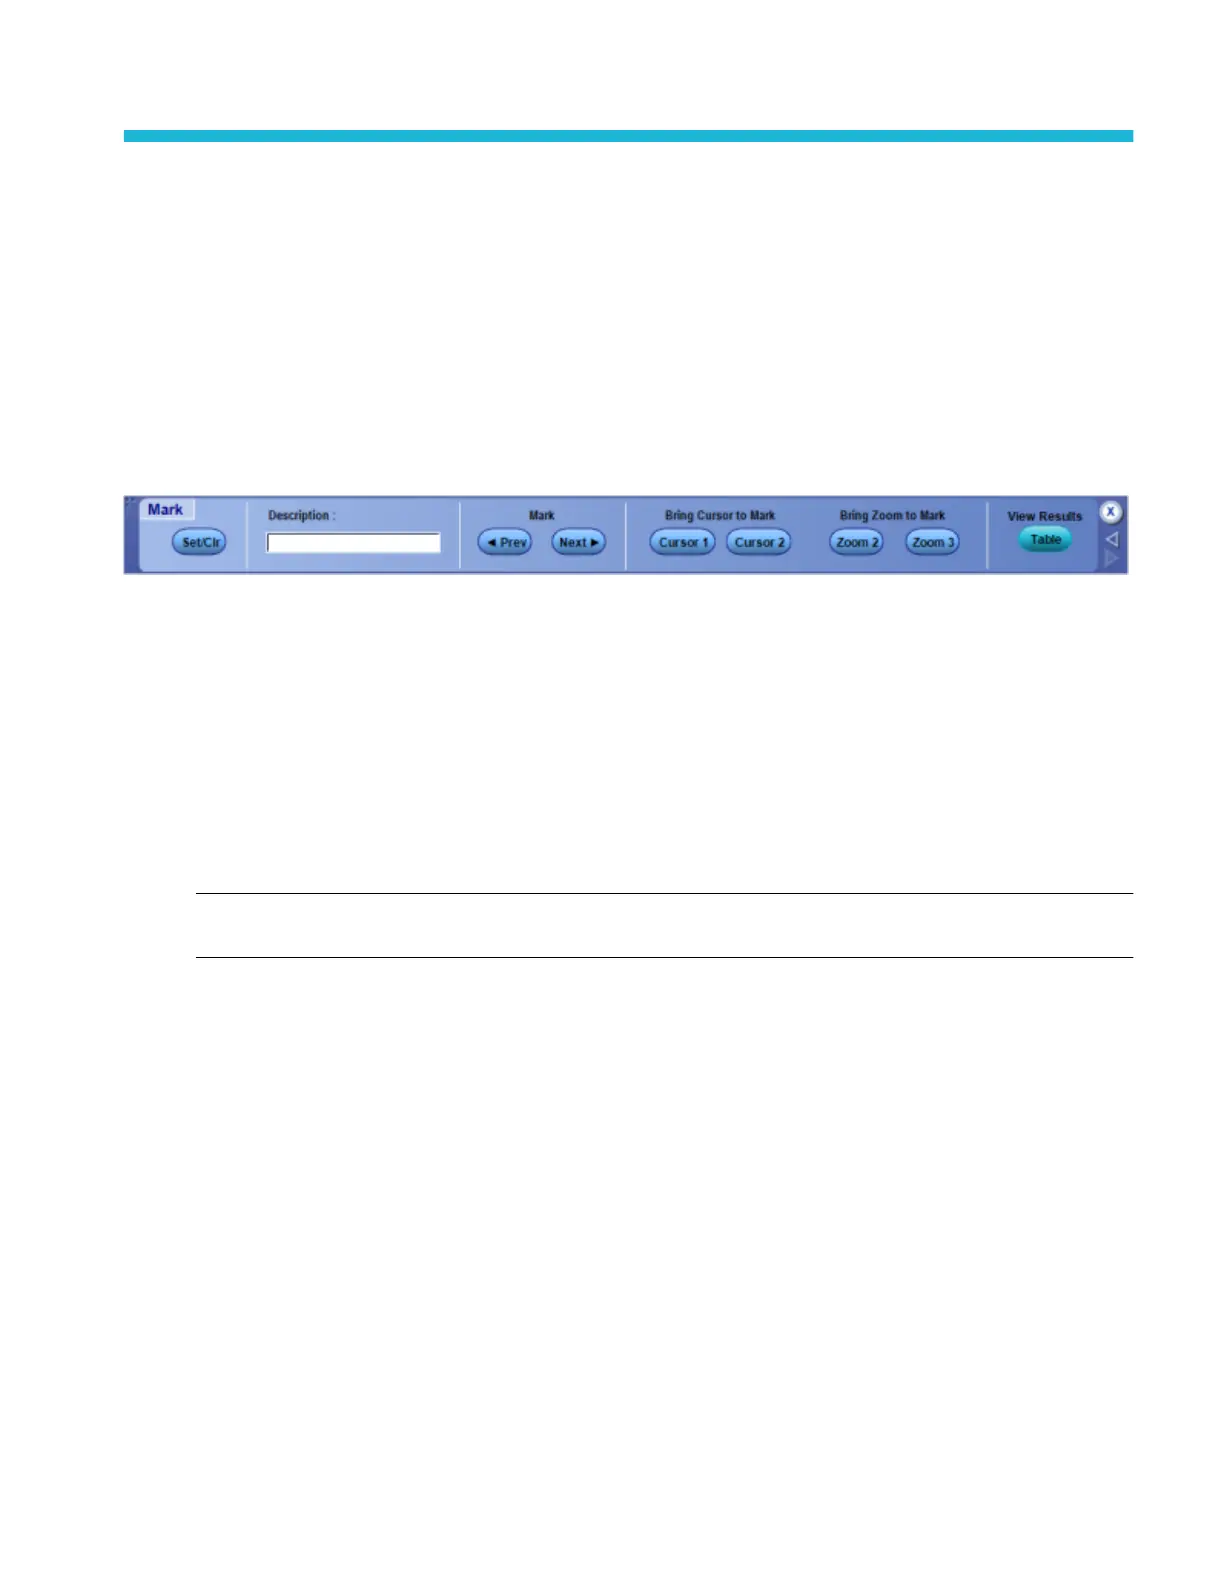
Behavior
Use the Mark controls to set marks and analyze waveforms.
■
Description. Click in the entry box and use the pop-up keyboard to enter a description for the mark you place.
■
Set/Clr. Click this button to add or delete a mark. Marks are placed on the waveform at center screen.
■
Prev/Next. Click these buttons to advance from one mark to another along the waveform.
■
Cursor 1/Cursor 2. Click one of these buttons to position a cursor at the active mark.
■
Zoom 2/Zoom 3. Click one of these buttons to zoom the area around the active mark. Zoom 1 is the default used by the
Search and Mark feature.
DPO70000SX, MSO/DPO70000DX, MSO/DPO70000C, DPO7000C, and MSO/DPO5000B Series 297
 Loading...