8-114 Xerox Internal Use Only Phaser 6000/6010 and WC 6015 MFP
Service Parts Disassembly
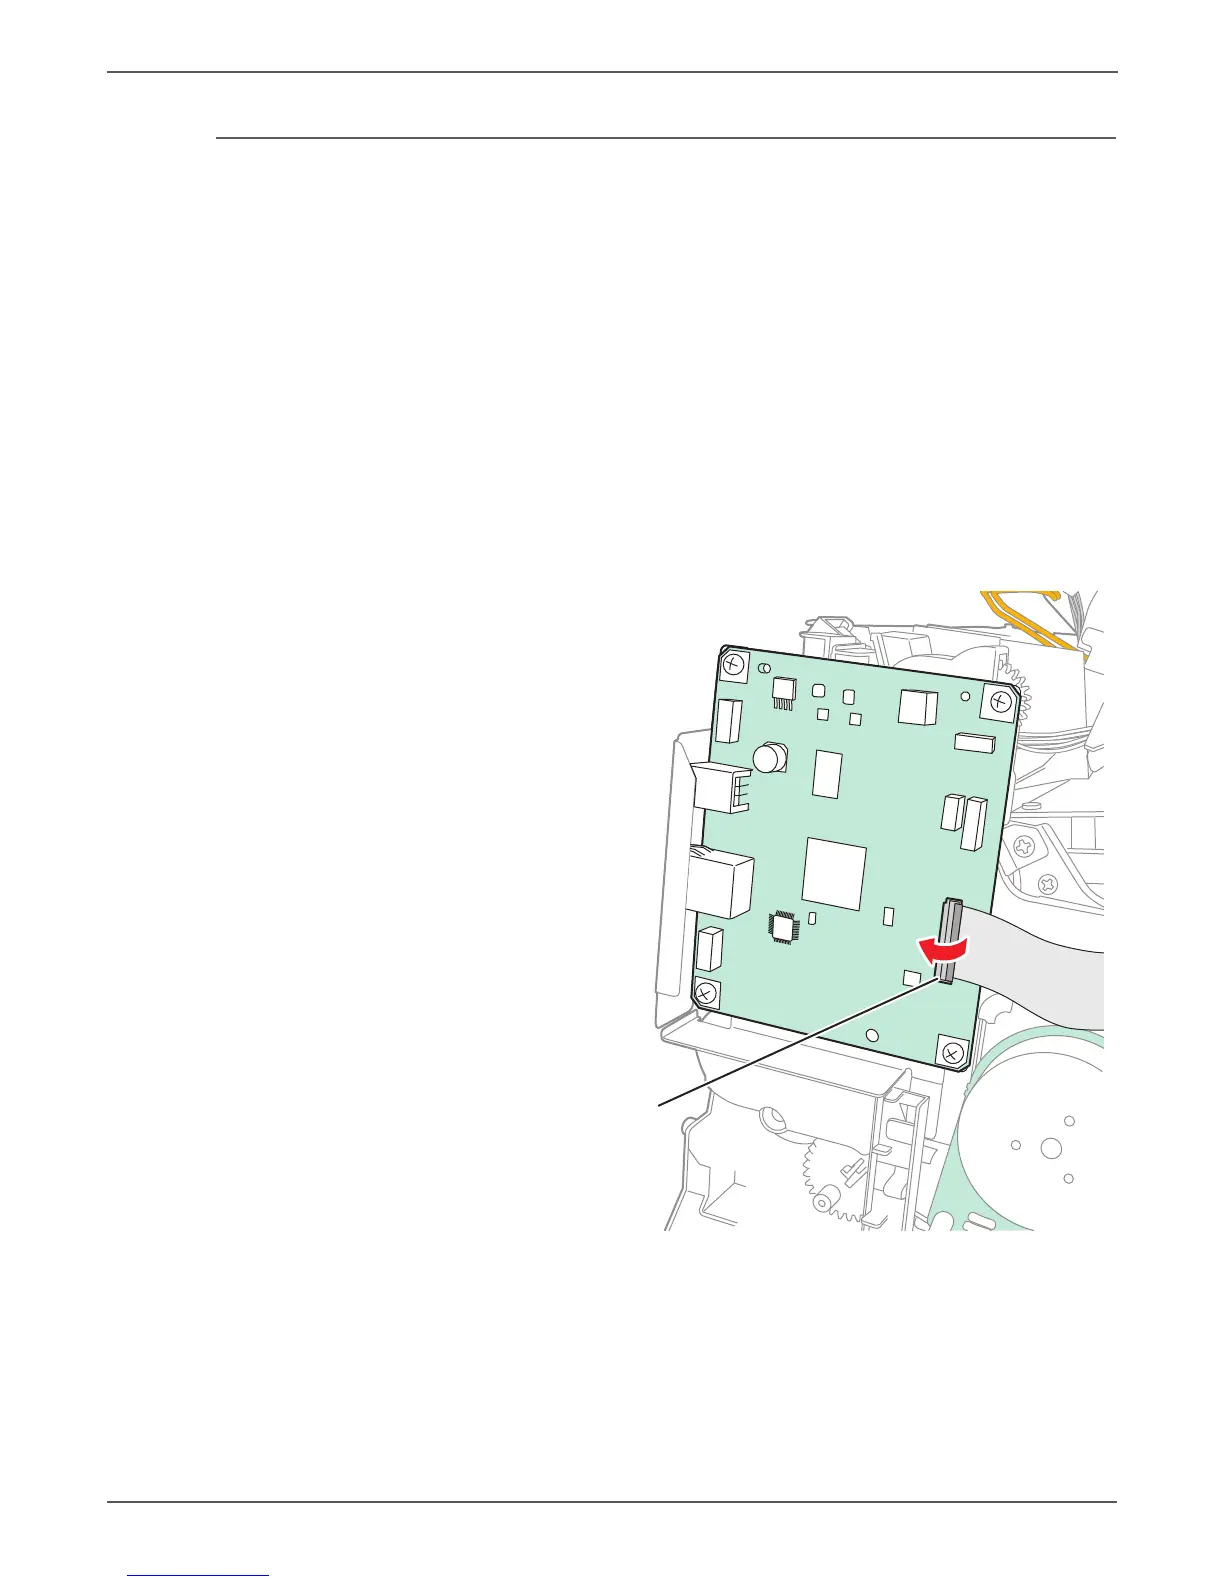
Image Processor Board
PL7.1.9, PL7.1.16
The Phaser 6000/6010 and the WorkCentre 6015 MFP have different
procedures to follow after installation of a new IP Board. These procedures are
detailed in the Replacement Notes that follow the removal procedure.
1. Remove the Main Paper Tray Cover (Phaser 6000/6010 page 8-7; WorkCentre
6015 MFP page 8-29).
2. Remove the Front Cover (Phaser 6000/6010 page 8-8; WorkCentre 6015 MFP
page 8-34).
3. Open the Rear Door.
4. Remove the Left Side Cover (Phaser 6000/6010 page 8-10; WorkCentre 6015
MFP page 8-29).
5. Open the connector cover at P/J112, or P/J9 if the printer is a WorkCentre
6015 MFP, on the Image Processor Board.
6. Disconnect the other cables on the Image Processor Board.
 Loading...