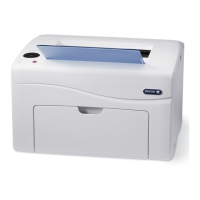
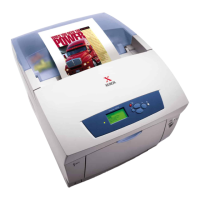
Phaser 6000/6010 and WC 6015 MFP Xerox Internal Use Only 8-121
Service Parts Disassembly
MCU Board
PL7.2.2
Before replacing the MCU Board, save the NVM data to the IP Board.
Saving the NVM Data to the IP Board (Phaser 6000/6010)
1. Start the CE Diags Tool (page A-4).
2. Click the CE Diag tab, and then click NVM Settings-Save NVM to ESS.
3. Click the Start button.
The NVM data of the MCU Board is saved to the IP Board.
Saving the NVM Data to the IP Board (WorkCentre 6015 MFP)
1. Power on the printer while pressing the Up and Down Arrow keys.
2. Press the Up or Down Arrow key to select Printer, and press the OK key.
3. Press the Up or Down Arrow key to select IOT Diag, and press the OK key.
4. Press the Up or Down Arrow key to select NVM Settings, and press the OK
key.
5. Press the Up or Down Arrow key to select SaveNVM to ESS, and press the OK
key.
Replacement Procedure
1. Remove the Main Paper Tray Cover (Phaser 6000/6010 page 8-7; WorkCentre
6015 MFP page 8-29).
2. Remove the Front Cover (Phaser 6000/6010 page 8-8; WorkCentre 6015 MFP
page 8-34).
3. Open the Rear Door.
4. Remove the Left Side Cover (Phaser 6000/6010 page 8-10; WorkCentre 6015
MFP page 8-29).
5. If present, remove the Wi-Fi Assembly (page 8-103).
6. Remove the Top Cover (Phaser 6000/6010 page 8-11; WorkCentre 6015 MFP
page 8-22).
7. Remove the Rear Cover (Phaser 6000/6010 page 8-15; WorkCentre 6015 MFP
page 8-24).
8. Remove the IP Board (page 8-114).
 Loading...


