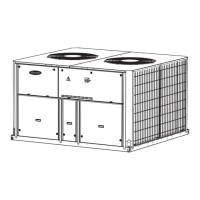
Operating i-Vu CCN Pro
i-Vu CCN Pro 4.2 23
Enter the following information in the dialog box:
2 Under Equipment, click Add. A dialog window will appear.
3 Browse to the .equipment file that was generated in ApplicationBuilder.
4 Click Continue. When message appears "File uploaded successfully", click Close.
5 Click Close again.
NOTE If the Graphics tab is highlighted, a message indicating that a "Download is in progress will
appear." This will clear at the completion of the download.
6 Click OK or Apply.
7 If the Graphics tab is highlighted, a message indicating "Download in progress" will appear. This will clear
at the completion of the download.
For additional pieces of equipment controlled by your UC/CC (expansion controllers)
1 Click Main Menu button , then select System Setup.
2 In the navigation tree, right-click the area where you want to place the equipment. Select Add Equipment
from the drop-down menu or click
in the toolbar.
3 Enter a Display Name.
4 Under Associate with, click CCN Device and enter the Bus and Element number of the associated
UC/CC.
NOTE You cannot change the association once you have clicked Apply. To change it, you would have to
delete the equipment and start over.
5 Click Apply, then Close.
6 Exit System Setup.
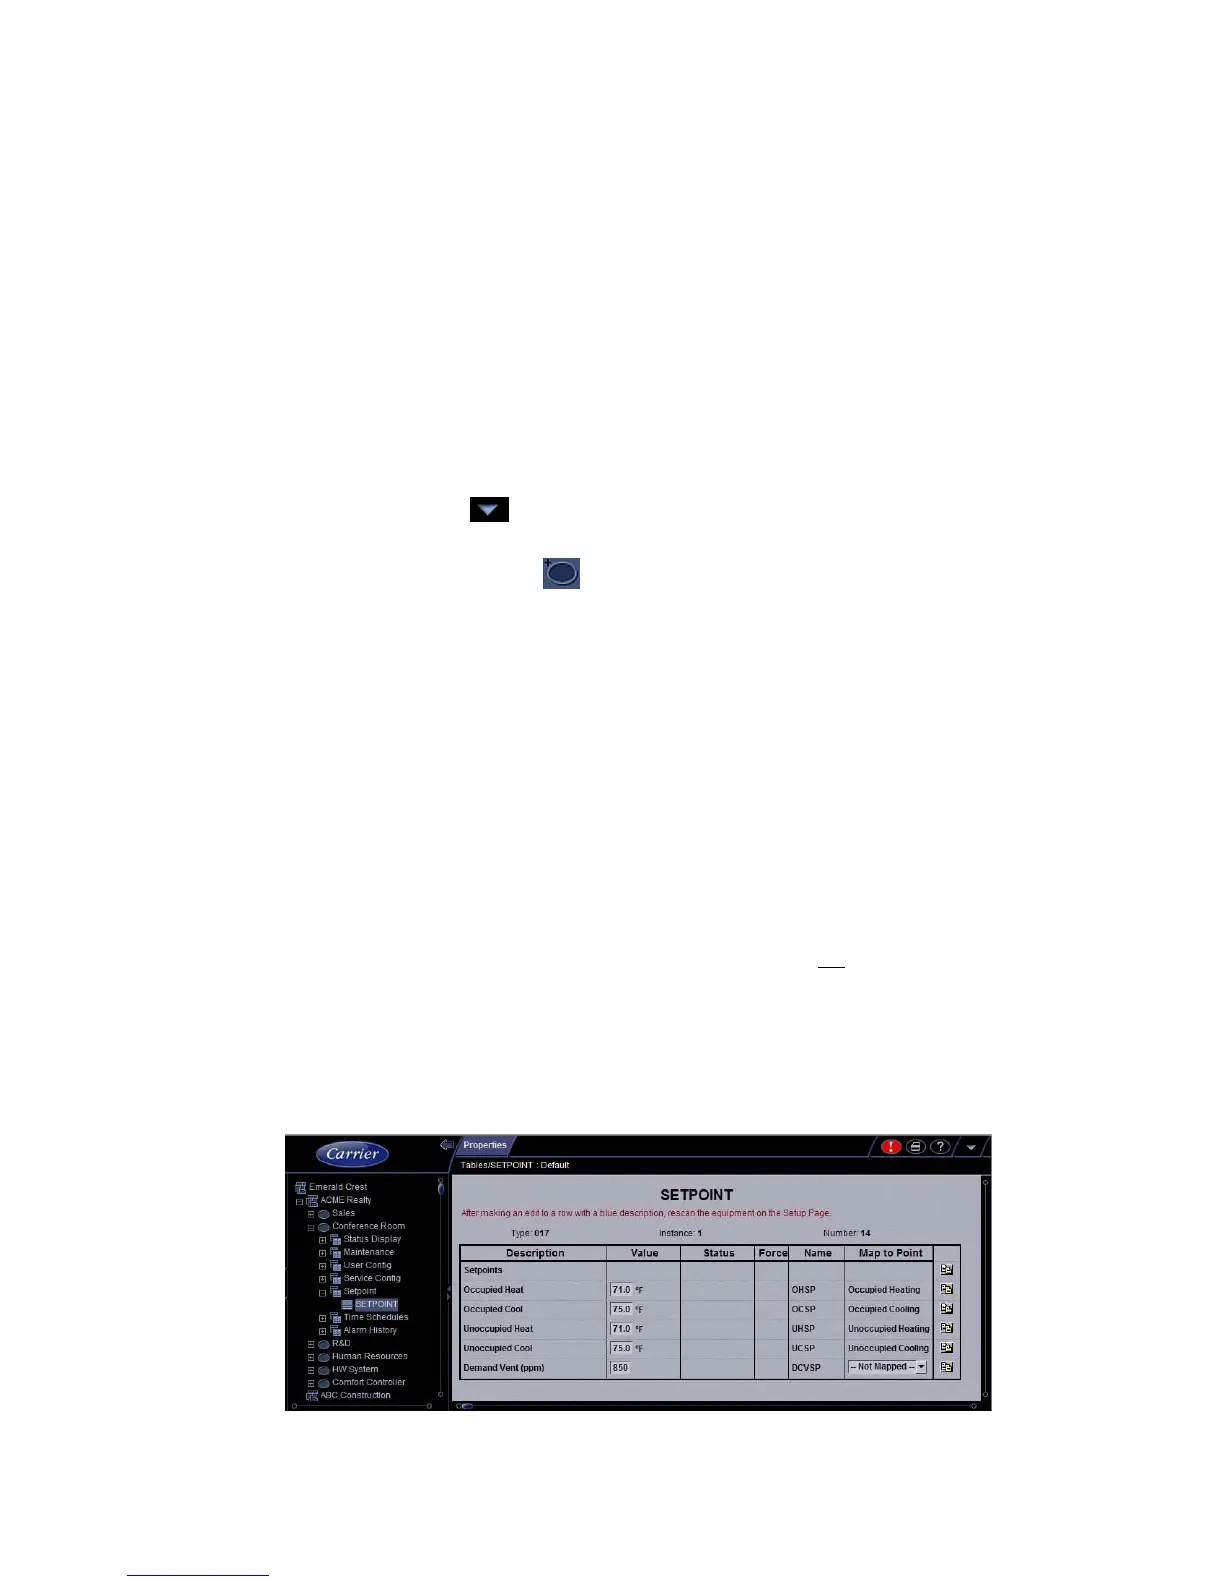
Map to Point procedures for the Universal and Comfort Controller
I/O Points that are included in a custom equipment file will automatically be mapped to their associated CCN
points once the file is uploaded to i-Vu CCN Pro. The following procedure is
not
required for those points.
This procedure is necessary for points associated with the Setpoint Support option, which must be mapped
manually using the following procedure.
1 In the navigation tree, select the UC/CC and click + to expand Tables.
2 Click + next to the table headings (Setpoint, Status Display, Maintenance, etc.) to see additional tables.
3 Click on the table you wish to work with. The Setpoint table is used in this example.
 Loading...