6-92 Removal and Replacement
Smart Card Contact
Removal Procedure
1. Unplug the printer.
2. Remove the ribbon cartridge and cleaning roller.
3. Remove the
Main Enclosure (p. 6-15).
4. Remove the
Upper Printer Assembly from the base (p. 6-38).
5. Disconnect the interface cable from the smart card interface board. Refer to
the
Print Engine Cable Connection Diagram (p. 6-11) for location and details.
6. Remove the
Ribbon Motor (p. 6-36).
7. Remove the
Solenoid Link from the rocker (p. 6-90).
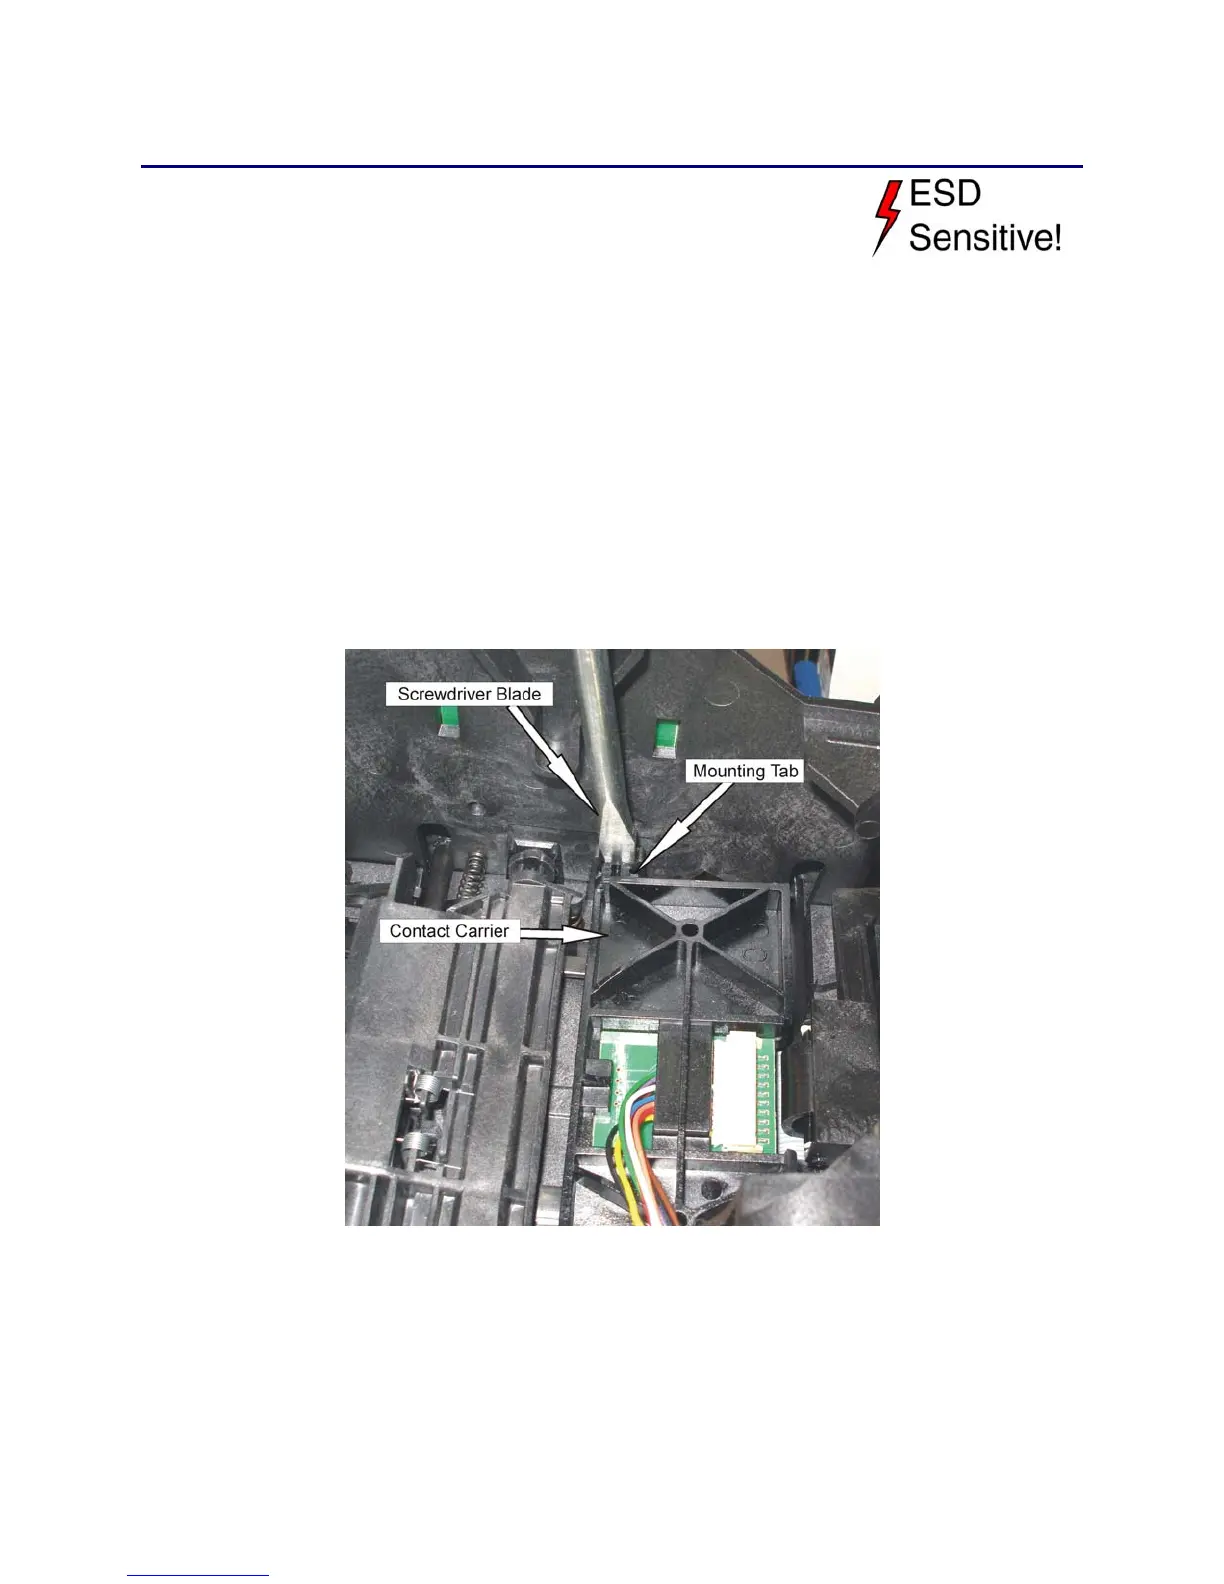
8. Remove the smart card contact carrier:
A. Insert a screwdriver between the carrier and the left mounting tab.
B. Twist the blade to pry the carrier out of the mounting tab.
 Loading...