BASIC OPERATIONS
77144 Issue 8 August 2009 41
2 Litre Base
CAUTION: Do not to pull on the pipes in the cap, when replacing the ink bottle.
A warning light on the top of the base will flash to indicate that the ink bottle
needs replacing. The light will flash slowly as the ink falls below the first level
(bottle empty, up to 8hrs of printing time remaining). When the ink falls below
the second level (ink chamber empty), the warning light will flash rapidly. When
the printer screen shows Ink status out, there are 19 prints remaining before the
printer will stop.
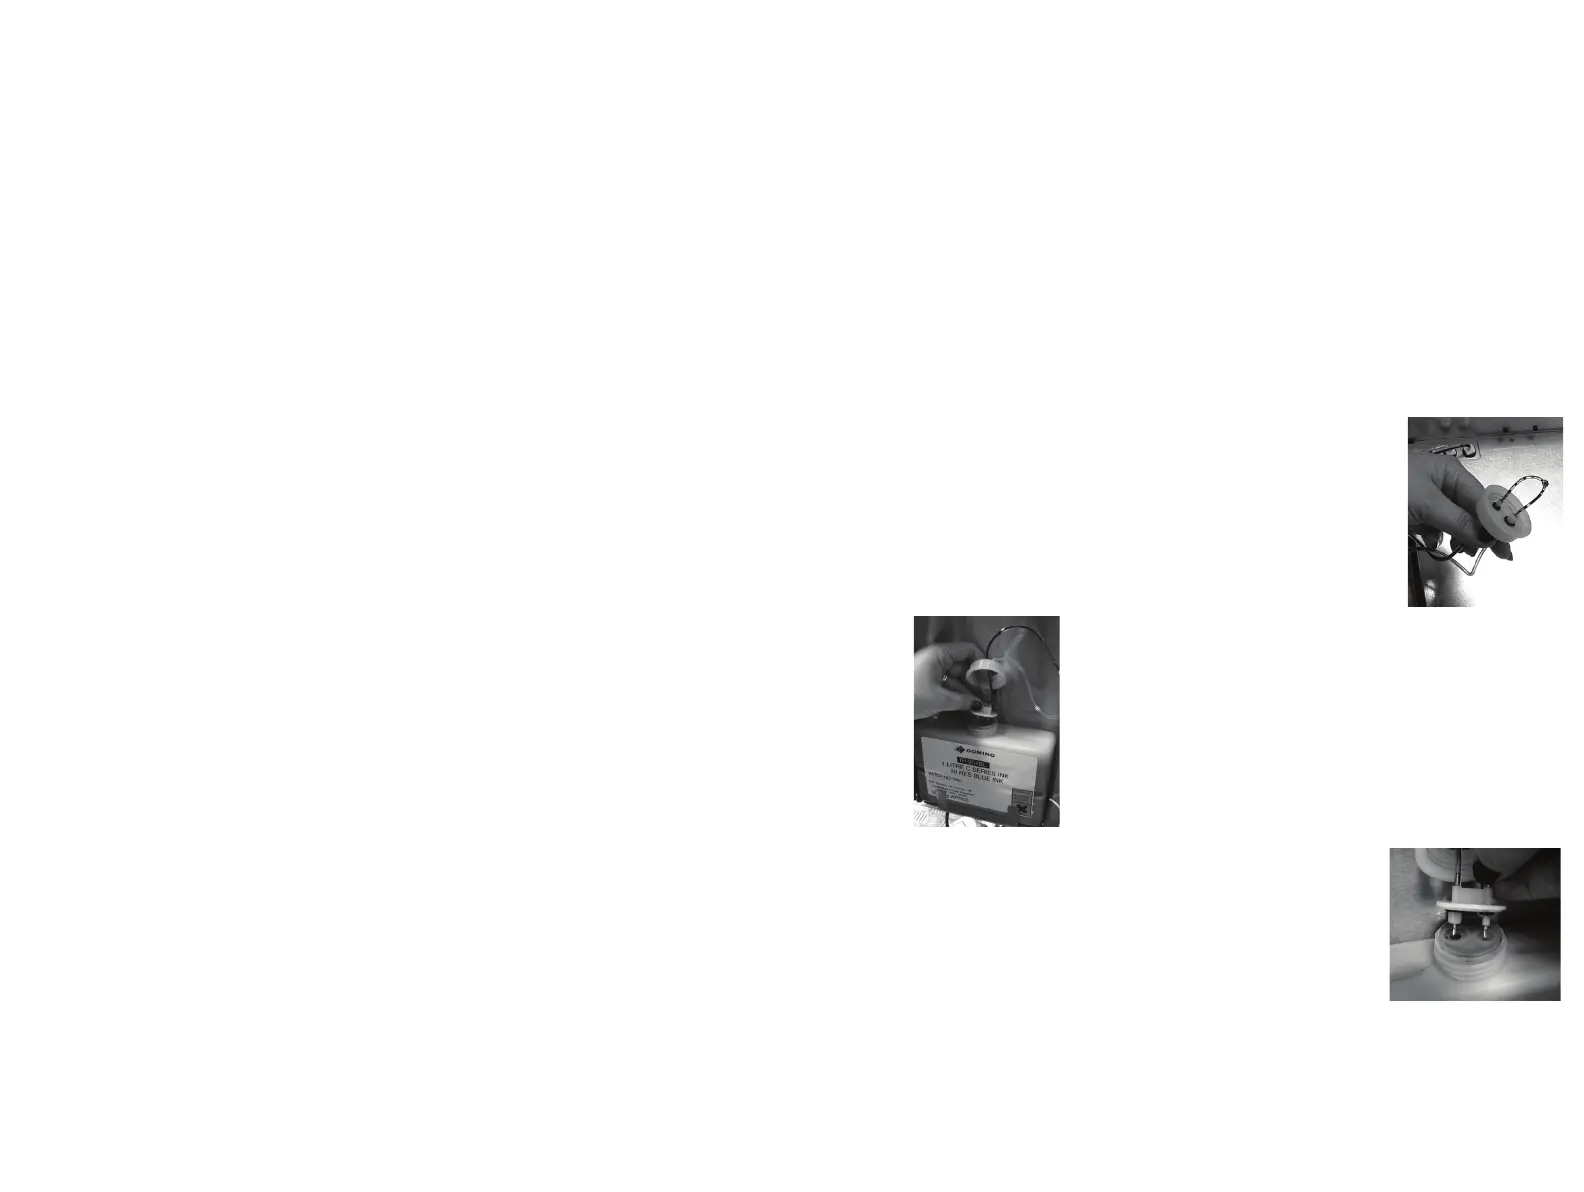
The ink cap is attached to the inside of the base unit by its two feed pipes (air in
and ink out). Two metal probes pierce the seal in the ink bottle allowing an air-
tight, ink-tight seal to be formed.
(1) If installing the printer for the first time, there may
be a piece of protective tubing placed over the ends
of the probes. Pull off this piece of tubing
carefully - the probes are very sharp. Check
that both “O” ring seals are present around the
supply stems, otherwise air and ink leaks may occur.
(2) Discard the transit cap from the new ink bottle and
push the bottle into its slots in the door of the unit.
(3) Push the air and ink probes into the correct holes
in the ink bottle, puncturing the seals. Notice that
the probes have different diameters which must be
aligned correctly with the holes in the bottle,
otherwise damage will result if the cap is forced.
 Loading...


