DV11
Operation and Maintenance
70
Measurement and Inspection of Major Parts
Printed in Mar. 2005 PS-MMA0608-E1A
z Pull out the intake and exhaust valves.
2) Inspection and measurement of cylinder head
a) Damage check
z Eliminate the carbon residue and gasket piece from the cylinder head lower
face thoroughly. Then be careful for the valve seat not to be damaged.
z The cracks or damages that are difficult to search may be inspected by a
hydraulic test or a magnetic powder test. (Hydraulic test is same as for
cylinder block.)
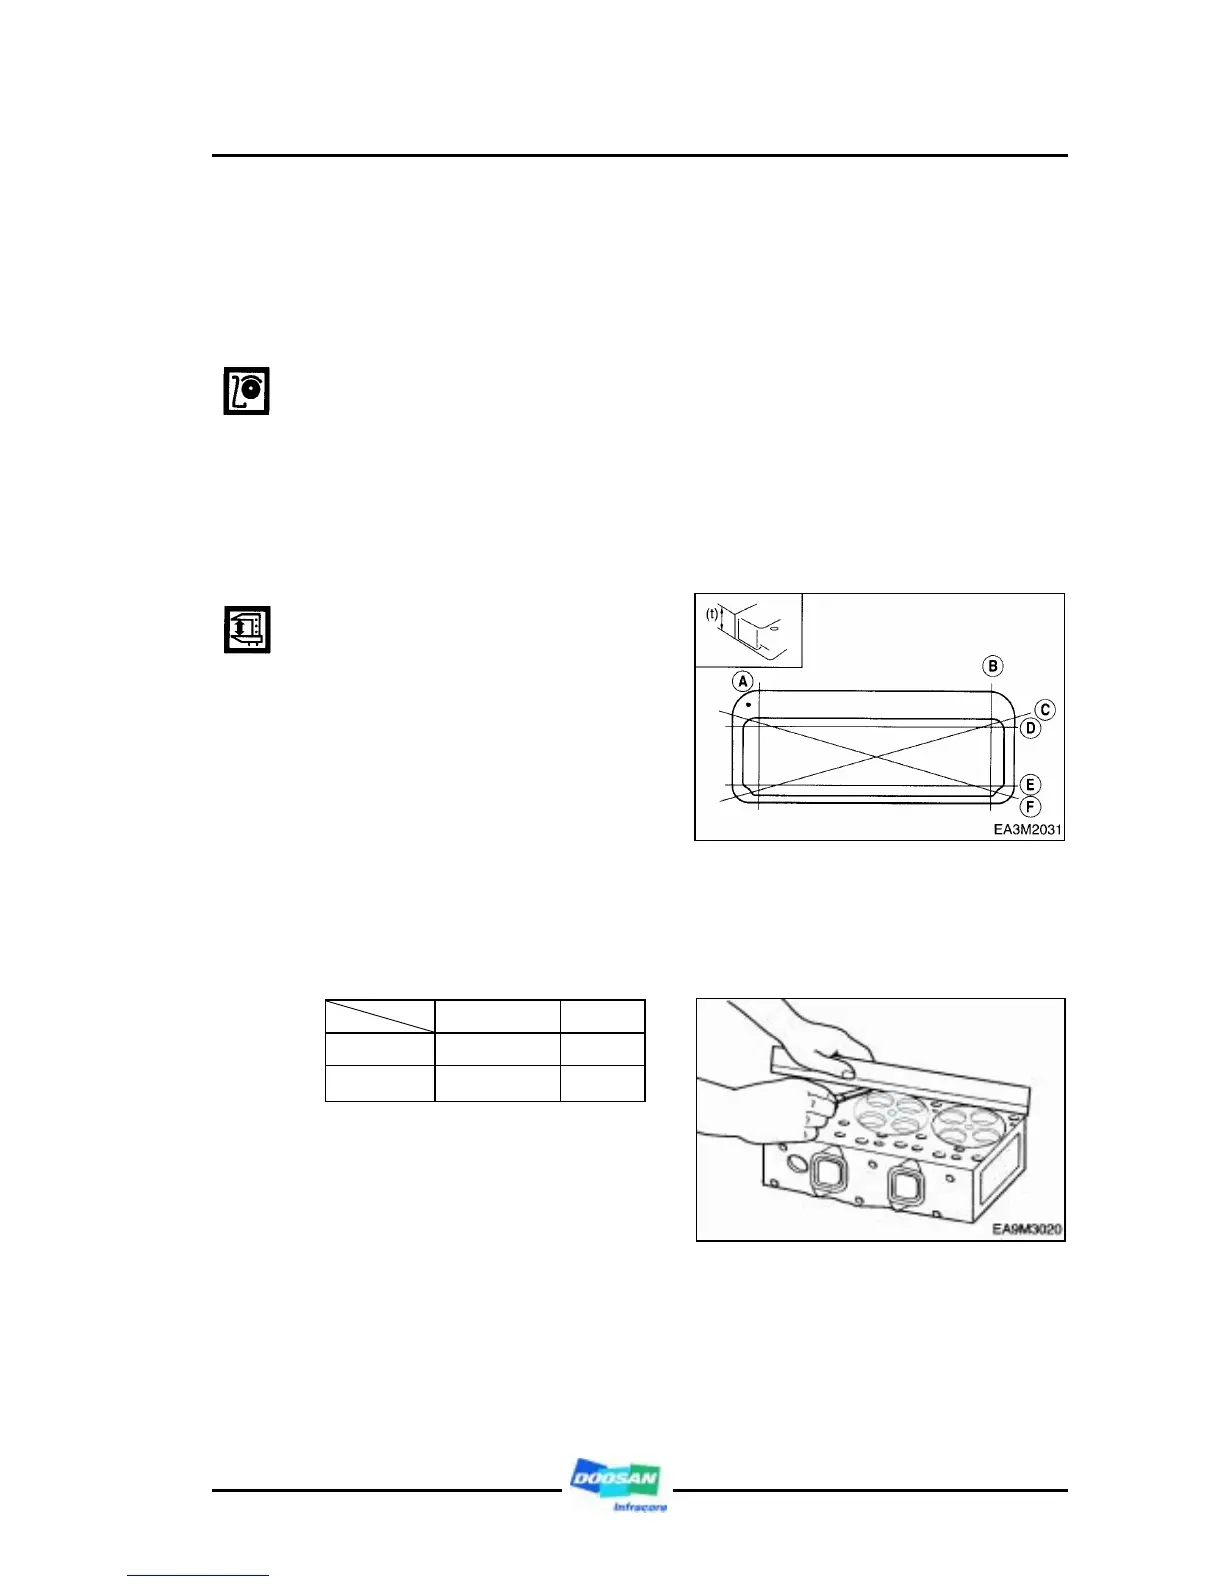
b) Distortion of lower surface
z As shown in figure, measure the
z cylinder head's distortion at 6
directions with horizontal ruler
and clearance gauge
z If the measured value is beyond
the limit value, correct it by
means of the fine grinding paper
or grinding machine.
z If it is beyond the max. allowable
value, replace the cylinder head.
< Lower face warpage and thickness>
Standard Limit
Warpage 0.08 mm or less 0.1 mm
Thickness : t
(reference)
116.9 ∼ 117.1 mm
116.4 mm

 Loading...