199
8.2 Image Quality
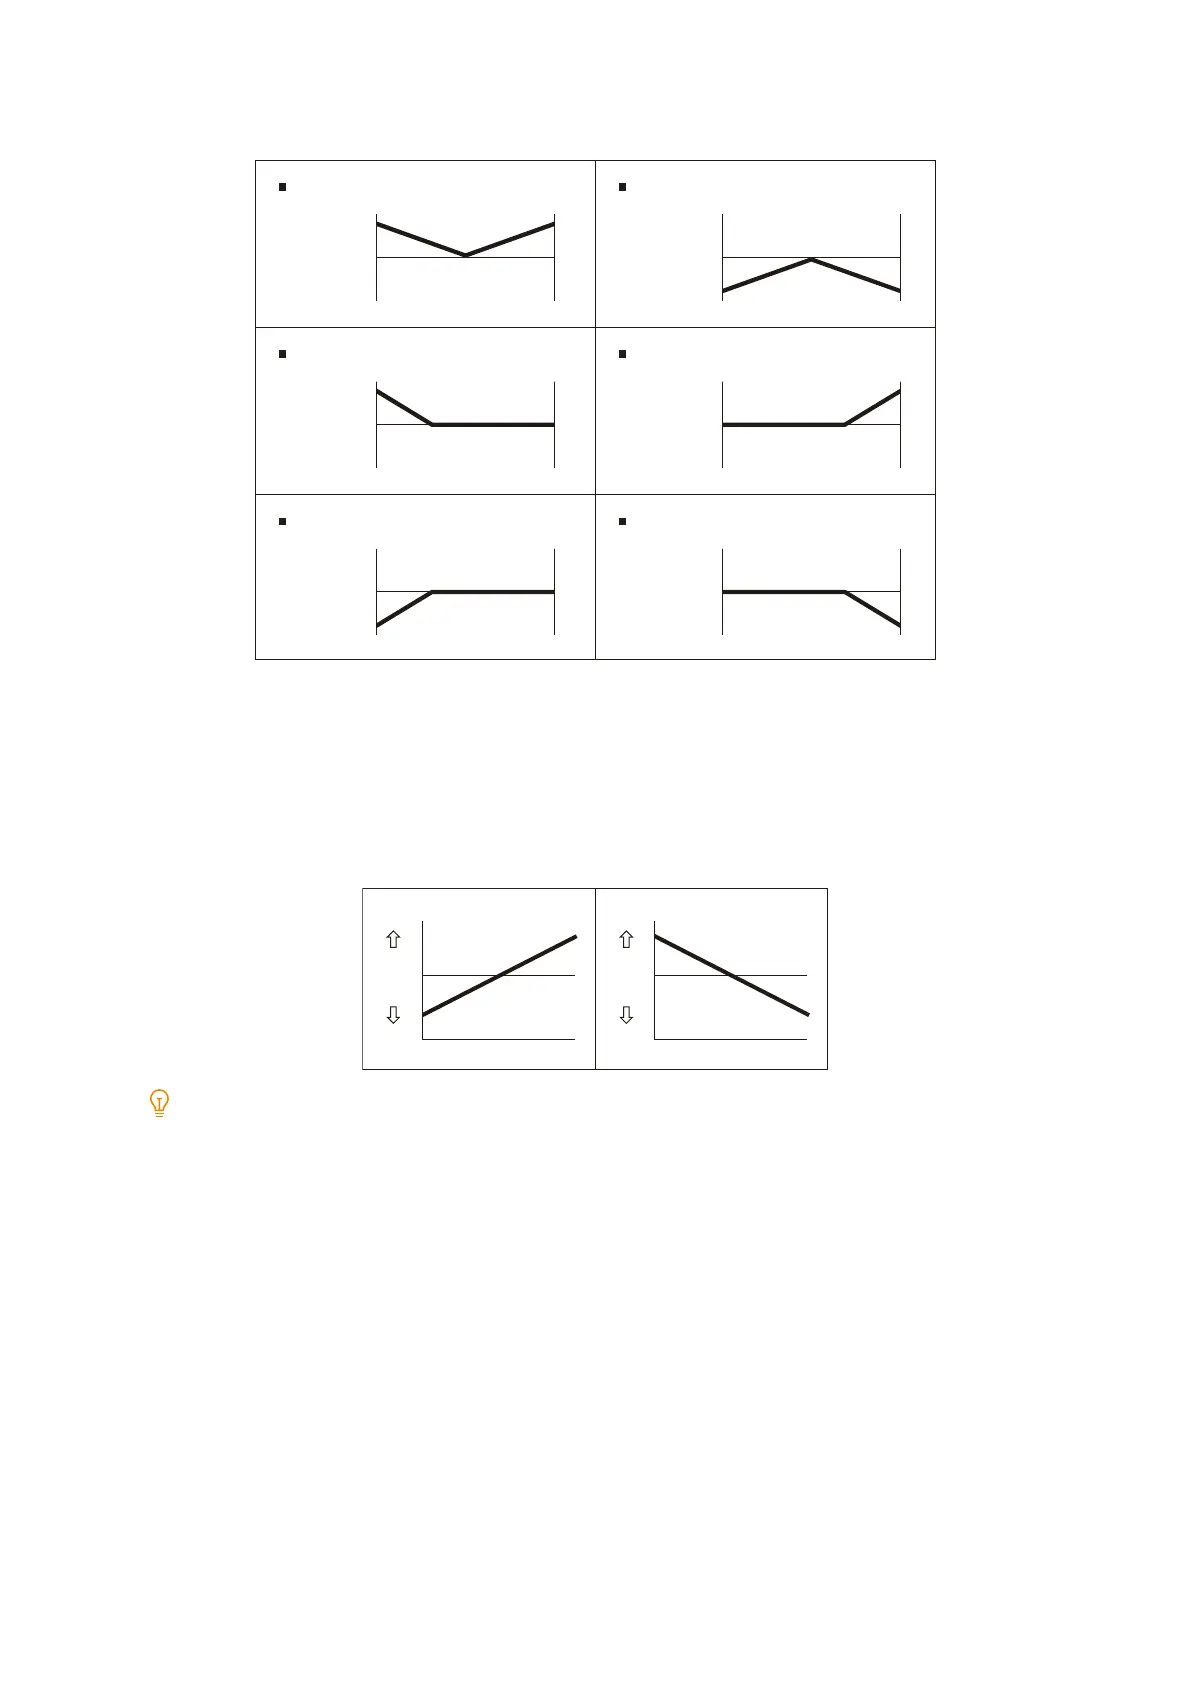
Select the density distribution adjustment amount for the print sample from shapes 1 through 6.
[Level]
Select the level of density difference for the print sample from 1 through 6. Level 1 means that there is no
adjustment amount, and the adjustment amount increases as the value gets larger.
[Inboard / Outboard]
Adjust the density distribution with respect to the print sample as follows. Set the adjustment amount within the
range of -17 to 17.
The adjustment amount increases as the value gets larger.
Note
If the density distribution differs from these patterns, use [Shape] and [Level] to make adjustments.
10. Tap [Save].
The adjustment value is applied.
11. Tap [Density Uniformity Adjustment] > [Sample Printout], and then check the adjustment result of the output
sample. Adjust again if necessary.
IN
Shape 1
Darker
Lighter
Density
adjustment
amount
OUT
IN
Shape 2
Darker
Lighter
Density
adjustment
amount
OUT
IN
Shape 3
Darker
Lighter
Density
adjustment
amount
OUT
IN
Shape 4
Darker
Lighter
Density
adjustment
amount
OUT
IN
Shape 5
Darker
Lighter
Density
adjustment
amount
OUT
IN
Shape 6
Darker
Lighter
Density
adjustment
amount
OUT
Input “-” value
Darker
Lighter
IN OUT
Density
adjustment
amount
Input “+” value
Darker
Lighter
IN OUT
Density
adjustment
amount

 Loading...

