29
2.2 Connecting Your Machine to a Computer
2. Enter “D:¥Launcher.exe” (“D” is the drive letter), and then click [OK].
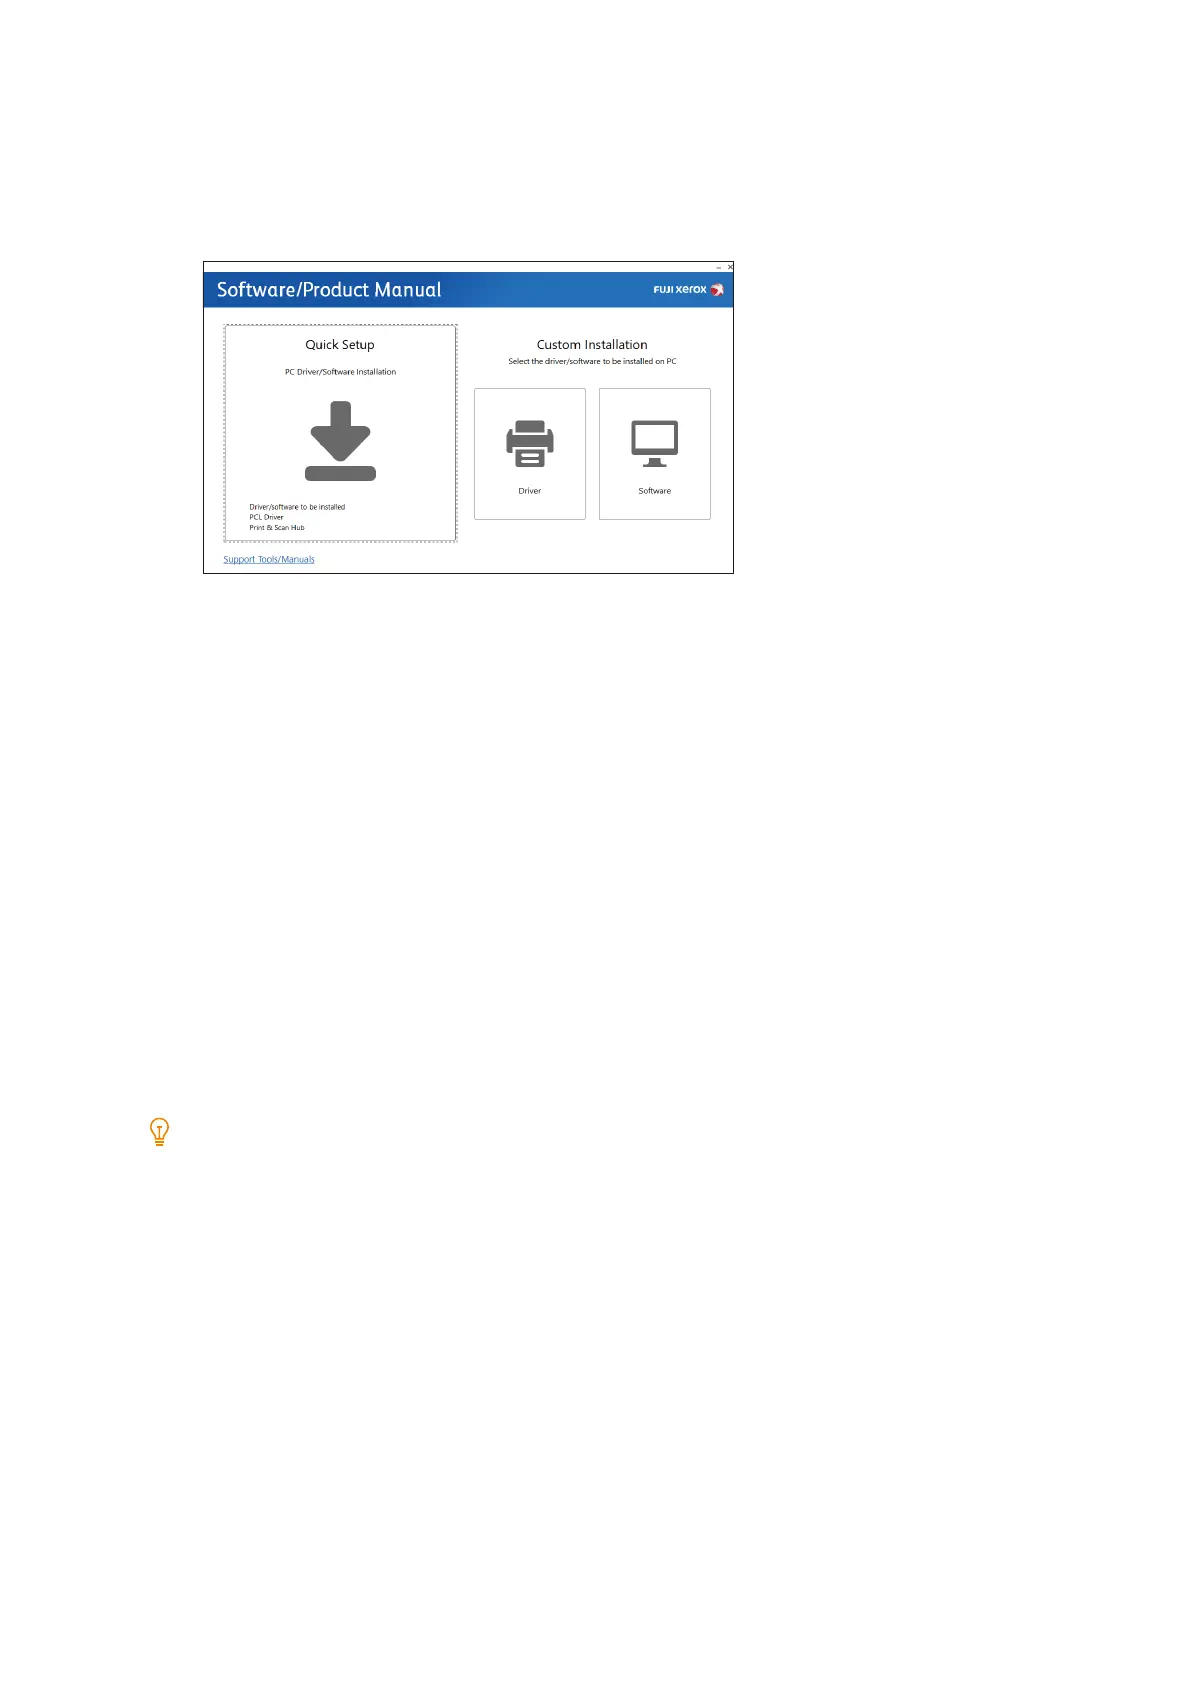
2. Click [Driver] or [Software].
If you selected [Software], proceed to step 5.
3. Select [I accept the terms of the license agreement] and click [Next].
4. Select the connection method you are using and click [Next].
5. Follow the on-screen instructions to complete the setup.
Configuring Options in the Print Driver
Apply the options of printers connected to the network, paper tray information, and other data to the settings of the
printer driver.
1. Click [Start]>[Windows System]>[Control Panel]>[View devices and printers] or [Devices and Printers].
2. Right-click the machine icon and select [Printer properties].
3. Click the [Configuration] tab and then click [Bi-Directional Setup]>[Get Information from Printer]>[OK].
4. Click [Apply]>[OK].
If the printer information is not updated even after clicking [Get Information from Printer], configure [Configuration] tab
> [Installable Options].
Installing Mac software
1. Set the “Software/Product Manual” disc in the computer.
2. Open folders on the disk in the following order: [Software] > [MacPrinter] > [MacOSX] > [Common].
3. Double-click the .pkg file in the folder.
4. Follow the on-screen instructions to complete the installation.

 Loading...

