Assisted Priming and Rinsing Procedure
Check Before Priming
Check that the priming fluid and waste bag are properly connected.
Remove any obstructing clamps.
Check that the venous blood line is correctly placed in the priming
detector. See "Venous Blood Line - Attach", point 5, in previous
instructions.
Check that the pressure transducers of the blood lines have been
properly attached to the pressure connectors of the machine.
Check all connections.
Check that the preset assisted priming parameters correspond with
the m anufacturer's instructions for use of the specific dialyzer
being used.
Note
• The CONCENTRATE STANDBY MODE menu, displayed on
the Information Display, indicates that conc
entrate stand-by
mode is active. Resume dialysis fluid preparation (deactivate
concentrate stand-by mode) by pressing the Select key for three
seconds, as the menu requests. The di
alysis fluid will be ready
within approximately 2 minutes.
• Always follow the manufacturer
's recommendations for the
minimum rinsing volume (for the blood lines and the dialyzer).
Note
Priming Procedure
The procedure described below uses the default settings of assisted
priming parameters. Make sure that the preset priming procedure is
in accordance with the manufacturer's priming instructions for the
specific dialyzer being used.
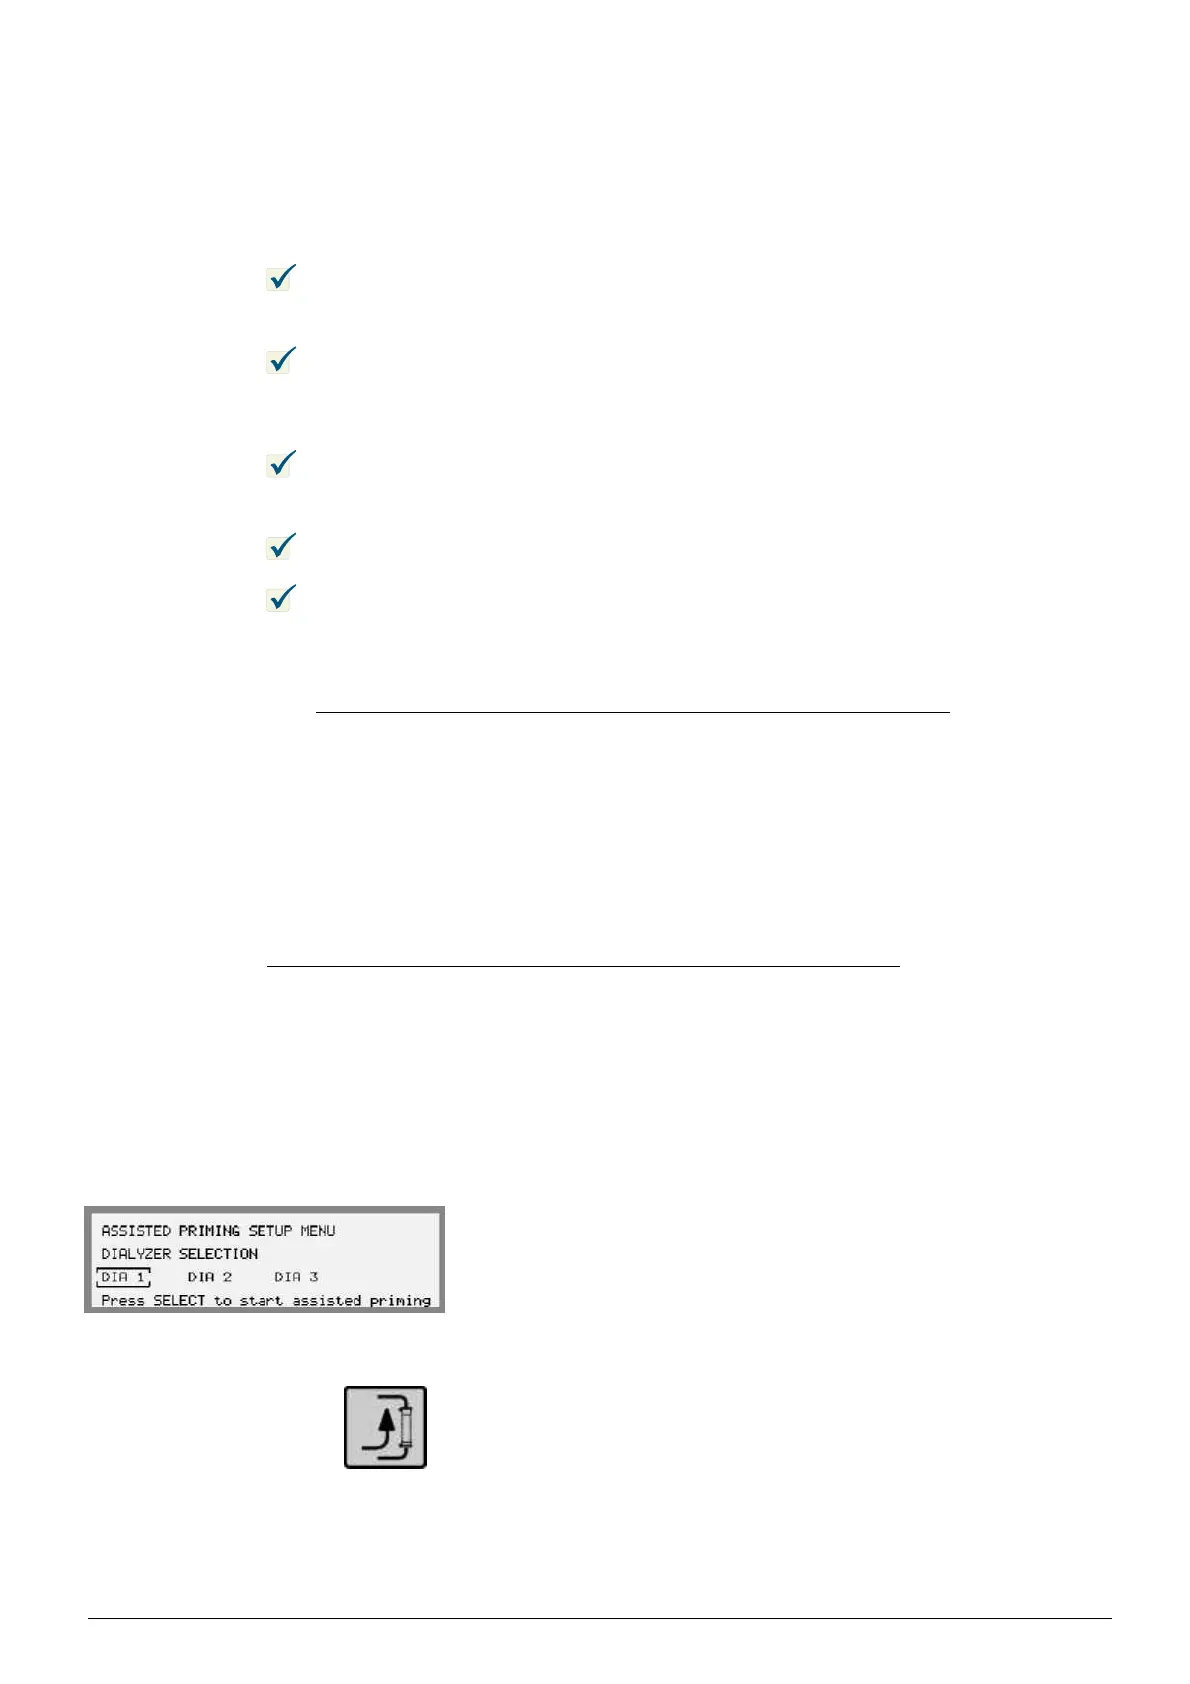
This menu will be displayed on the Informa-
tion Display when assisted priming is active. If
START BLOOD PUMP WHENREADY FOR PRIMING is
displayed, brieflypressthelitPriming button and select
ASSISTED PRIMING using the Keypad.Thenpressthe
Select key for three seconds to activate assisted priming mode.
1. Check that the Priming button is lit.
Follow the manufacturer's instructions for use of the dialyzer
and the blood lines.
4:46
AK 96
®
Operator's Manual - Double Needle Treatment
HCEN12239 Revision 12.2010
Program version 3.xx
 Loading...