What to do next
Go to the router port mapping sengs interface and set the port number and IP address to be the
same as those on the device. For more informaon, refer to the router user manual.
10.3.3 Set Port Mapping on Router
The following sengs are for a certain router. The sengs vary depending on dierent models of
routers.
Steps
1. Select the WAN Connecon Type.
2. Set the IP Address, Subnet Mask and other network parameters of the router.
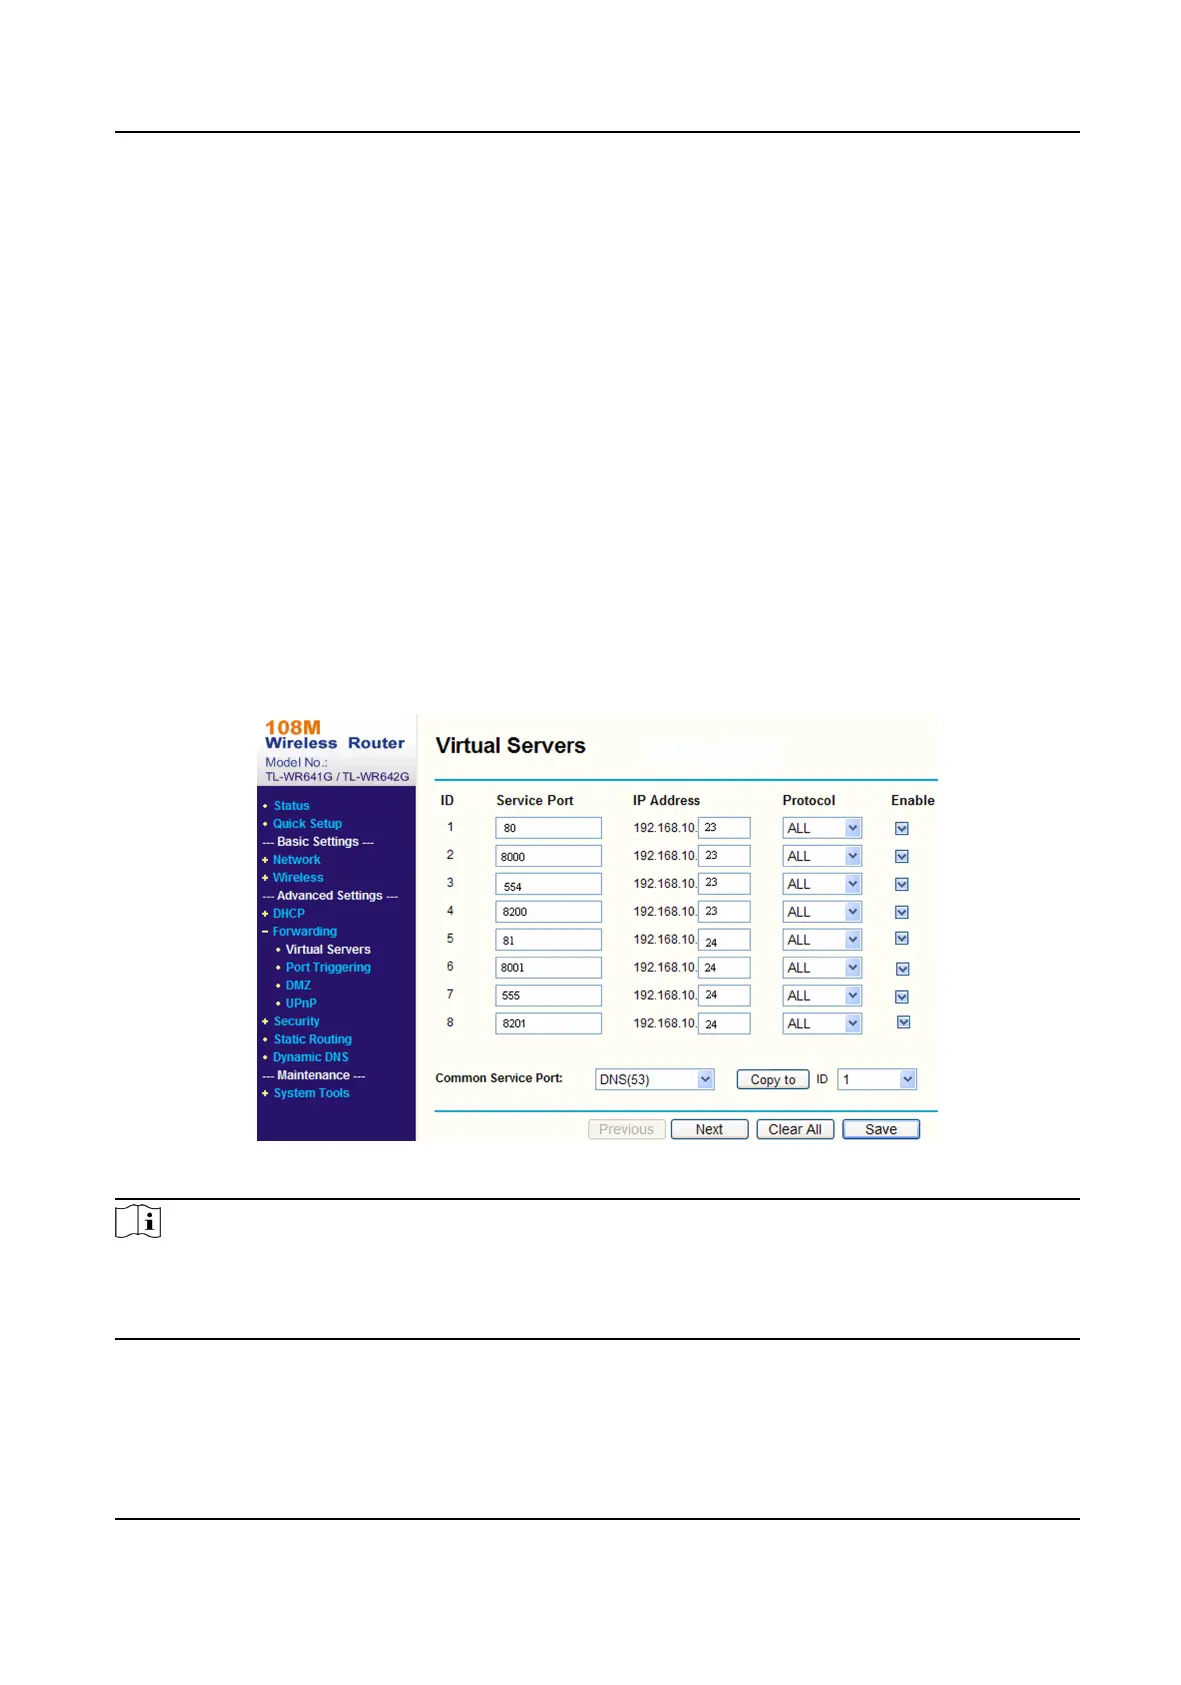
3. Go to Forwarding → Virtual Severs , and input the Port Number and IP Address.
4. Click Save.
Example
When the cameras are connected to the same router, you can
congure the ports of a camera as
80, 8000, and 554 with IP address 192.168.1.23, and the ports of another camera as 81, 8001, 555,
8201 with IP 192.168.1.24.
Figure 10-1 Port Mapping on Router
Note
The port of the network camera cannot conict with other ports. For example, some web
management port of the router is 80. Change the camera port if it is the same as the management
port.
Stched PanoVu Camera with PTZ User Manual
86
 Loading...