www.modelflight.com.au – World’s best source of JR products
ustment
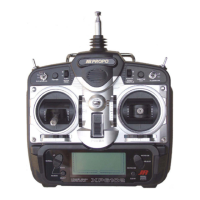
The XP8
10
3 allows
ust the control sticks’ len
th.
Note
: T
ur
n
the wrench counterclockwise to loosen the screw
.
Then, tur
n the stick clockwise to shorten or counterclockwise to
lengthen.
Loosen
fter the control stick length has been adjusted to suit your flying
st
hten the 2 mm set screw
.
T
ighten
T
o
adjust the stick length, use the 2 mm Allen wrench (supplied
with your XP8
10
3 transmitter) to unlock the set screw
.
If you desire longer sticks, JR of
fers a thicker stick (JRP
A04
7) that
is approximately one inch longer than the standard stick. This
stick, crafted from bar stock aluminum, is available at your local
JR dealer
.
.
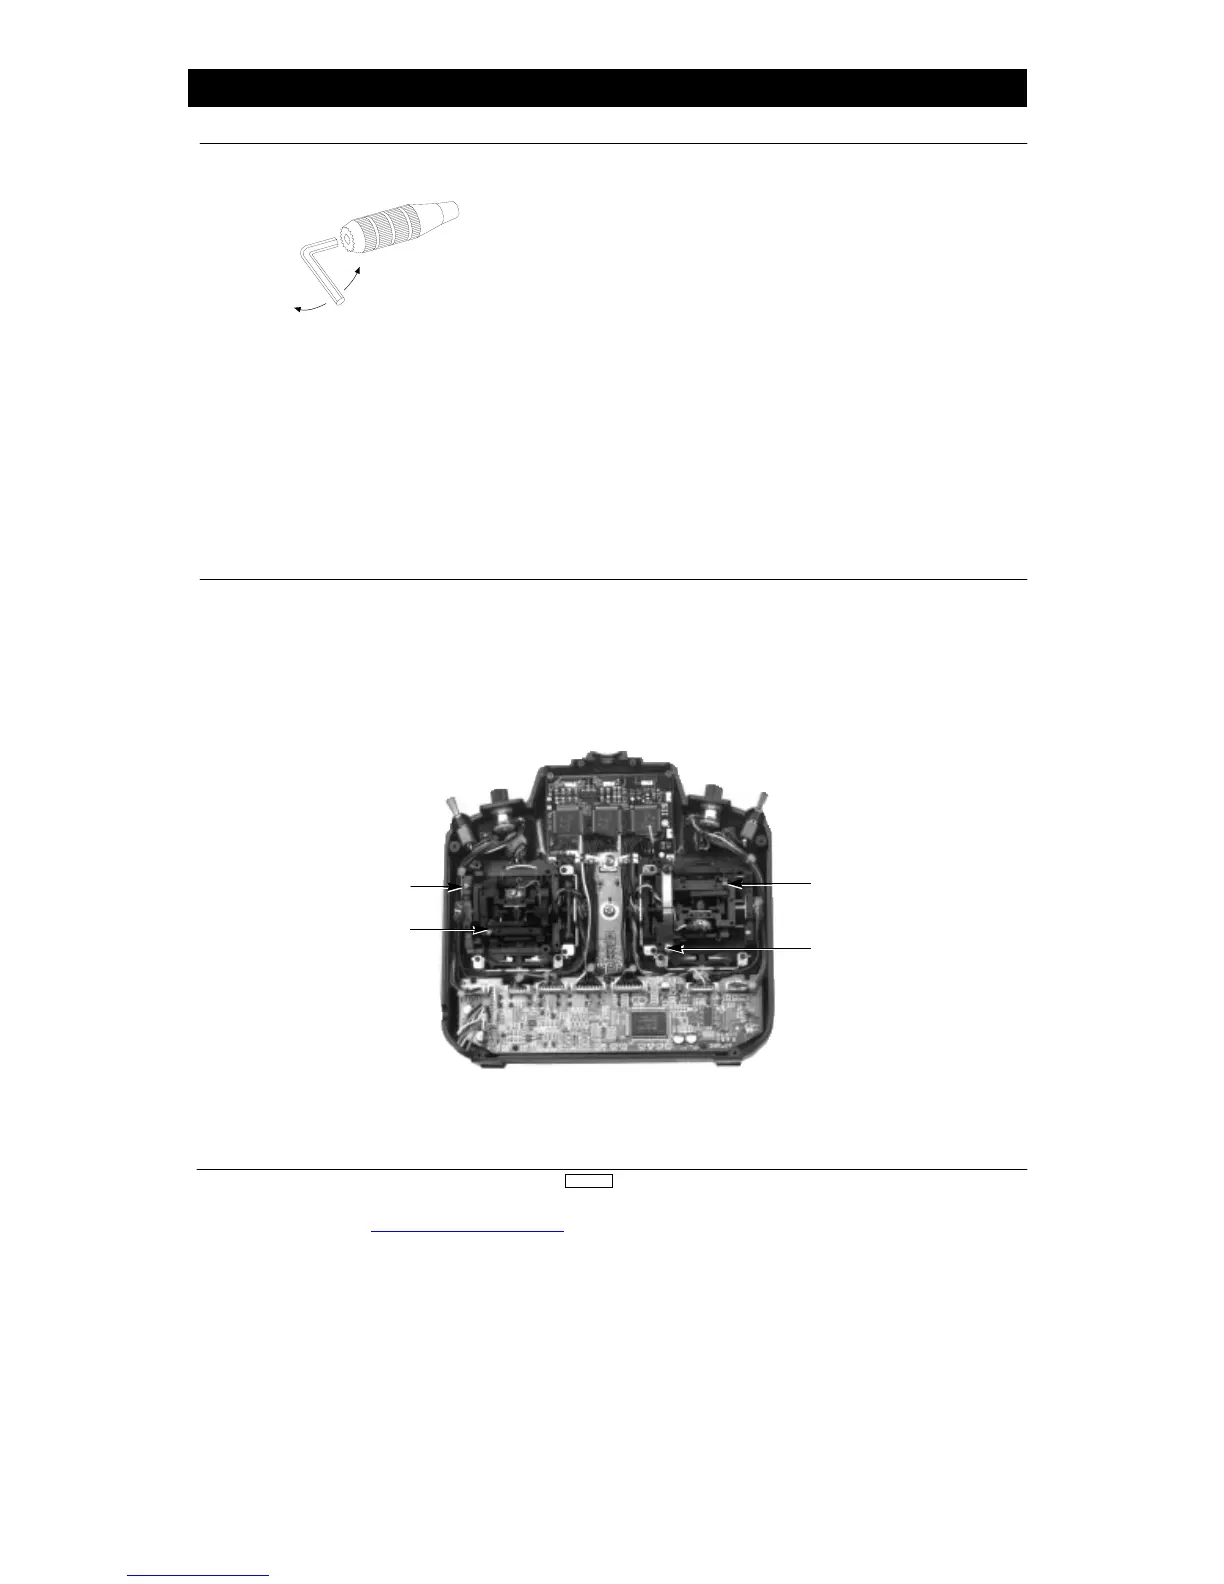
2
Control Stick T
ension Ad
ustment
Remove the transmitter RF module, Nicad batter
y
,
and six (6)
transmitter back cover screws. Remove the transmitter back,
being careful not to bend or damage the RF module pins. Adjust
each screw for the desired tension (counterclockwise to loosen
stick feel, clockwise to tighten stick feel). When adjusting th
throttle ratchet tension, make sure the adjusting screw does no
touch the PC board after the adjustment is complete.
Elevator
ension Screw
Throttle T
ension Screw
XP

 Loading...