Connecting the SRX110 Services Gateway to the J-Web Interface
If you plan to use the J-Web interface to configure the SRX110 Services Gateway, you
must connect through one of the built-in Ethernet management ports.
When the services gateway is powered on for the first time, the system looks for a Dynamic
Host Configuration Protocol (DHCP) server. If it does not find one, the system assigns
an IP address within the 192.168.1.0/24 subnetwork to any devices connected to the
system.
To connect to the J-Web interface through any of the ports fe-0/0/1 through fe-0/0/7
on the services gateway, see Figure 27 on page 86.
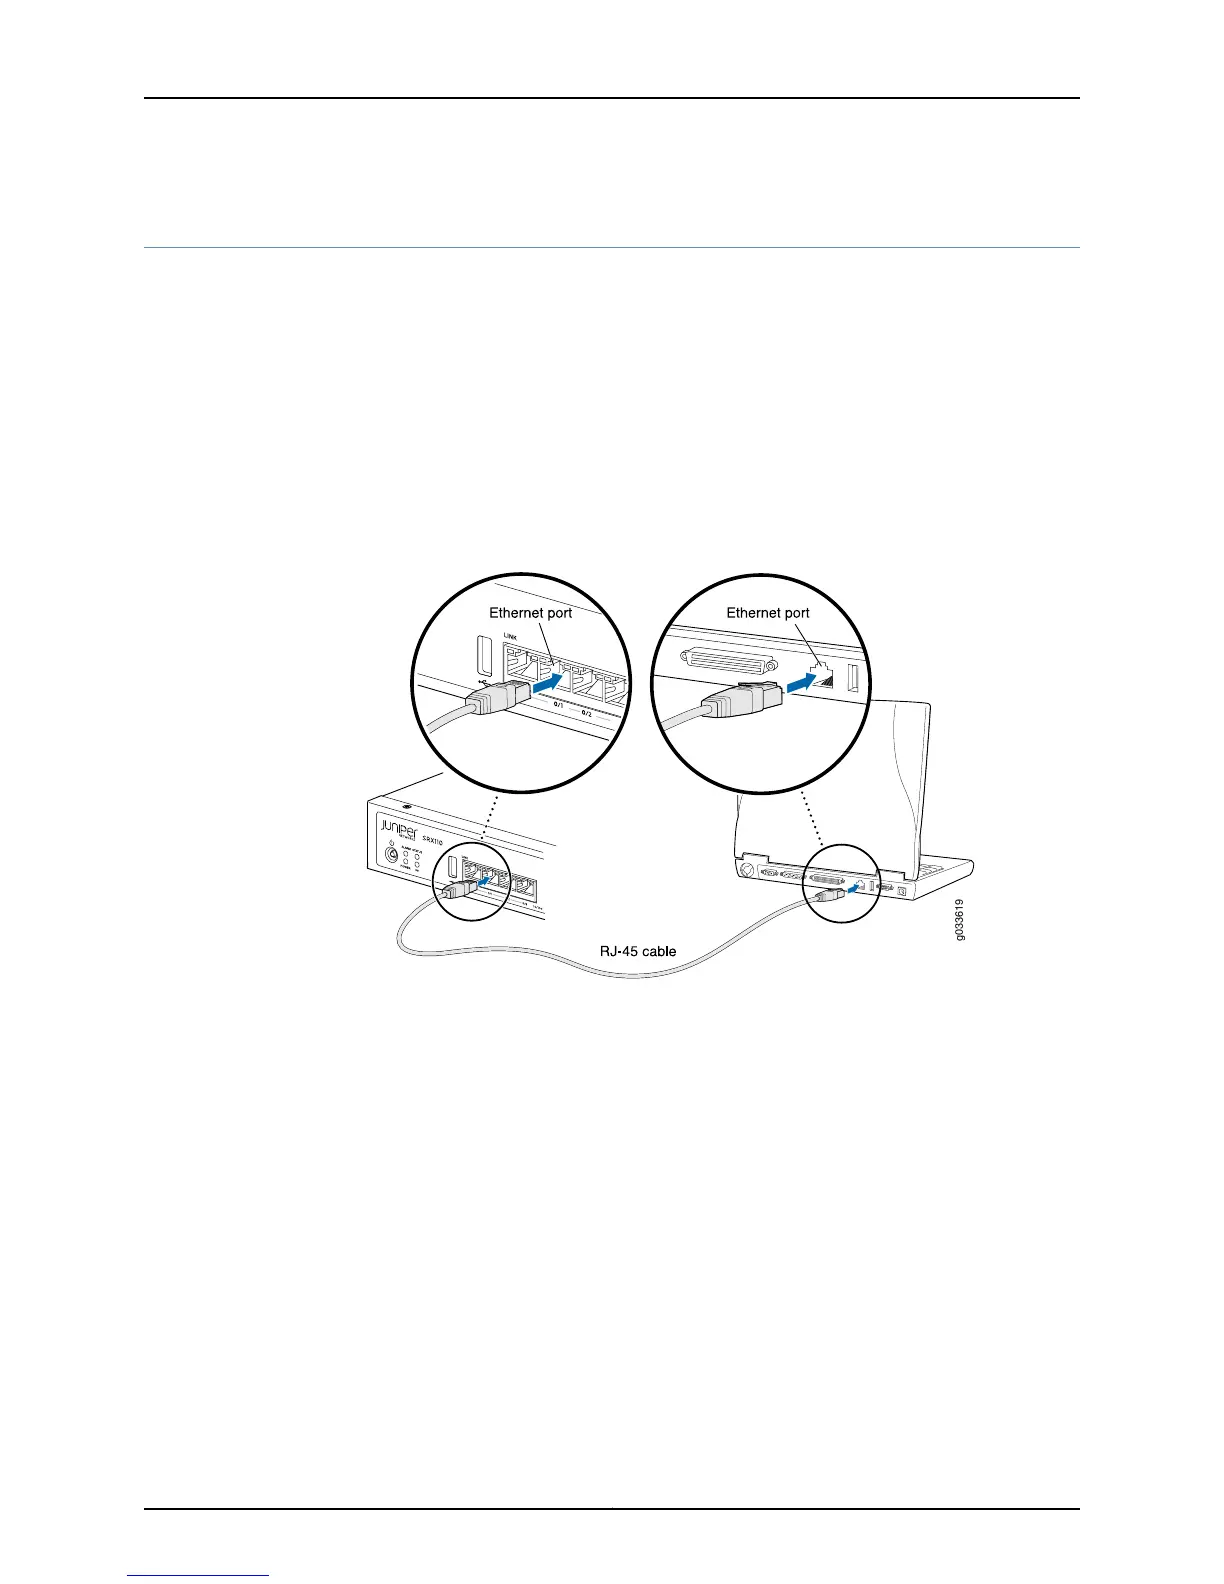
Figure 27: Connecting to the Ethernet Port on an SRX110 Services Gateway
To connect to the Ethernet port:
1. From the management device that you use to access the J-Web interface (such as a
PC or a laptop), verify that the address of the port you connect to is set to one of the
following values:
•
Ethernet address on the 192.168.1.0/24 subnetwork other than 192.168.1.1
•
Ethernet address from a DHCP server
2. Plug one end of the CAT-5e (Ethernet cable) into the Ethernet port on the management
device.
3. Connect the other end of the Ethernet cable to any of the built-in Ethernet ports
fe-0/0/1 through fe-0/0/7 on the services gateway.
4. Wait until the Status LED on the front panel of the services gateway turns solid green.
Copyright © 2015, Juniper Networks, Inc.86
SRX110 Services Gateway Hardware Guide for H2 Model Numbers
 Loading...