Job Accounting
7-8 OPERATION GUIDE
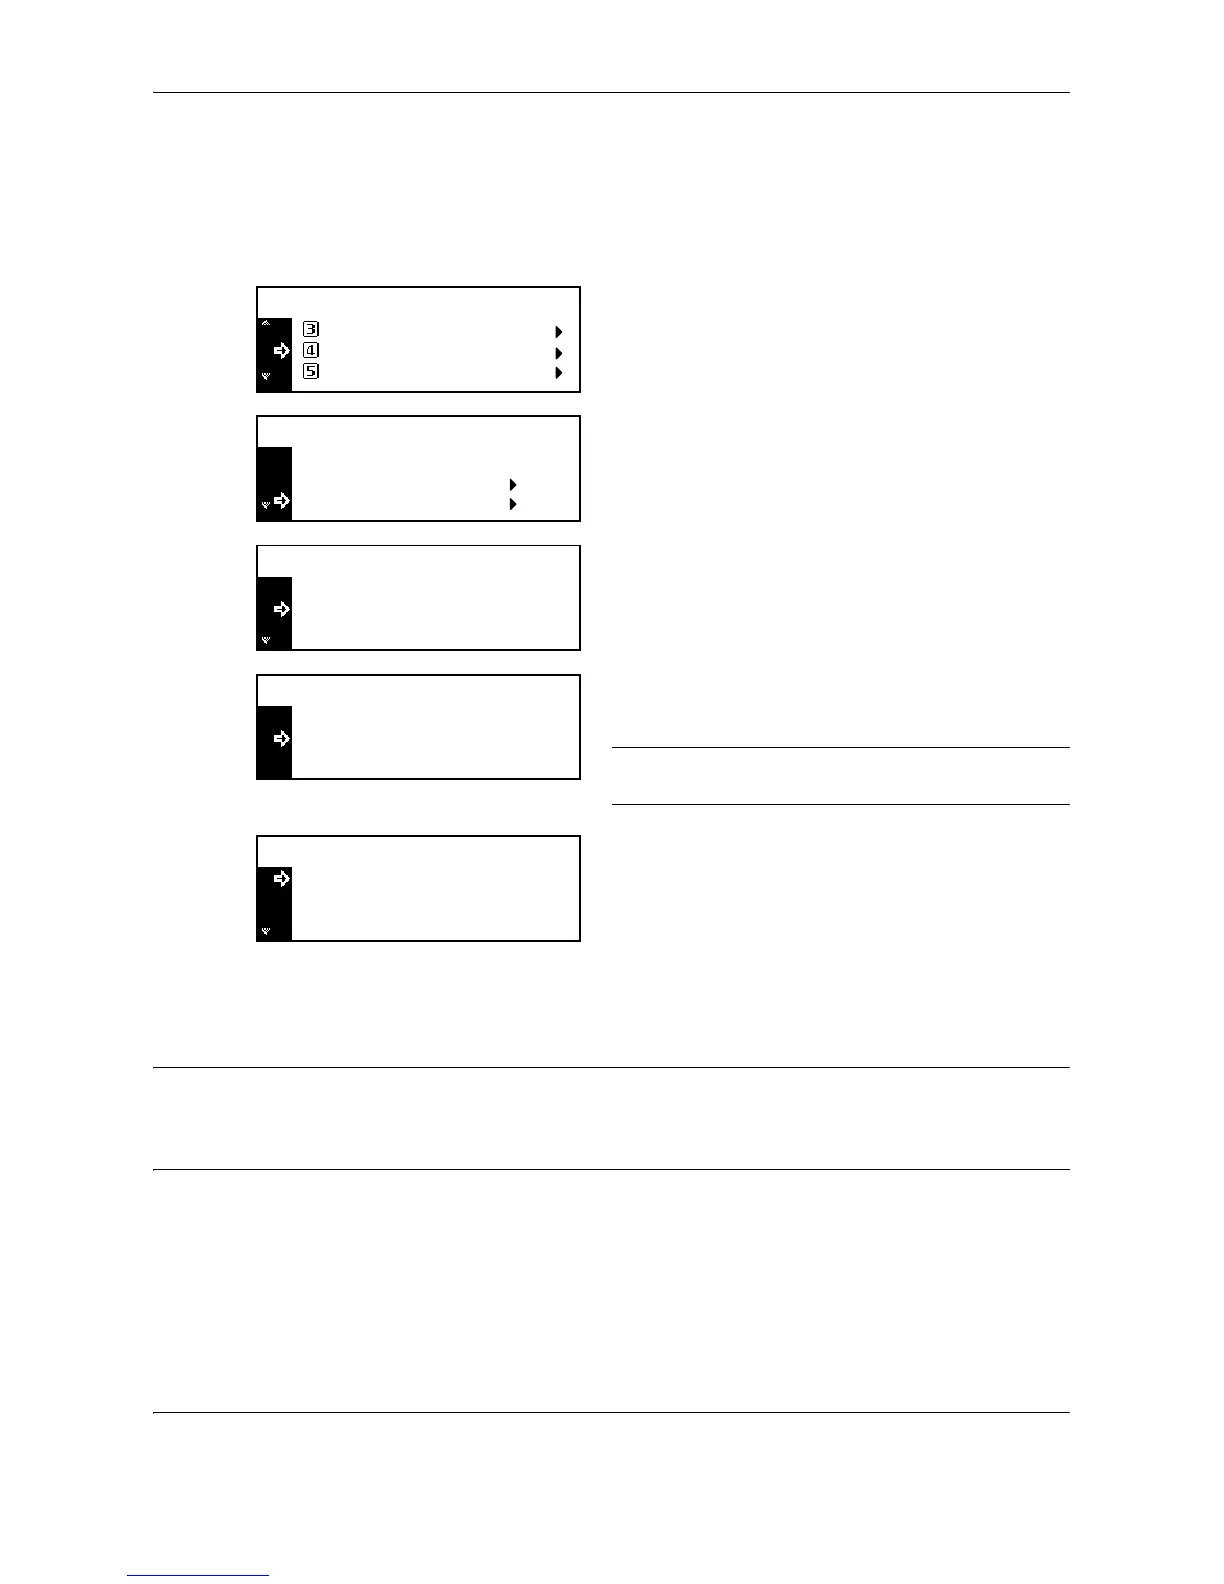
Deleting an Account
Delete a registered account.
1 Display the Job Accounting screen. (See How to
Display the Job Accounting Screen on page 7-3.)
2 Press U or V to select Edit Job Accounting,
and then press the Enter key.
3 Press U or V to select Delete, and then press the
Enter key.
4 Press U or V to select the ID-code to delete, and
then press the Enter key.
The confirmation screen is displayed.
5 Press U or V to select Yes, and then press the
Enter key.
NOTE: To delete another account, repeat steps 4 and
5.
6 Press U or V to select End, and then press the
Enter key.
Changing Limit of Use
Change the limit of use that has been set for each account.
IMPORTANT: To set the limit of use in managing accounts, you must set Copier Job Accounting and Printer
Job Accounting in the default settings from Off to On. If the optional network scanner kit or fax kit is installed,
set Scanner Job Accounting or Fax Job Accounting in the default settings to On. (See Default Settings on page
7-13.)
1 Display the Job Accounting screen. (See How to
Display the Job Accounting Screen on page 7-3.)

 Loading...