Operational Manual (Online Help)
56
• Current system date and time.
Menu Bar
The menu bar is a special tool bar at the top of the screen that contains links for the home page, all status information,
GNSS management pages, receiver setup, a help link and the support pages. The menus are extended when the
mouse is moved over a menu item. When clicking on one of the menu items, a site map is displayed listing all links
contained in that menu.
If a link is not available to the logged in user, it is grayed out and not accessible. Which menu items are available
depends on
• whether the Access to Web interface is set to Unrestricted, Partially restricted or Fully restricted, and
• the selected Web interface user level of the logged in user.
Press to return to the overview page.
Status
View the status of important receiver information, such as the configured logging sessions and
data streams, the satellite tracking, an overview of the ports in use and the power and memory
GNSS Management
Configure all GNSS data related settings, such as logging sessions, data streams and the
tracking settings. Or enter site specific information such as the site name, position and
Receiver setup
Configure all receiver related settings such as network connections, Leica GNSS Spider
remote access ports and the user management. Or use the tools to upgrade the receiver
firmware, add new option keys or switch to your preferred language.
Help
Access the complete web interface online help. Go to How to display and use the Online Help
for further information.
Support
Send receiver information and questions to your Leica support contact, stay informed about
new firmware releases or browse the Leica FAQs to quickly find a solution for common
Select to logout of the web interface and return to the main login page.
Click here to view the complete Directory structure of the Menu Bar.
Status: General
The General box in the Status block provides an overview of the current status of the receiver.
• The General box is updated every 15 seconds.
• The icons correspond to the LED Indicators: GR/GM10 / LED Indicators: GR25 on the receiver.
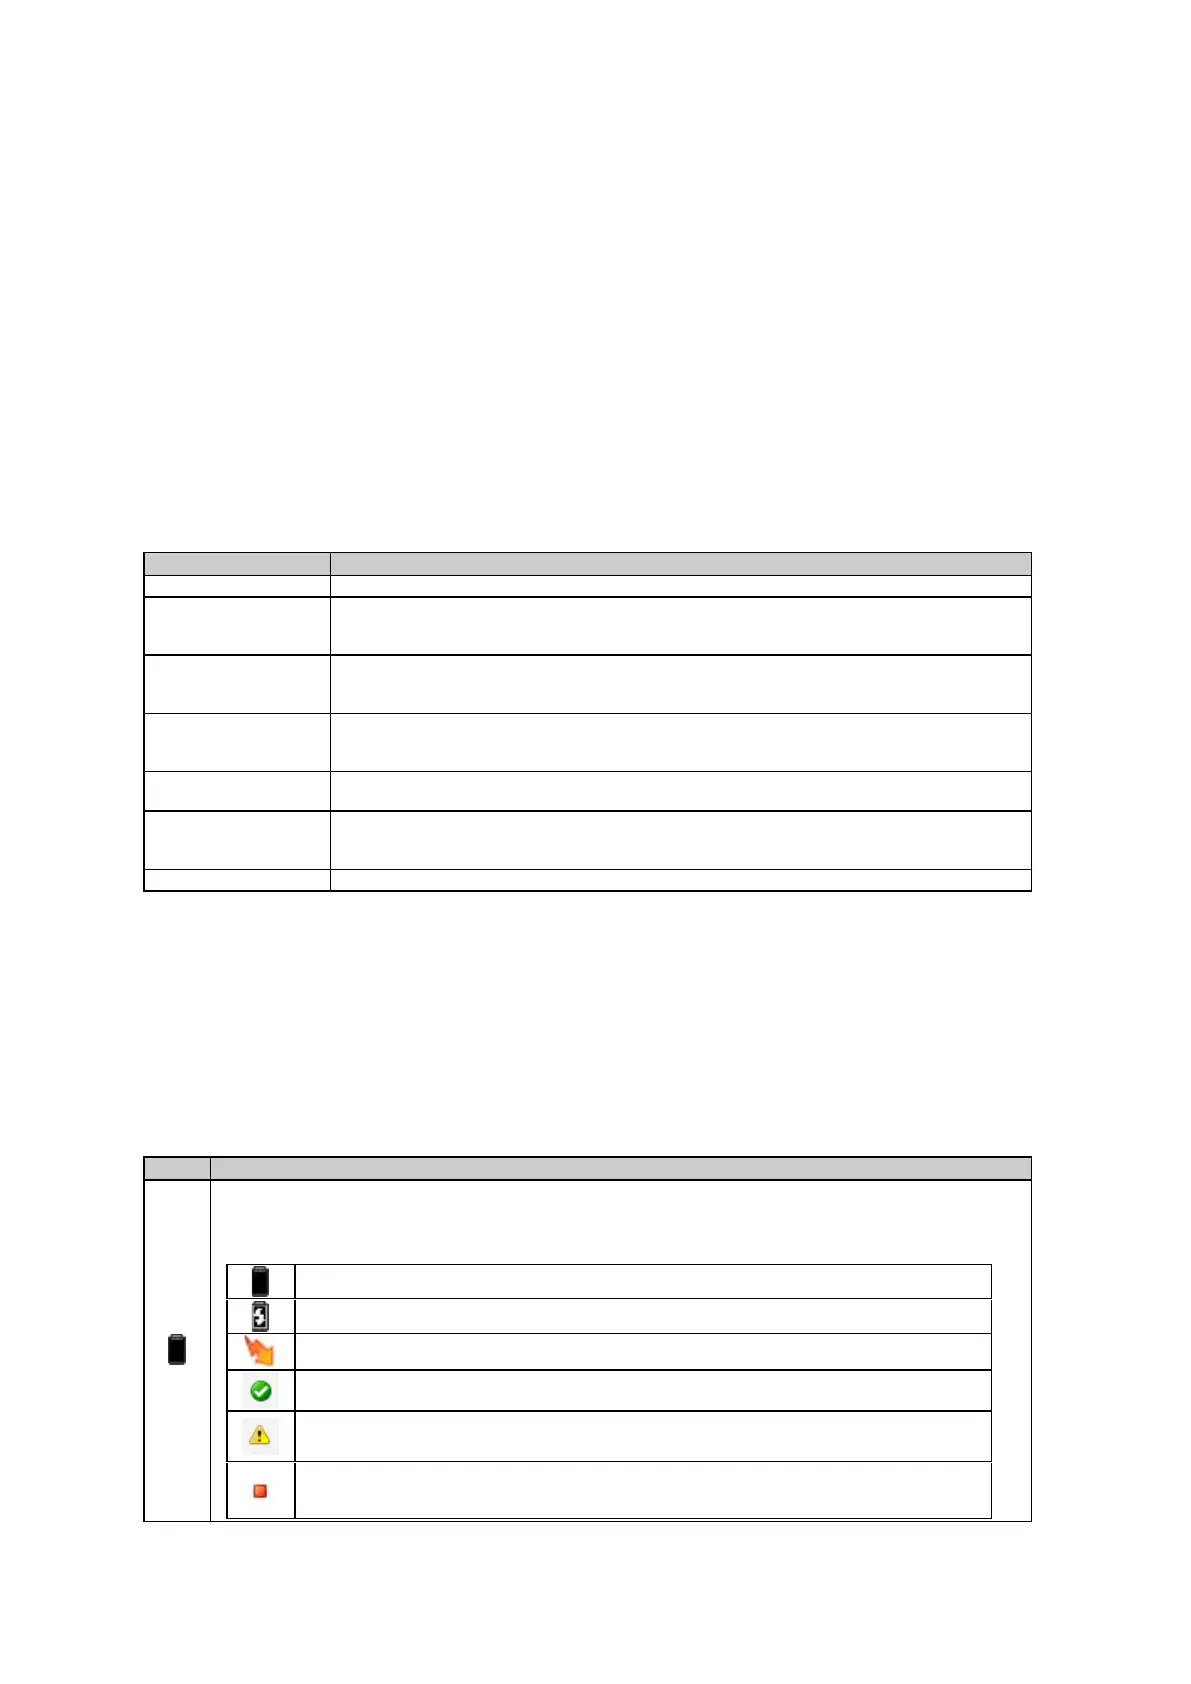
The internal battery status is shown with an icon and the current voltage level.
Battery charging is not enabled.
Battery charging is enabled.
Internal battery inserted. Charging is enabled and active.
Internal battery inserted. The remaining capacity of the battery is high.
Internal battery inserted. The remaining capacity of the battery is becoming low.
Recommended user action: Consider enabling charging or replace the current battery.
Internal battery inserted. The remaining capacity of the battery is critical or a battery error has
been detected.
 Loading...