MMX6x2-HT
User’s Manual
Section 5. Installation and operation Page 29 / 119
5. Installation and operation
5.1. Powering on
Connect the power cord to the IEC standard power input connector. Switch on the matrix
by the power switch on the rear panel.
During the initial self-test and loading of the latest settings ‘Booting…’ appears on the LCD
screen. After the self-test, the router reloads its last configuration and it is ready to use. In
the case of hardware failure, an error message is displayed.
ATTENTION!
After switching ON, the router reloads the latest settings that were used before it was turned
off. The router has an internal emergency memory that stores all current settings and tie
configurations. This memory is independent of presets and invisible for the user. This built-
in feature helps the system to be ready immediately in case of power failure or accidental
power down.
5.2. Mounting options
WARNING!
Never block the ventilation holes on any side of the matrix! Ensure the proper
ventilation by letting the free airflow.
ATTENTION!
M4x8 size is the longest allowed screw for fixing the ears to the housing. A longer screw
may touch internal parts.
5.2.1. Mounting with front and rear rack ears
ATTENTION!
Two rack ears are assembled on the matrix as default, thus, you will
need two more rack ears for this kind of installation, which can be
purchased separately.
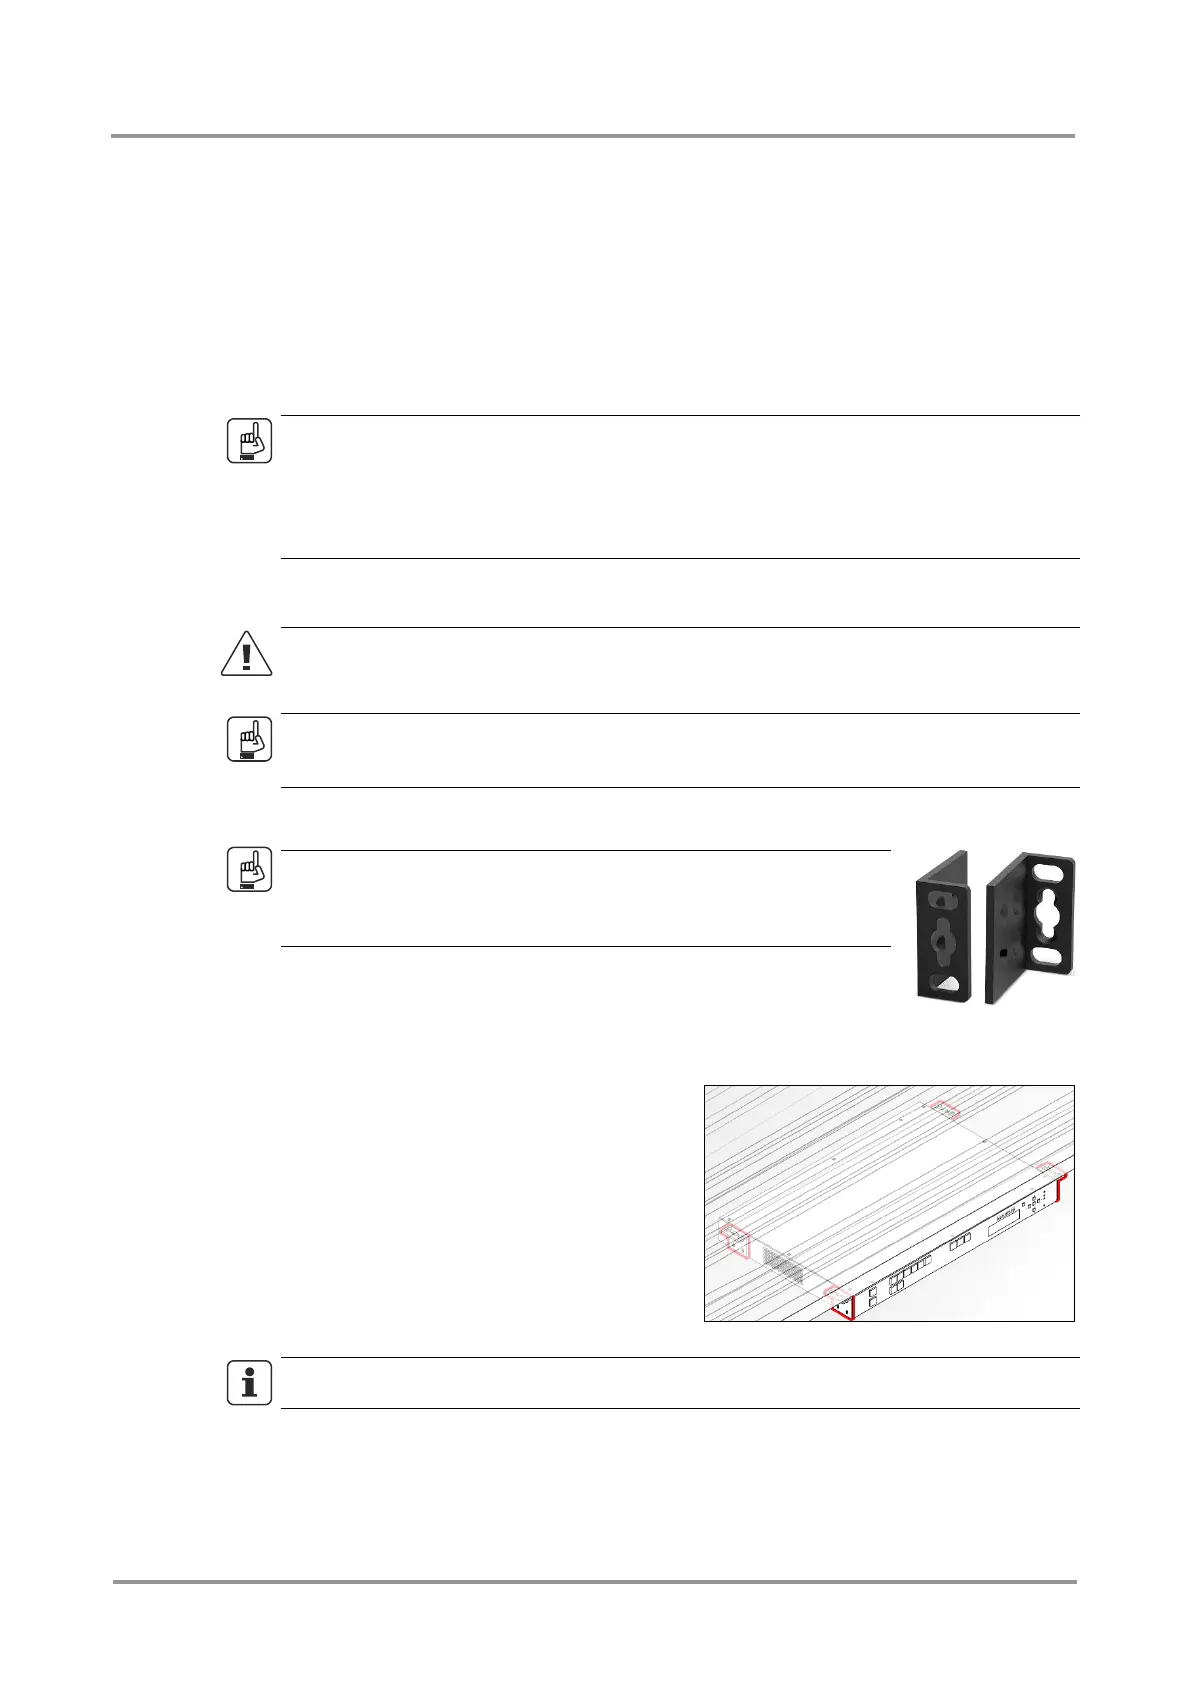
The matrix can be easily mounted under the desk by rack ears. This
mounting option means the top of the matrix is parallel with the base
surface. Please do the following steps:
Step 1. Release and remove the fixing screws of the rack ears on the matrix (both sides).
Step 2. Rotate the rack ears by 90° to the
desired direction.
Step 3. Insert the screws into the holes and fix
the front ears to the matrix.
Step 4. Fix the two additional rear ears (not
supplied with the product) by the
screws on both sides of the matrix.
Step 5. Fix the matrix through the holes of the
rack ears to the desired surface
(screws are not supplied).
INFO
The method is the same when the matrix has to be mounted to a wall.
 Loading...