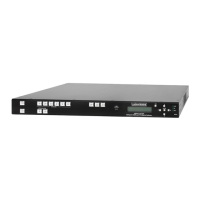
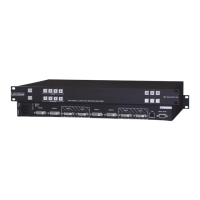
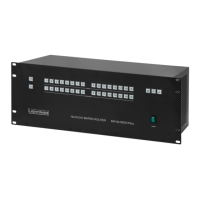
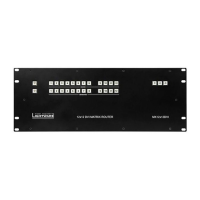
EasyManua.ls Logo

Lightware MMX6x2-HT200 User Manual

Lightware MMX6x2-HT200
119 pages
To Next Page IconTo Next Page
To Previous Page IconTo Previous Page
Page #71 background imageLoading...
Page #71 background image
MMX6x2-HT
User’s Manual
Section 7. LW2 programmers’ reference Page 71 / 119
7.3.7. View crosspoint size
Description: Shows the physical crosspoint size.
Format
Example
Command
{getsize}
{getsize}
Response
(SIZE=<size>)CrLf
(SIZE=6x4)CrLf
Explanation: The device reports that it has a video crosspoint with 6 inputs and 4 outputs.
7.3.8. Batch switch outputs
Description: The device is capable of switching multiple outputs exactly at the same time.
To do this, the normal switch commands have to be used. If the switch commands arrive
at the device with less than 10 milliseconds delay, the commands are collected and
changes the output connections together.
Required circumstances
Switch commands have this format: {<in>@<out>}{<in>@<out>}
The delay between two ‘}’ characters must be below 10 milliseconds
No other command or junk character is allowed between switch commands
Affected outputs must not be locked
If any of the above circumstances fail, then the commands will be processed separately
and the output connections will change one by one.
ATTENTION!
The delay timeout applies for the receiving time of characters. Please note that if LAN
connection is used then the network may cause additional delays. This could result that
batch switching does not occur.
Below example shows a command that resulted batch switching:
One by one commands
Batch commands
{02@01 V}CrLf
{02@01 V}{01@01 A}CrLf
(O01 I02 V)CrLf
(O01 I02 V)CrLf
(O01 I01 A)CrLf
{01@01 A}CrLf
(O01 I01 A)CrLf
7.3.9. Change the autoselect mode
Description: The autoselect mode of the video outputs can be changed.
Format
Example
Command
{AS_V<out>=<state>;
<mode>}
{as_v1=E;P}
Response
(AS_V<out>=<state>;
<mode>)CrLf
(AS_V1=E;P)CrLf
Legend: The output numbers are listed in section 10.4 on page 115.
Letter
<state>
Letter
<mode>
F
First detect mode
E
Autoselect mode is enabled
P
Priority detect mode
D
Autoselect mode is disabled
L
Last detect mode
Explanation: The Autoselect mode of video output1 (and output 3) is enabled and set to
Priority mode.
INFO
The Autoselect mode can be queried by typing the “as_v<out>=? command.

Table of Contents

Other manuals for Lightware MMX6x2-HT200

Question and Answer IconNeed help?

Do you have a question about the Lightware MMX6x2-HT200 and is the answer not in the manual?

Lightware MMX6x2-HT200 Specifications

General IconGeneral
BrandLightware
ModelMMX6x2-HT200
CategoryMatrix Switcher
LanguageEnglish

Summary

Safety Instructions

General Safety and Installation

Covers Class I construction, ventilation, warnings, and proper installation procedures.

Controls and Connections

Front Panel Overview

Describes the buttons, display, and status LEDs on the front of the matrix switcher.

Rear Panel Overview

Details the various ports and connectors available on the rear of the device.

TPS Matrix Concept

Installation and Operation

Powering On and Mounting Options

Instructions for powering up the device and methods for mounting using rack ears or brackets.

Front Panel Operations Guide

Details front panel controls like Control Lock, Take/Autotake, switching, and viewing crosspoint states.

Switching, Presets, and Output Lock

Explains switching procedures, preset management, and the output lock feature for destinations.

Software Control - Lightware Device Controller

LDC Installation and Connection

Guide for installing the LDC software and establishing a connection via Ethernet, USB, or RS-232.

Crosspoint Menu and Port Properties

Overview of the LDC Crosspoint menu and detailed port settings like naming, mute, and lock.

Firmware Upgrade

Firmware Package and Upgrade Process

Information on the firmware package format and the general steps for upgrading the device using LDU.

Detailed Upgrade Instructions

Step-by-step guide for connecting, selecting devices, and performing the firmware upgrade via LDU.

Related product manuals