Configuring the job computer
Selecting and configuring the speed sensor
– Configuration: For systems without the option of selecting the sensor input, the "impulses
per 100 metres" parameter must be set to 0.
▪ "Auto" – As of software V7.5, some systems enable automatic detection of the speed source.
– Mode of operation: If a speed signal is detected on the ISOBUS, this speed will be used as
a basis. In the case of signal failure, the job computer will take the impulses from the sensor
connected to the job computer as a basis for determining the speed.
– Configuration: For systems that have two sensor types, it is recommended to calibrate the
sensor that is connected to the job computer. In other cases, set the "Impulses per 100
meters" parameter to 0.
To configure the speed source:
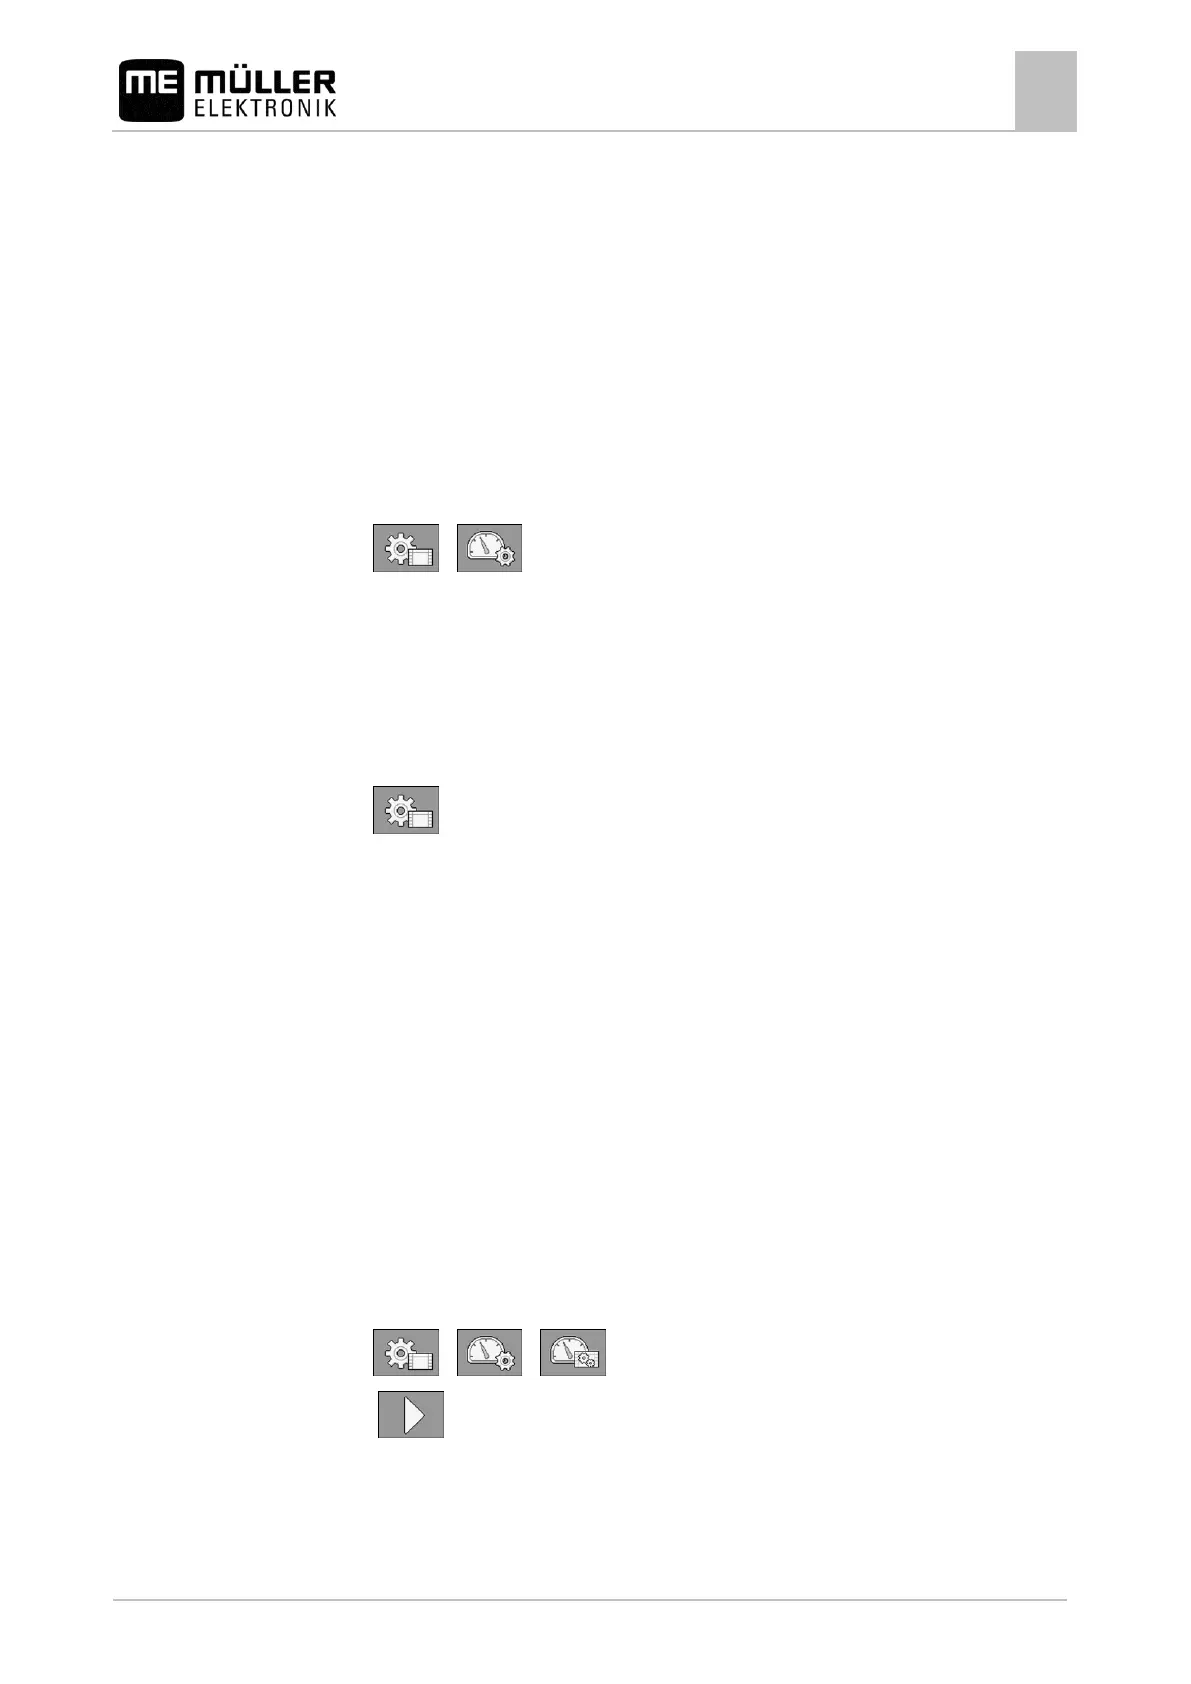
1. On the work screen, press the following keys successively:
>
⇨ The "Speed" screen appears.
2. Configure the "Speed source" parameter.
If the "Speed source" parameter does not appear on the "Speed" screen, and the speed signal
should be received through the ISOBUS, proceed as follows:
The speed signal can be received through the ISOBUS.
1. Switch to the "Parameters" screen:
2. Set the "Wheel pulses" parameter to "0".
Calibrating the speed sensor using the 100m method
When calibrating the speed sensor with the 100m method, you determine the number of pulses
received by the speed sensor in a distance of 100m. When you know the amount of impulses, the job
computer can calculate the current speed.
If you know the number of pulses for the wheel sensor, you can also enter this number manually.
Wheel sensor, radar sensor or GPS speed sensor is installed on the field sprayer.
A distance of 100m has been measured and marked. The distance must correspond to the field
conditions. It should therefore lead over a meadow or a field.
The tractor with connected implement is ready for a 100m drive and is at the start of the marked
distance.
1. Ensure that all prerequisites have been fulfilled.
2. Switch to the "CALIBRATION – wheel pulses" screen:
> >
3. - Start calibration
 Loading...