TRAIL-Control
Configuring TRAIL-Control
In this step, the trailed implement is automatically steered to both sides and the voltages are
measured.
The calibration runs automatically.
Teaching-in the central position and limit stops
The appearance of the screens during calibration depends upon whether your trailed implement is
steered via drawbar or stub axle.
However, the procedure is the same in both cases, only the icons look different. Look here [➙ 87] to
see which icons appear for stub axle steering.
Phase 1: Recording the middle position
Note: In the instructions, we only use icons that appear with systems with axle steering.
TRAIL-Control is in manual mode.
Ground is not sloped. Slope sensor must not recognize any slope. Otherwise the "Slope counter-
steering" function will not work properly.
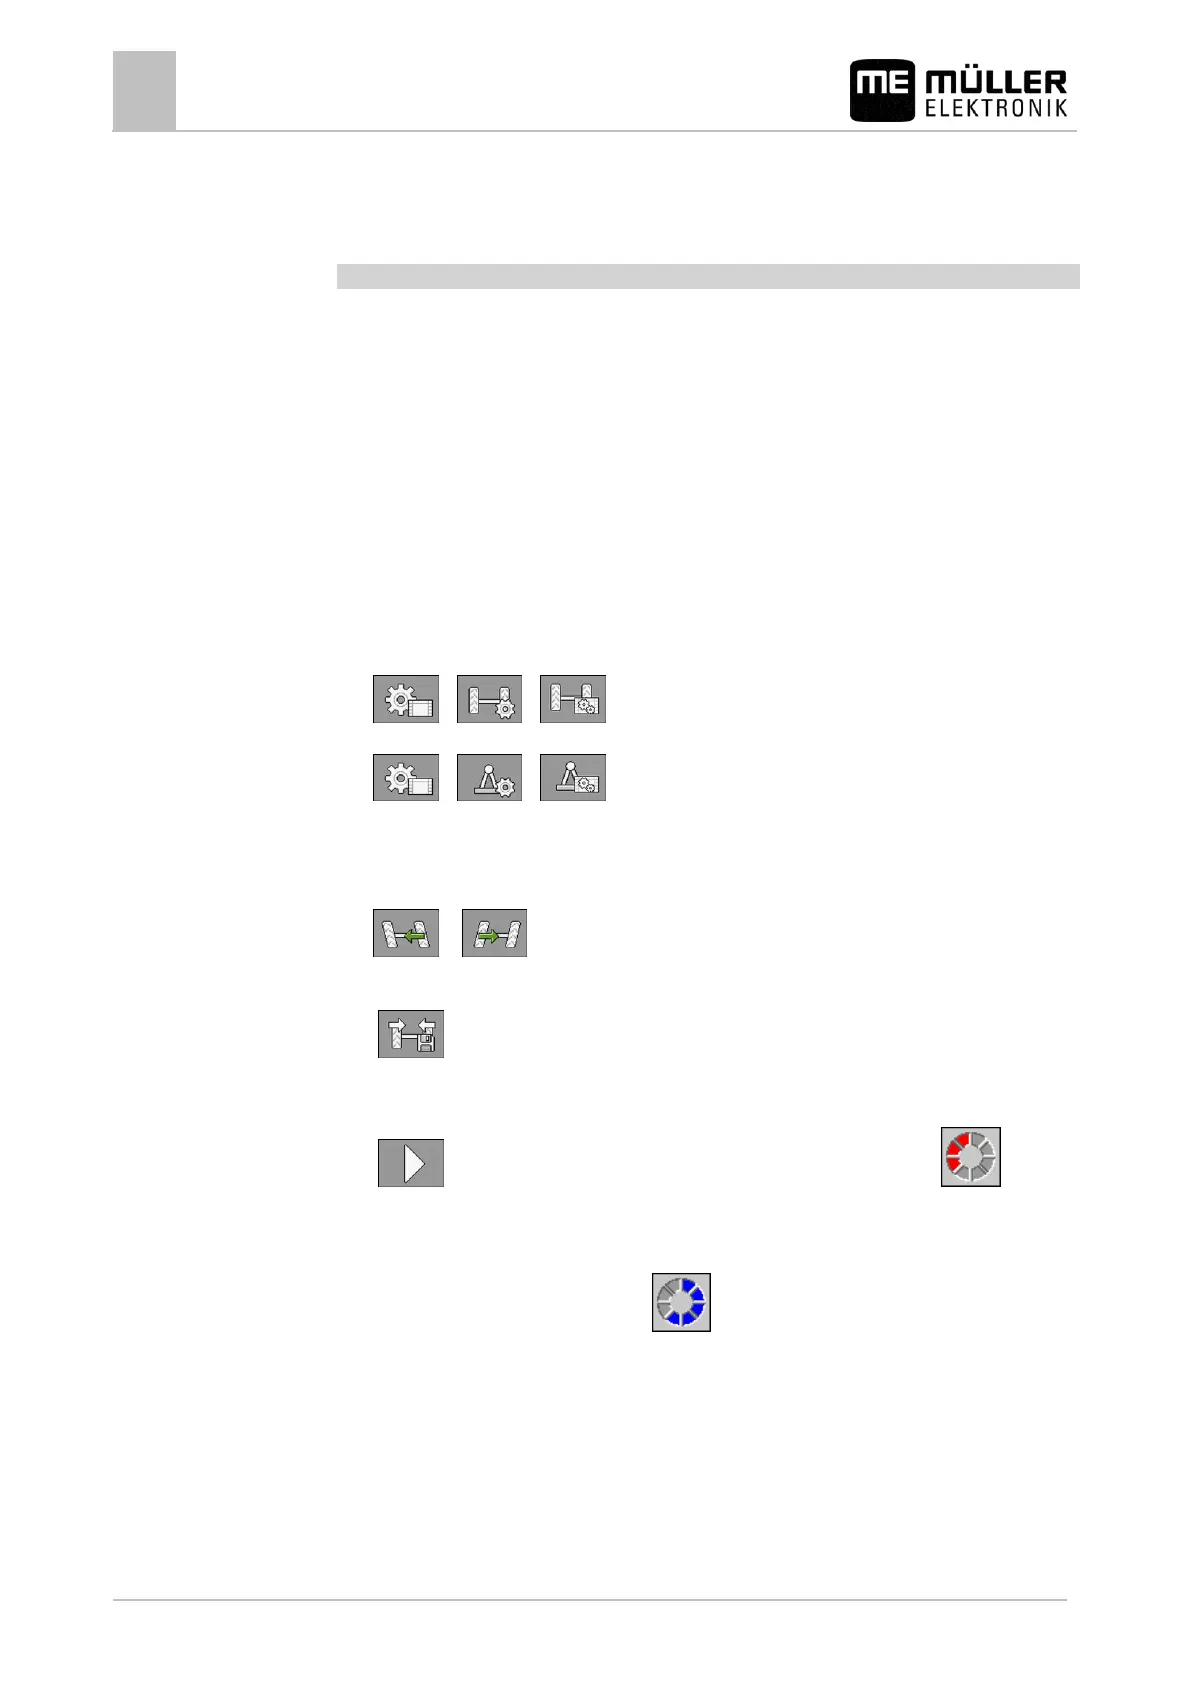
1. Switch to the "CALIBRATION" screen:
> >
or
> >
2. The "CALIBRATION" screen appears.
3. Set up the trailed implement on flat ground in a line behind the tractor. Drive straight ahead for a
few meters until the wheels of the field sprayer run precisely in the tracks of the tractor.
or – set the middle position with the function keys.
4. Stop the tractor as soon as the field sprayer is exactly in line behind the tractor.
5. - Start the calibration of the middle position.
⇨ The following message appears:
"Middle position: Calibration is ready"
6. - Confirm within 3 seconds. The time will be counted by a red clock:
⇨ Calibration is initiated.
⇨ The following message appears:
"Middle position: Calibration running"
⇨ A blue clock shows the progress:
⇨ Phase 1 is completed when the message "Middle position: Calibration running" is no longer
displayed.
⇨ You have calibrated the middle position.
7. You can start phase 2 of the calibration.
 Loading...