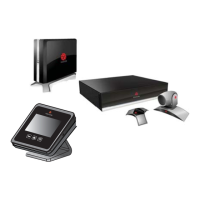
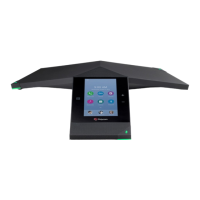
Configure IP Microphones
You can configure IP table and ceiling microphone settings for your G7500 system.
Procedure
1. In the system web interface, go to Audio/Video > Audio > Audio Input.
2. Configure the following settings (your changes save automatically):
Setting Description
Stereo Mode Positions the audio input within the left and right
channels. Left sends all of the audio to the left
channel. Right sends all of the audio to the right
channel. For Polycom table microphone and ceiling
microphones, Left+Right sends audio from one
microphone element to the left channel and audio
from a second element to the right channel.
Autorotation Specifies whether the system uses autorotation for
Polycom microphones. If you enable this feature,
the system automatically assigns left and right
channels for the microphone based on the sound it
senses from the left and right speakers.
Audio Meter (dB) Shows you the peak input signal level for Polycom
microphones.
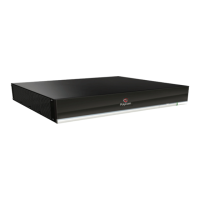
Configuring the Microphone Adapter
Your G7500 system automatically configures the microphone adapter when you connect it.
Note the following when using the microphone adapter:
▪ Polycom StereoSurround software isn’t available when using the microphone adapter.
▪ You can see the audio input level (single channel meter) in the local interface and the system web
interface.
Related Links
Polycom Microphone IP Adapter
on page 16
Polycom Acoustic Fence
Polycom Acoustic Fence technology uses standard Polycom microphones to build a virtual audio
boundary around one or several people.
This feature works in mono mode only. Enabling Polycom Acoustic Fence disables Polycom
StereoSurround.
Polycom Acoustic Fence technology provides the following features:
• Mutes sounds outside the fence when no one is speaking inside it
• Lowers sounds outside the fence by 12 dB when someone is speaking inside it.
• Mutes speakers when they leave the fenced area
Configuring Audio Settings
Polycom, Inc. 71
 Loading...