Align the wafer
To align the wafer:
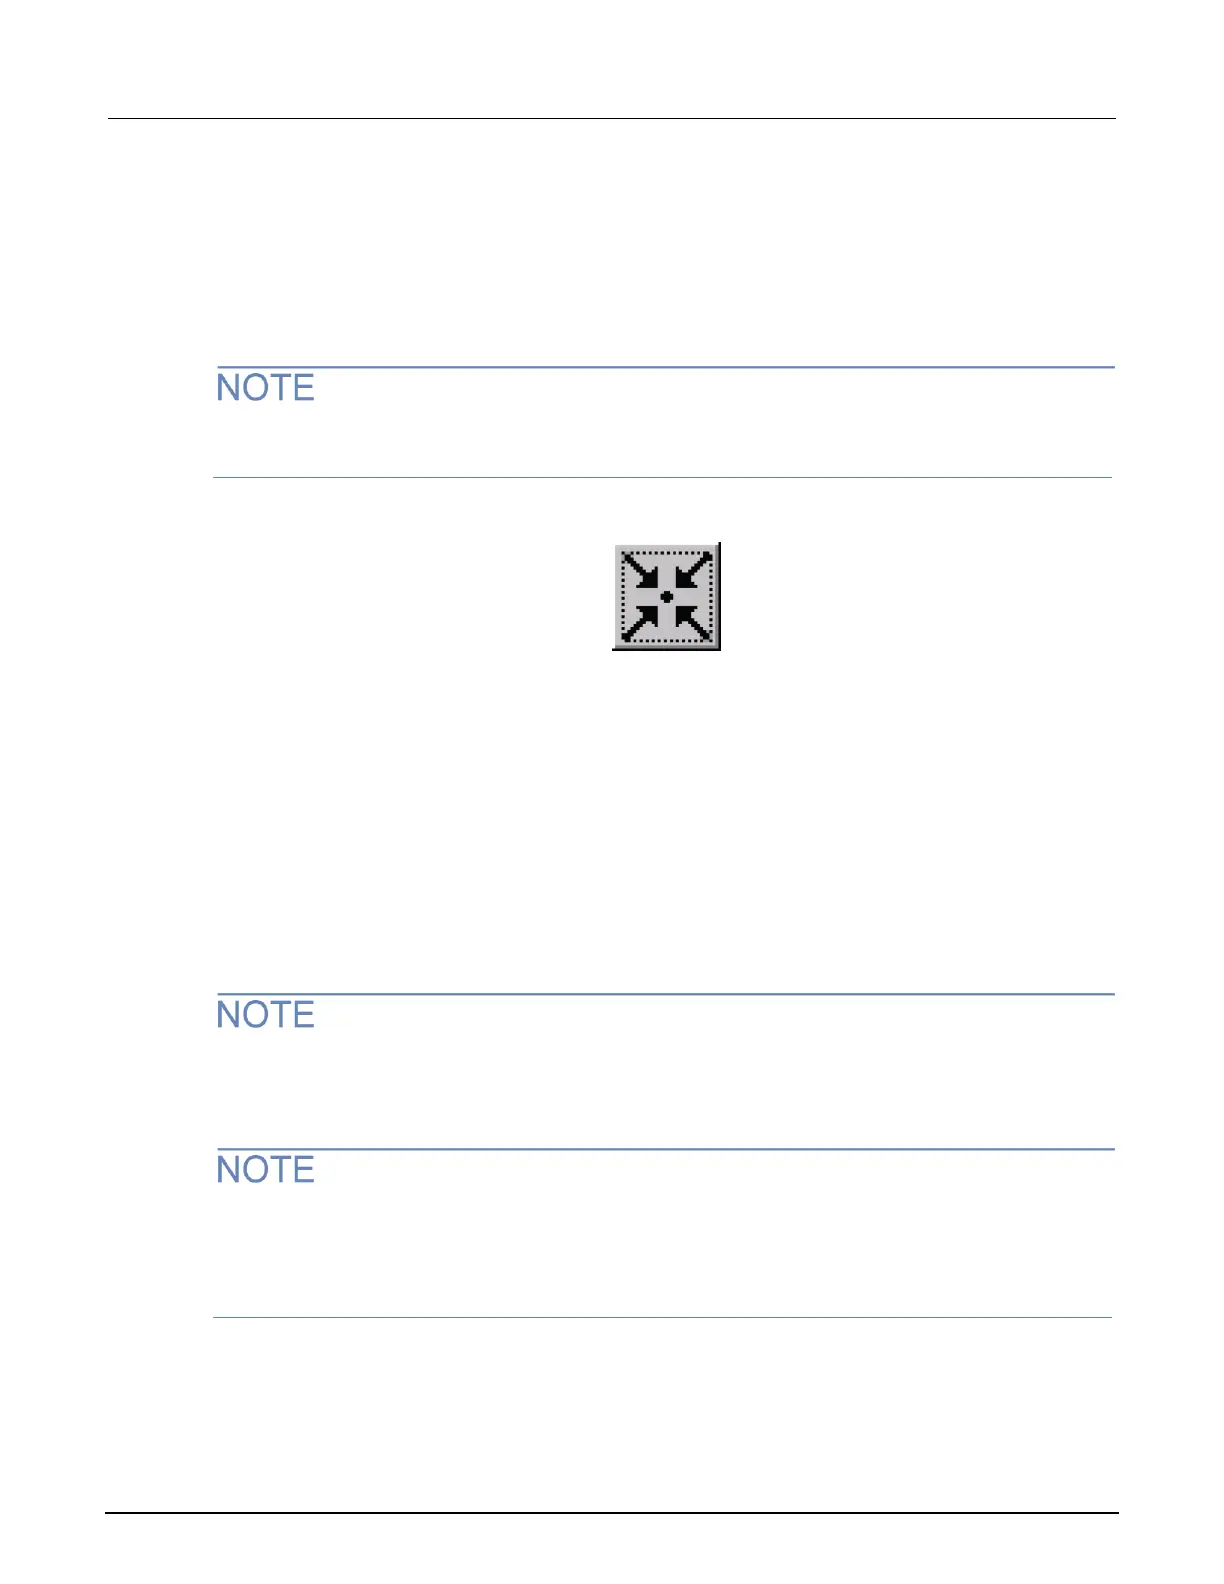
1. Move to wafer center by clicking the Center button on the Motion Control window.
2. Click Start Align on the Hard Align dialog box.
Raise the platen arm if prompted (a prompt will only appear if the platen arm is down when you start
the alignment).
Figure 273: Center button
3. Watch on the monitor while the stage moves down the street to position the needles near the left
edge of the wafer.
4. Adjust the theta knob on the stage while moving across the wafer.
5. Click Yes at the prompt that appears on the screen.
6. Watch on the monitor and continue to adjust theta while moving down the street to position the
needles near the right edge of the wafer.
7. Make a small adjustment in theta when motion stops.
8. Click No when the alignment is correct.
9. Set the contact position (set the current Z as contact position):
The Z contact position is the specified point where probe needles make contact with the wafer when
using the Raise/Lower button. The Raise/Lower button is on the left side of the Nucleus toolbar. Click
the button to toggle to the make-contact or break-contact position.
Good contact occurs when the probe tips make contact with the probe pad, accounting for the
tolerances of the probe needles and wafer plus any additional overdrive. Overdrive is the additional Z
motion of the probe needles relative to the wafer after the initial contact. Overdrive ensures tolerable
contact resistance by causing the probe tips to scrub through test pad surface oxide.
 Loading...


