7.3.1 Notices on Maintenance of Input/Output Modules
Notices on maintenance of I/O modules are explained in this section. LED indications are ex-
plained as follows:
LED= [ST
ATUS, ---, ---] only the STATUS lamp is lit, ACT and DX are unlit.
LED= [STATUS, ACT, DX] all lamps are lit.
n
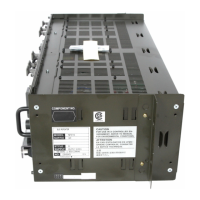
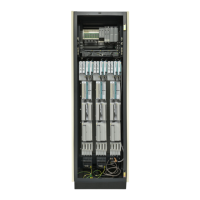
Replacing Modules
SEE
ALSO
For more information about how to replace input/output modules, refer to:
7.3.2, “How to Replace Input/Output Modules” on page 7-23
For more information about operations and recovery procedures when an error occurs, refer to:
B6., “Actions taken at error occurrence and recovery procedure” in Safety Control Station Reference (IM
32Q03B10-31E)
l
Replacing a Module in Single Configuration
When replacing a digital output module, pay attention to the followings:
If the output signal status is ON, you should not remove the front cable or terminal block since
sparks may occur at connectors. (Sparks may damage the connectors or worsen the connec-
tion quality
.)
1. If you are replacing a digital output module, set the outputs on all channels to OFF.(To set
the outputs to OFF
, lock the module from the I/O Lock Window or set the output value by
application logic.)
2. Remove the front cable or the terminal block.
3. Loosen the screws that fix the module, then pull out the module from the base unit.
4. Install a new module into the base unit, then tighten the screws to fix the module.
5. For the replaced module, perform IOM downloading from the SCS State Management
window of SCS Maintenance Support Tool.
6. Restore the front cable or the terminal block.
7. Make sure that the replaced hardware is working properly.
l
Replacing the Standby Module of a Pair of Dual-Redundantly Configured
Module
1. Remove the front cable or the terminal block.
2.
Loosen the screws that fix the module, then pull out the module from the base unit.
3. Install a new module into the base unit, then tighten the screws to fix the module.
4. You will need to perform an IOM download for the replaced module. However, for an
SCS that has the SCS system program R2.03 or higher, if Automatic IOM Download is
set to [Enable] in the SCS Constants Builder, the IOM download will be performed auto-
matically.(*1)
5. Make sure that the LED status is LED= [STATUS, ---, DX]
6. Attach the cable or terminal block.
<7.3 Replacing Input/Output Modules > 7-21
IM 32Q06C10-31E 4th Edition : Jan.30,2015-00
 Loading...