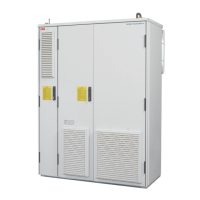
The internal cooling circuit 117
15. Repeat steps 13 to 15 a few times until all air is let out of the cooling circuit. Listen for
a humming sound and/or feel the piping for vibration to find out if there is still air left in
the circuit.
16. Open the bleed valve in the cabinet. Check that coolant comes out, not air. Lead the
bleed hose into a bucket or other suitable container.
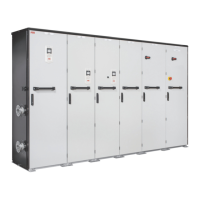
Draining the internal cooling circuit
The internal cooling circuit can be drained through the drain valves in auxiliary control
cubicle.
WARNING! High-pressure warm coolant may be present in the internal cooling
circuit. No work on the cooling circuit is allowed until the pressure is lowered down
by stopping the pumps and draining coolant.
1. Lead the bleed and drain hoses to buckets or other suitable containers. Extend the
standard hoses if necessary.
Note: Draining liquid that contains eg, propylene glycol into the sewer system is not
allowed.
2. Open the bleed valves to let air displace the liquid.
3. If required, dry the piping with compressed oil-free air of less than 600 kPa (6 bar).
4. If the converter is to be stored in temperatures below 0 °C (32 °F),
• dry the cooling circuit with air
• fill the cooling circuit with a mixture of water, corrosion inhibitor and antifreeze
according to Freeze protection and corrosion inhibition below
• drain the cooling circuit again.
Adding inhibitor
Add inhibitor in the internal circuit every second year. The amount to be added is 0.5% of
the total coolant quantity in the circuit. Use eg, Cortec VpCI-649 (by Cortec Corporation,
www.cortecvci.com).
Specifications
Temperature limits
Ambient temperature: See chapter Technical data.
Minimum coolant inlet temperature for the converter: Condensation is not allowed.
The minimum coolant temperature to avoid condensation (at an atmospheric pressure of
100 kPa (1 bar)) is shown below as a function of the relative humidity (φ) and the ambient
temperature (T
air
).
 Loading...