Rockwell Automation Publication 825-UM004D-EN-P - November 2012 49
Hardware Commissioning Chapter 4
Adding the Optional
Communication Card
• Remove control power from the relay, and remove the back cover
• Add the optional communication card into Slot C in the 825-P
• Replace the cover and reapply control power to the relay
• Navigate to Main > Status to view the Status display
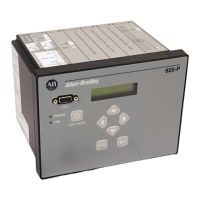
• If the display shows the following message:
• Press the Enter key to confirm that you want this hardware change
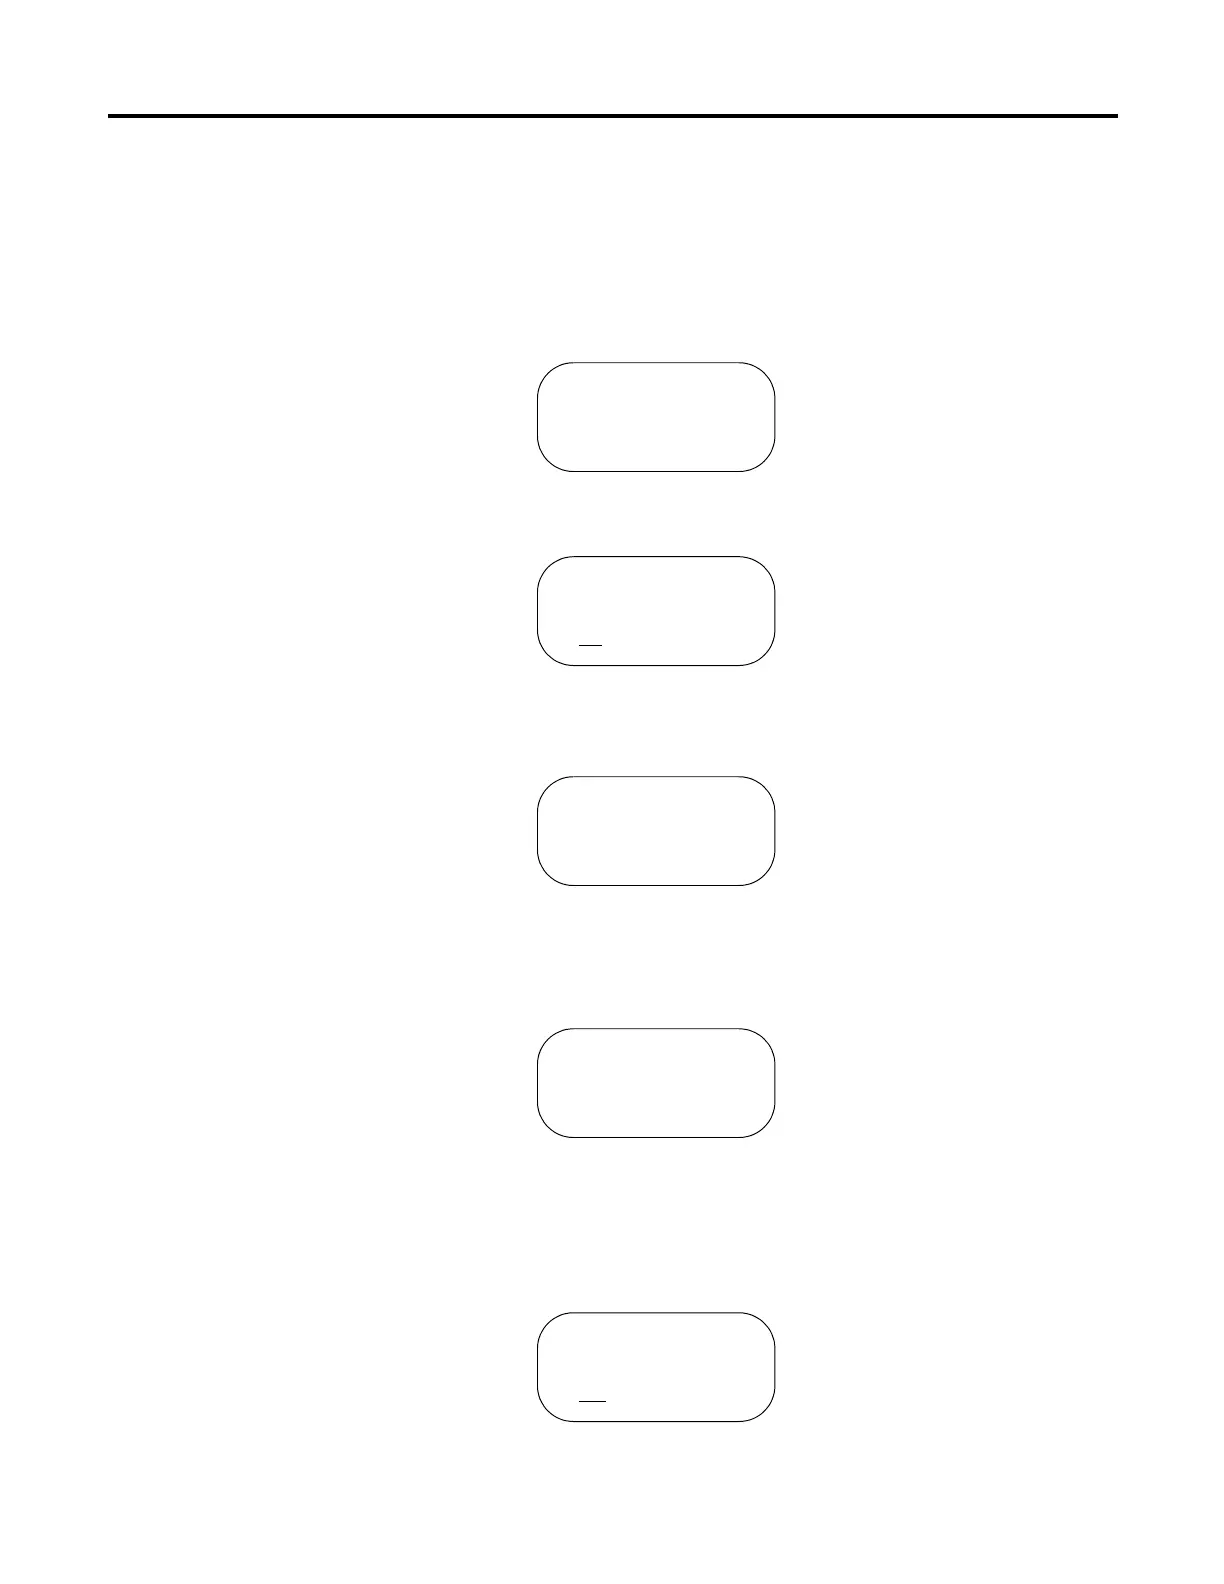
• Select Yes to confirm the new hardware configuration, and the display
will show:
• Press Enter to reboot the relay
• If there is an address conflict on the internal communication bus, the
di
splay show the following message:
• To correct this conflict, navigate to Main > Set/Show > Port > Port 4
and select the parameter named “Modbus Slave ID”
• Change the Modbus Slave ID to the value of 247
• Press the ESC key, and the display will show the following message:
• Select Yes to resolve the address conflict
Confirm Hardware
Config (Enter)
Config Accepted
Enter to Reboot
 Loading...