 Loading...
Do you have a question about the Atlas Copco ACTA 4000 and is the answer not in the manual?
| Measuring Range | 0-4000 µm |
|---|---|
| Accuracy | ±1% or ±2 µm (whichever is greater) |
| Units | µm, mils |
| PC Connection | USB |
| Power Supply | Rechargeable Li-ion battery |
| Measurement Range (µm) | 0-4000 |
| Accuracy (µm) | ±1% or ±2 |
| Dimensions | 140 x 74 x 35 mm |
| Weight | 200 g |
| Interface | USB |
Details the different versions of ACTA (Basic, QC, AA) and their core capabilities.
Explains the ToolsTalk QAT software for tool management, tightening database, and supplier database.
Guides users on navigating and understanding the structure and content of this user manual.
Lists changes and updates made to the user guide across different versions.
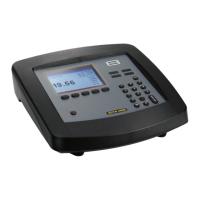
Describes the physical buttons, display, and indicators on the ACTA 4000/3000 front panel.
Details the ACTA's graphical display, its layout, and different dialog box types.
Explains the menu blocks at the display bottom and their navigation using soft keys.
Describes how to navigate and select options within pull-up menus on the ACTA display.
Explains how to access and enter data into dialog boxes for parameter settings.
Lists the items included with the ACTA 4000 upon purchase.
Provides basic setup steps and recommendations for the ACTA device.
Details the process of installing the accompanying software from the CD.
Describes the sequence of events and self-tests performed when starting the ACTA unit.
Introduces the Quick Programming function for fast setup of measurement tasks.
Step-by-step guide on performing measurements using the Quick Programming tool feature.
Explains how to measure with tools synchronized to a controller via ACTA.
Instructions for establishing a connection between ACTA and the ToolsTalk QAT software.
Allows switching between different measurement dialog box views (Basic, Custom, Trace) based on ACTA version.
Details how to set up printing and select print options for ACTA 3000 and ACTA 4000.
Provides an overview of the Quick Programming menu structure and options.
Describes the different tool types available within the Quick Programming menu.
Explains synchronization methods with various controllers for measurement.
Details the setup for ISO 5393 standard performance testing.
Guides on performing measurements following the ISO 5393 standard for capability studies.
Covers how ACTA saves and provides statistical data on tightening operations.
Displays statistics for all tightening operations for a selected tool across multiple windows.
Details how statistics for torque, angle, and pulses are displayed in sequential windows.
Explains how tightening data is saved in history memory after clearing statistics.
Describes how to manually enter measurement values like Torque, Angle, and Pulses.
Covers parameters for customizing ACTA to match user demands and requirements.
Details user-specific interface options like backlight, contrast, language, and password.
Lists available calibration procedures for ACTA, Deadweight, and Tools.
Provides access to diagnostic windows for continuous measurement and shunt calibration.
Details information stored in transducer memory, including type, serial number, and calibration dates.
Configures communication settings with controllers, ToolsTalk QAT, and barcode readers.
Shows essential product details like serial number, mode, and revision for ACTA 3000/4000.
Mentions customer-specialized features that can be enabled on ACTA 4000.
Covers organizing tools and measurement data for each tool in the database.
Explains how to create and add a new tool profile to the ACTA database.
Guides users on selecting a specific tool from the database for tightening operations.
Details how to delete selected tools or all tools from the database.
Allows deletion of all measurement data for all tools in the database.
Describes how to create a backup copy of a selected tool and its data.
Displays information about the database, including tool counts and memory capacity.
Covers programming parameters and statistical settings for the database.
Sets parameters related to names and target torque/angle for tools.
Configures parameters related to tool and controller types for tightening operations.
Details settings for filter frequency, rotation direction, and measurement strategy.
Customizes measurements with parameters like cycle start, end, and delay times.
Defines statistical parameters and limits for calculations and process control.
Customizes the measurement display for specific tools in ACTA QC and AA versions.
Allows zooming and adjusting sections of the latest measurement trace for detailed study.
Explains how to zoom in on specific areas of a measurement trace and return to the original view.
Describes tuning measured values by shifting the point along the tightening graph.
Details how to save trace data in the database with different resolution options.
Selects graph parameters for displaying graphs in the trace measure dialog.
Defines parameters like Peak Value, Installed Torque, and Filter Frequency for measurements.
Lists and describes various measurement strategies like Peak(DD), Multistage, and Break away.
Explains the Peak(DD) strategy for measuring peak torque in direct-driven and wrench tools.
Describes the Static installed torque strategy for post-assembly control tightening with wrenches.
Details the Multistage measurement strategy for calibrating situations controlling tightening.
Explains the Break away strategy for inline measurements on click wrenches, storing peak torque.
Describes the Peak (Pulse) strategy for measuring peak torque and pulses on pulse tools.
Details common parameters displayed in the measurement dialog boxes, like battery and communication symbols.
Describes the three different measurement dialog boxes (Basic, Custom, Trace) available in ACTA.
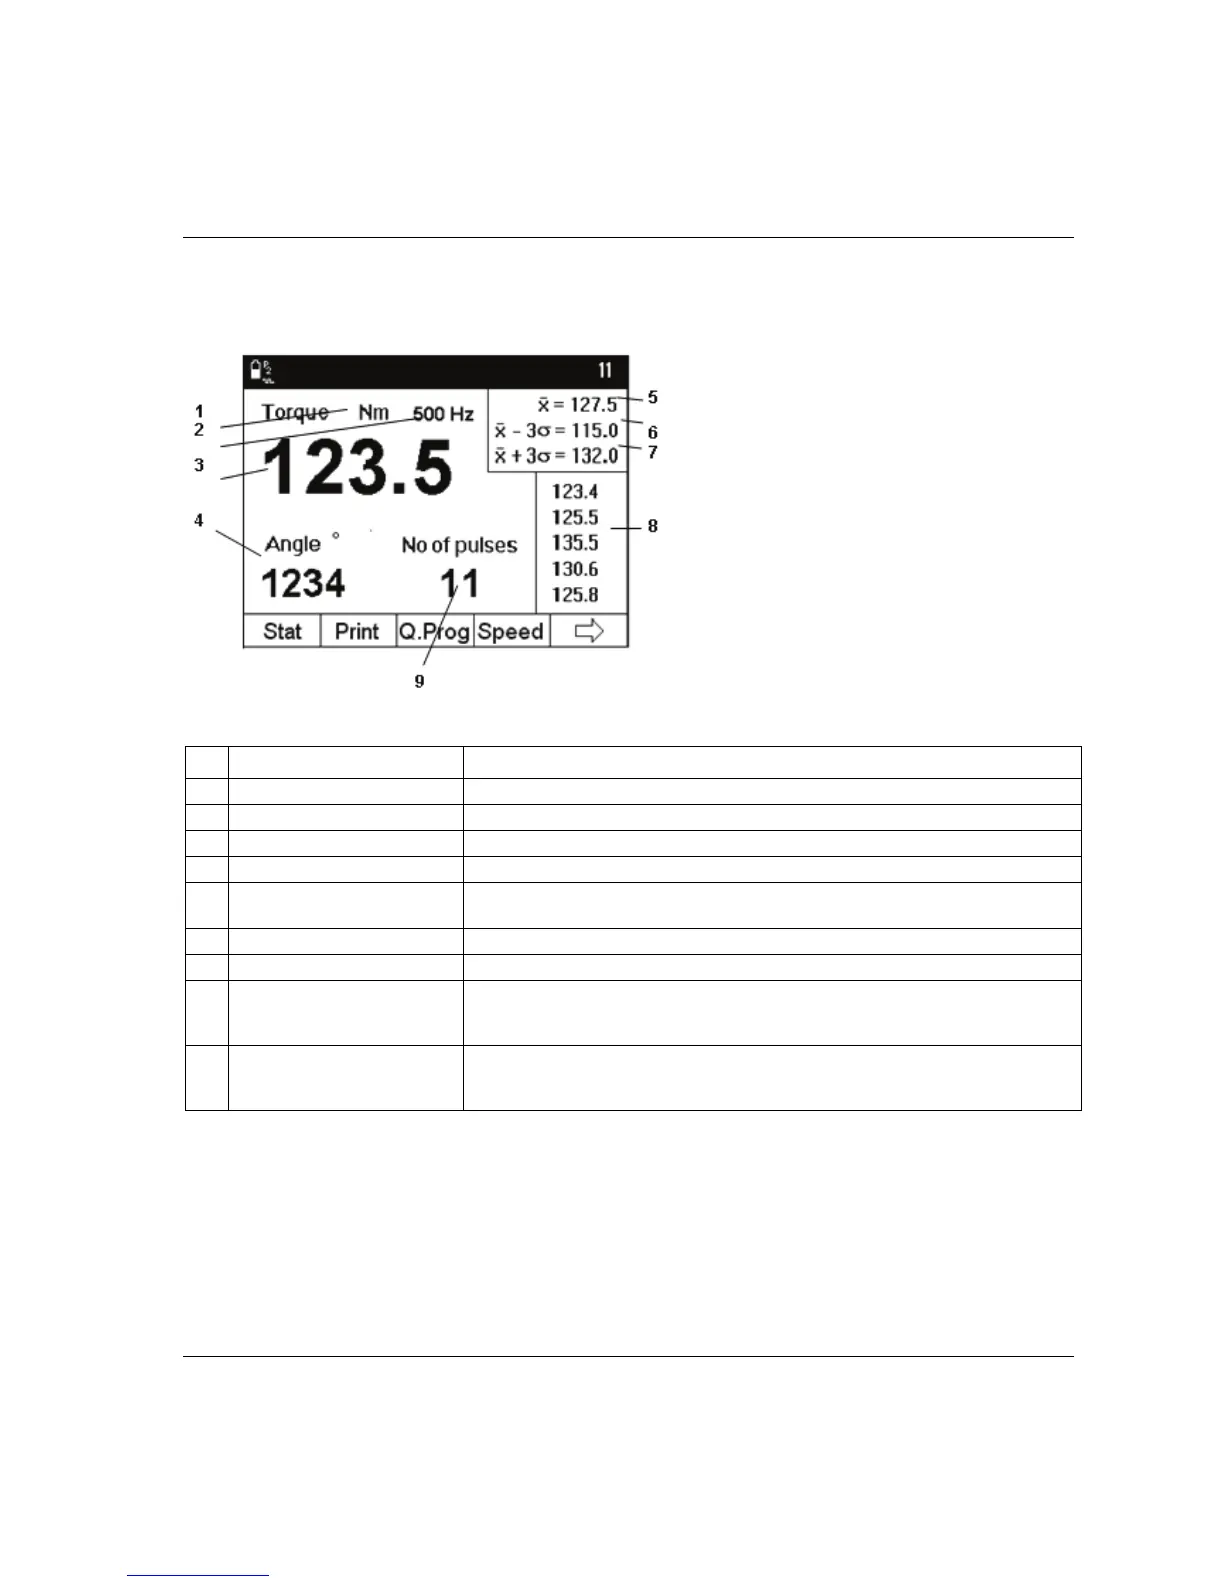
Explains the standard Basic dialog box, showing torque, angle, and pulse data.
Details the customizable Custom dialog box for displaying specific statistical data and comments.
Describes the Trace dialog box for graphical display of torque, angle, and time data.
Explains how ACTA checks and provides status on Torque, Angle, and Pulses after a specified batch.
Shows results for tools within a zone after a zone is finished, indicating OK status.
Controls how well a tool, controller-tool combo, or equivalent corresponds to a transducer.
Steps to connect ACTA, controller, and transducer for tool calibration.
Describes how to evaluate calibration results and adjust tools, including torque tuning.
Details automatic tool calibration for fixtured tools using Power Focus or PowerMACS controllers.
Explains calibration dialog boxes specific to controller types like Power Focus and DS/DL.
Covers calibration of transducers using the deadweight method with ACTA.
Guides on measuring and recording mV/V values for transducer calibration checkpoints.
Explains how to perform a linearity check to assess transducer consistency.
Details saving and printing the new calibration value and transferring it to transducer memory.
Recommends contacting Atlas Copco for ACTA calibration in a certified laboratory.
Shows examples of continuous reports detailing tightening operations for different tools.
Presents rundown reports, including statistical summaries and individual tightening data.
Displays detailed information about the transducer's memory, calibration, and status.
Lists all configured parameters for a specific tool, including targets, communication, and strategy.
Provides a statistical report summarizing tool performance, including rejects, max/min values, and subgroup data.
Refers to the previous report for details on all tool rundowns.
Refers to the previous report for details on all tool set-ups.
Refers to the previous report for details on all tool statistics.
Shows a report detailing the tool calibration process, including torque and angle results.
Provides a summary report of all tools in the database, including tool types and last used dates.
Displays a graphical trace of torque and angle over time, with key measurement points marked.
Presents a report of the transducer calibration, including input values, deviations, and linearity checks.
Shows the calibration report for the ACTA unit itself, including adjustments and dates.
Details the ISO 5393 calibration report, including stiffness and torque scatter capabilities.
Defines key statistical parameters like xi, n, X-bar, and sigma for normal distributions.
Explains the use of control charts in Statistical Process Control (SPC) to spot deviations.
Illustrates common control charts like Range (R) and Group average (X-bar) charts.
Explains capability indices like CM and CMK for assessing process performance against tolerance limits.
Details the calculation methods for parameters presented during an ISO 5393 calibration.
Identifies and describes the connectors located on the back panel of the ACTA 4000.
Provides a detailed pinout description for the transducer connector.
Explains the use of a Barcode Reader for tool selection and sequence number input.
Lists default setup configurations for ACTA and its Quick Programming (Q-prog) features.
Details the default setup items for the ACTA unit, such as units, language, and communication.
Shows default setups for Quick Programming based on tool type (Direct driven, Pulse, Wrench).
Lists synchronization setups available in Q-prog for various controllers and communication types.
Provides instructions for safely cleaning the ACTA unit with a moist cloth and mild soap.
Recommends annual calibration and advises against attempting to open the unit.
Instructs users to contact Atlas Copco service for software upgrades.