Chassis
Checking the Radiator
1.
Inspect the radiator fins.
Look for obstruction or leaks.
2.
Inspect all Radiator hoses.
Look for cracks, bulges or damage.
3.
Inspect the Hose clamps.
Look for tightness.
4.
Inspect the radiator fan.
Look at operation, wire connections
or damage.
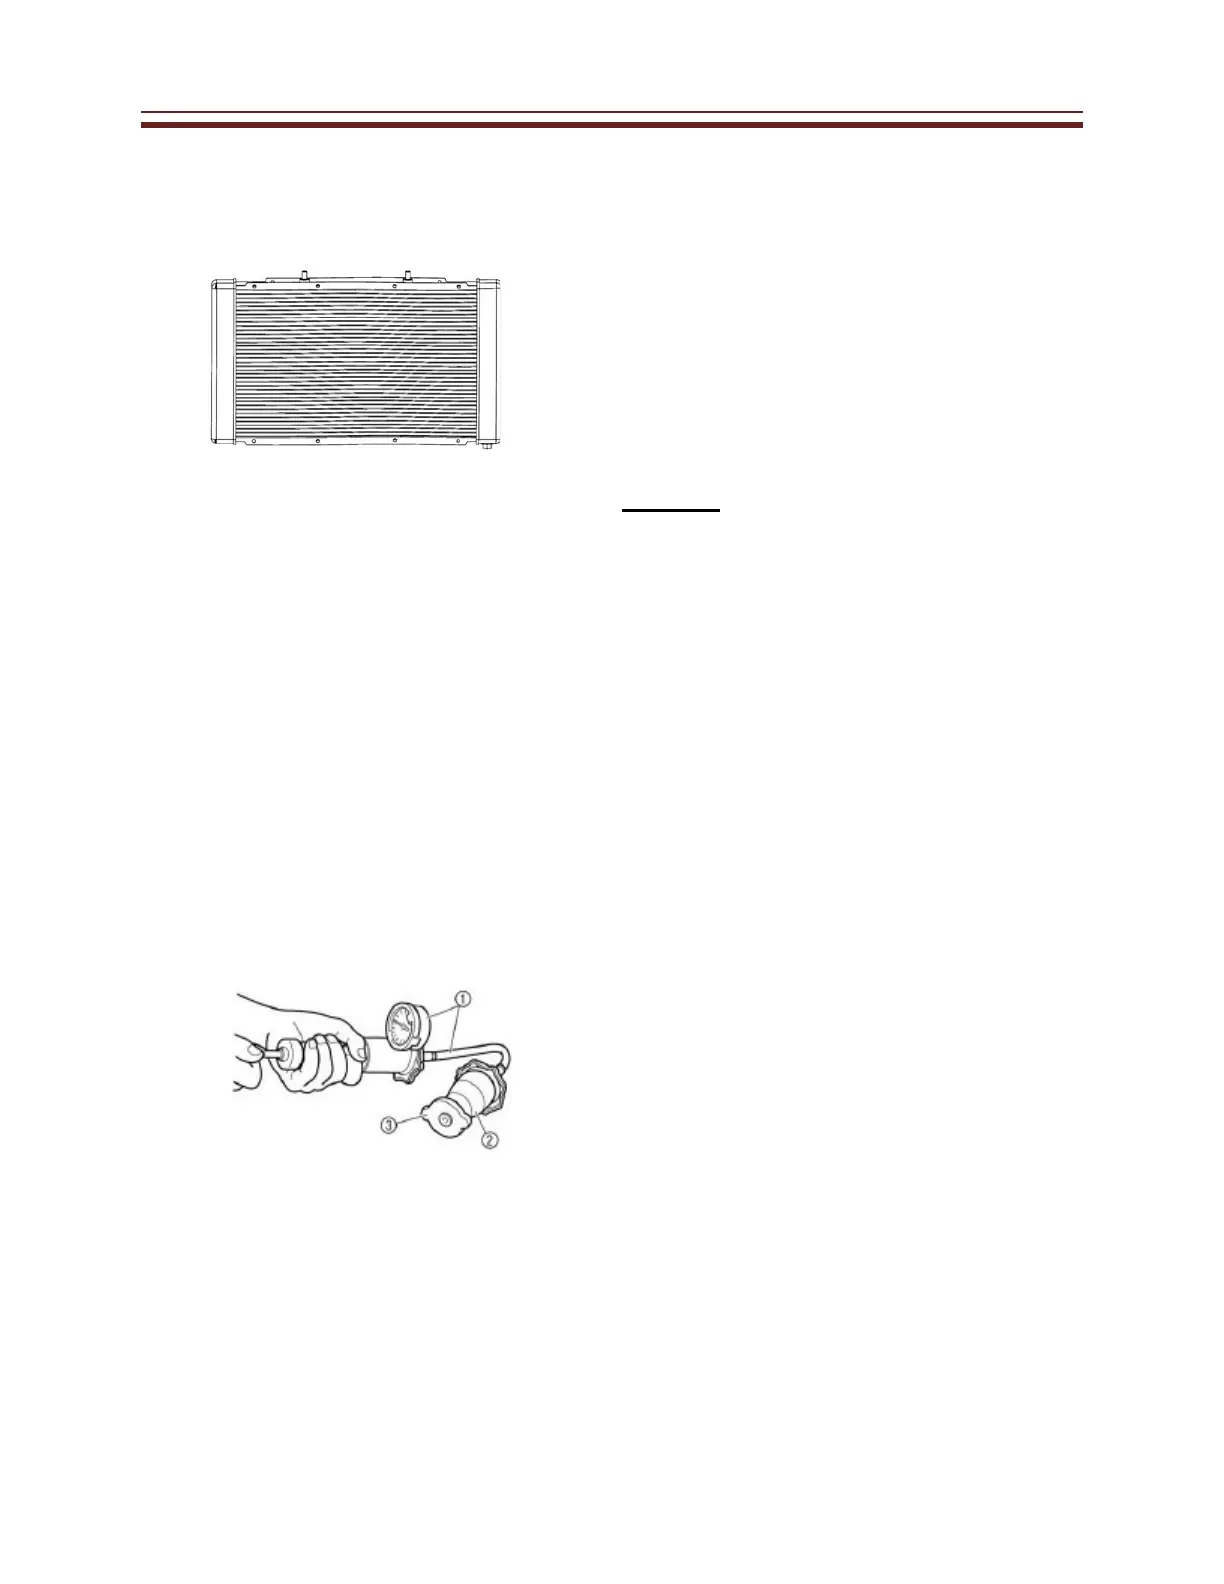
5.
Measure the Radiator cap opening
pressure.
Install the pressure tester (1) and
adapter (2) onto the radiator cap
(3). Pump it up to the specified
pressure for ten seconds and make
sure that there is no drop in
pressure.
Replacing the coolant
1.
Remove the hose at the water
pump and the reservoir and allow
the system to completely drain.
2.
Remove the radiator cap.
3.
Replace the hoses at the reservoir
and water pump.
4.
Loosen the radiator and thermostat bleed
bolts.
5.
Pour in new antifreeze mixture
until the coolant flows out
each bleed opening.
6.
Replace the bleed bolts.
7.
Add New coolant to the reservoir to
be above the minimum level mark.
8.
Follow the bleeding
procedure on page 3-13
Caution:
Do not attempt to open a hot radiator
cap, as the fluid is under pressure and
extremely hot. Severe burns or injury is
possible. Wait for unit to completely
cool before any attempted service or
repairs to the cooling system.
Recommended antifreeze:
High quality ethylene glycol antifreeze
containing corrosion inhibitors for
aluminum engines.
Antifreeze and water mixing ratio: 1:1
Total amount: 1.8L
(1.58 imperial qt, 1.90 US qt)
Coolant reservoir capacity
(Up to the maximum level
mark): 0.3L (0.26lmp qt,0.32 US
qt)
9.
When completed inspect the cooling
system for leaks.
Oil Cooler
1.
Inspect for leaks or distortion. Look
at metal oil lines, rubber hoses and
fittings for leaks or damage.
 Loading...