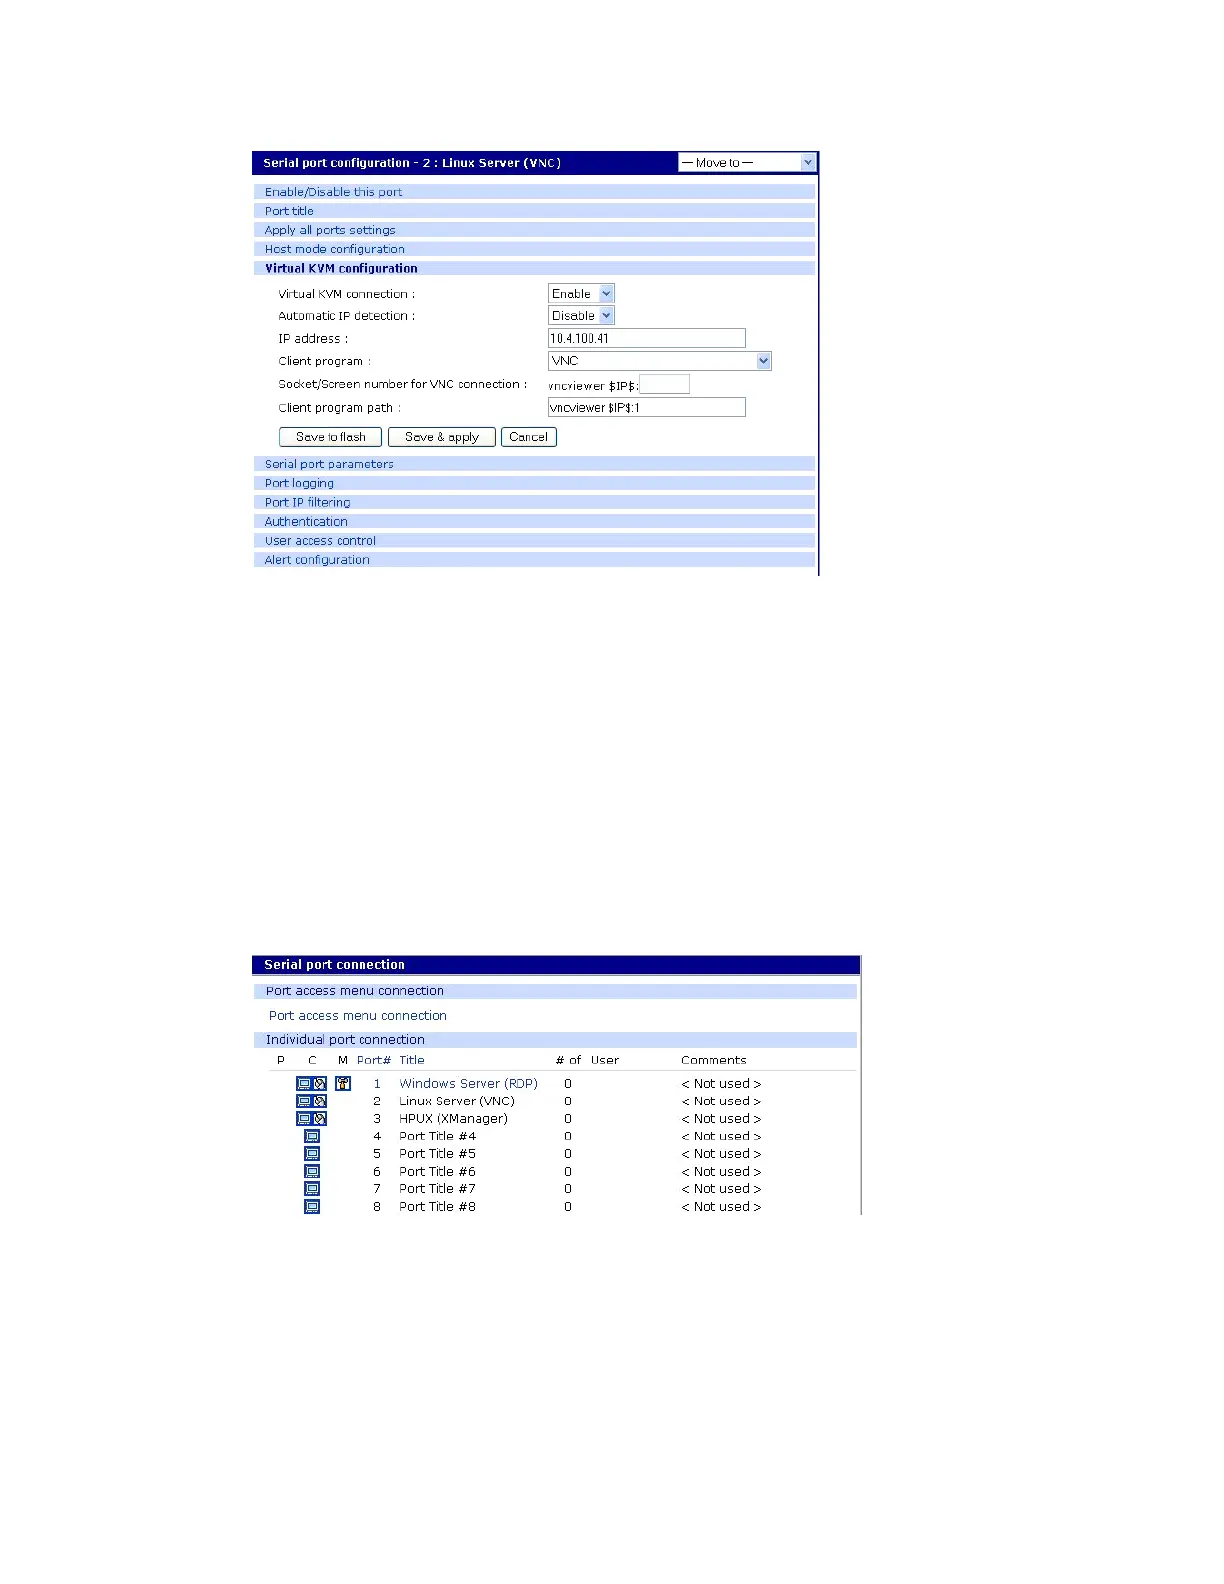
Configure virtual KVM Use Virtual KVM with VNC protocol
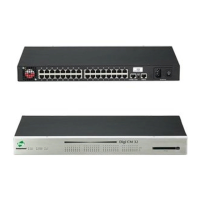
Digi CM User Guide 101
5 From the Virtual KVM connection drop-down list, select Enable.
6 Then, from the Client program drop-down list, choose the VNC Client program.
7 Adjust the VNC socket/screen number, if necessary (the default is 1).
8 Click Save & Apply.
Connect to a system through Virtual KVM using VNC
When you connect through the Connection window, and a Virtual KVM connection is configured, you
now see:
▪ The terminal monitor button, which connects to the serial console
▪ A mouse button (next to the monitor icon), which connects to the Virtual KVM graphical
interface.
To connect through Virtual KVM using VNC:
1 Click on the mouse button.
2 Click OK in each of the three Java confirmation request windows.
The applet first checks whether the optional Virtual KVM Assistant is installed on the system:
• If the applet is installed, it starts Virtual KVM Assistant to manage the connection.
 Loading...