194
8 Maintenance
8. Specify the number of prints of the sample using [Print Settings].
Note
In consideration of output variation, we recommend printing about 3 sample sheets.
9. Tap [Save].
10. Tap [Sample Printout].
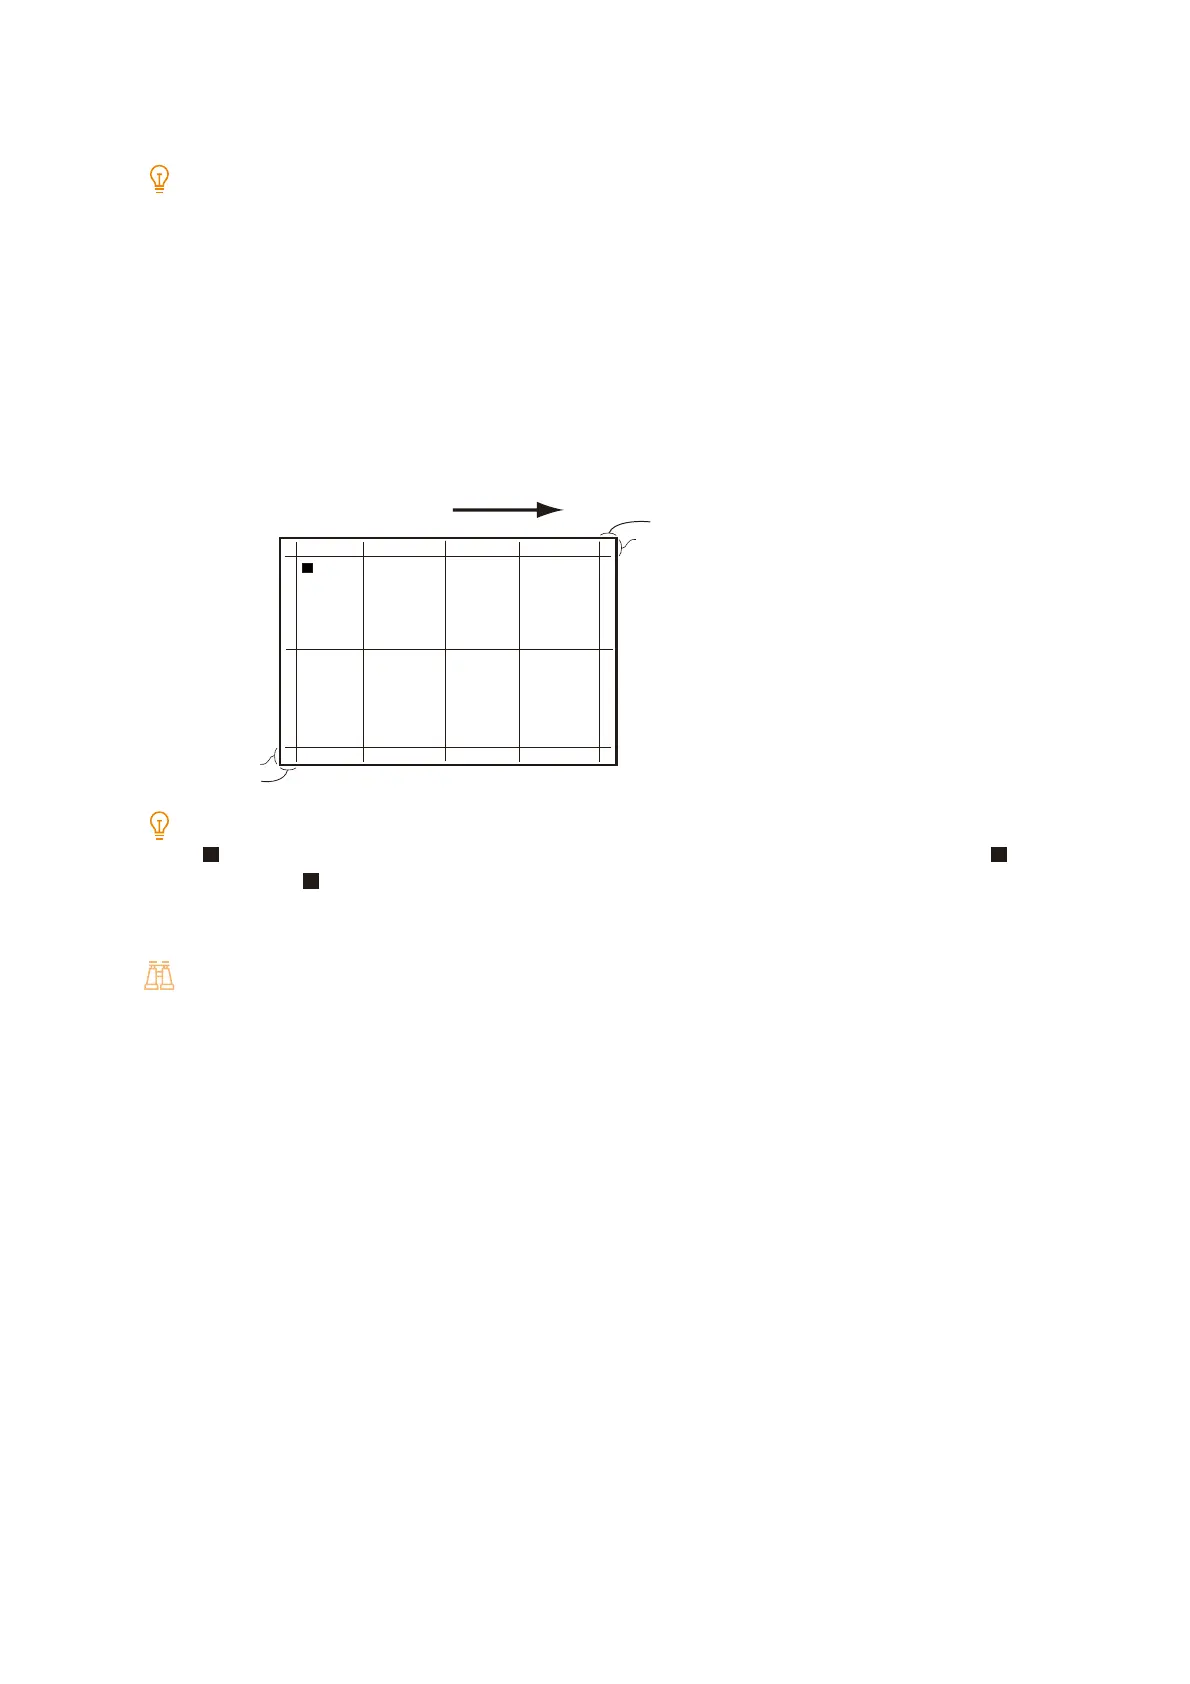
11. Check the printed sample.
If the position of the print image is correct, a line is printed at a position of 10 mm from the edge of the paper. Make
adjustments if the line position is out of alignment.
Note
(black square mark) is printed at the end of the paper to indicate the paper feed direction. There is one on the front
side and two on the opposite side.
When adjusting multiples of misalignments, make adjustments in the following order: [Perpendicularity]->[Slow Scan %]-
>[Lead / Side Registration].
Refer
Refer to the following for each adjustment method.
- Regarding adjusting the squareness, refer to "Adjusting the squareness" (P.194).
- Regarding adjusting the vertical scanning direction zoom ratio, refer to "Adjusting the vertical scanning direction zoom
ratio" (P.195).
- For the adjustment of Lead/Side Regi, refer to "Adjustment of Lead/Side Regi" (P.196).
Adjusting the squareness
Adjust the distortion (parallelogram) of the output image of the vertical scanning direction (form feed direction) by
increments of 0.1 mm.
10 mm
10 mm
10 mm
10 mm
Paper feed direction

 Loading...

