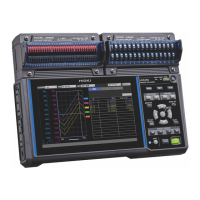
116
Enabling the Trigger Function
2.2 Enabling the Trigger Function
This section introduces how to start and stop recording using the trigger function.
Shared settings
> >
2
4
3
1
1
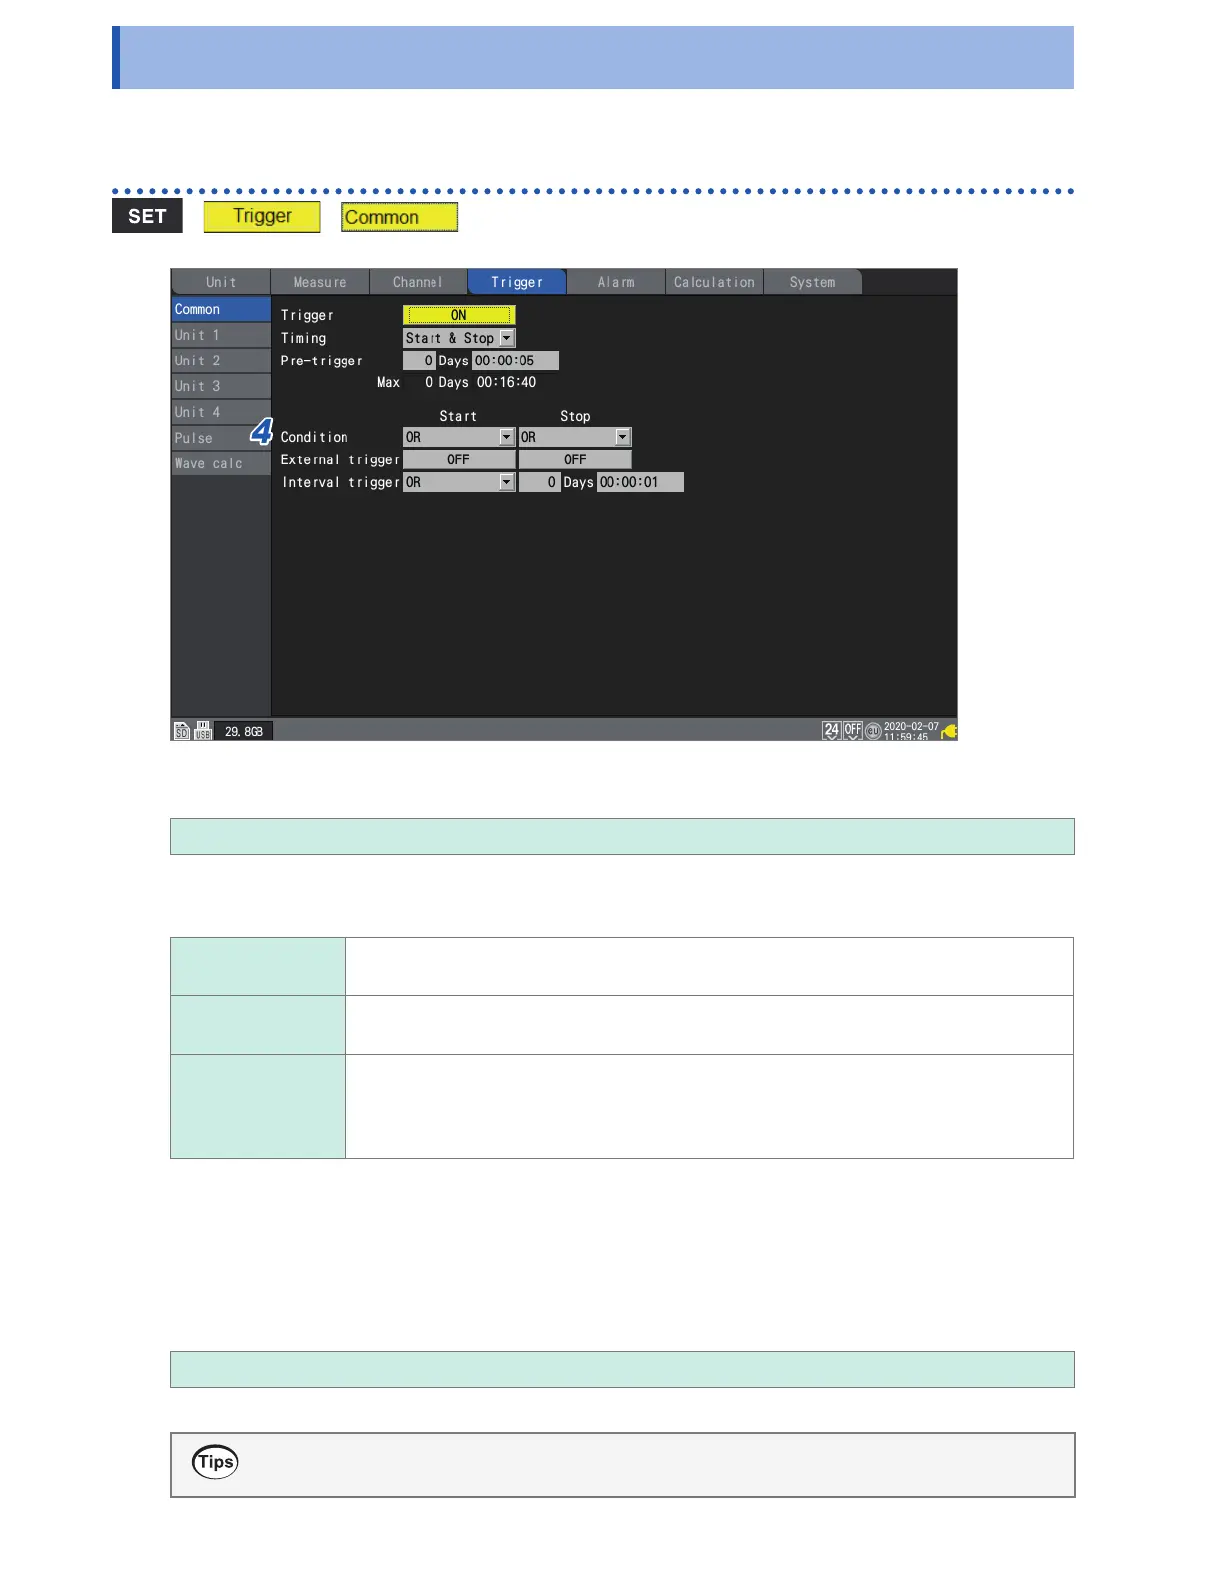
Under [Trigger], set the trigger function to [ON].
OFF
, ON
The trigger function will be set to [ON], and trigger settings will be enabled.
2
Under [Timing], select the operation to perform when the trigger activates.
Start
Starts recording when the trigger condition is satised (start trigger).
Example:
Starts recording when the temperature reaches or exceeds 50°C.
Stop Stops recording when the trigger condition is satised (stop trigger).
Example:
Stops recording if a signal falls below 1 V.
Start & Stop Starts recording when the start trigger condition is satised, and stops recording when
the stop trigger condition is satised during recording.
Example:
Starts recording when the temperature reaches or exceeds 50°C and stops
recording when the temperature reaches or exceeds 100°C.
3
Under [Pre-trigger], set the time or number of days you wish to record before the trigger.
You can record data before the trigger point (the point in time at which the trigger activates). The
ability to record data preceding an anomaly is useful when you need to analyze the cause of an
issue.
The pre-trigger will be disabled if the operation to perform when the trigger activates has been set
to [Stop] under [Timing].
DD, HH:MM:SS
The maximum setting available for the instrument is 99 days.
To continue recording the waveform after the trigger, make the recording time longer than the
pre-trigger.
www.GlobalTestSupply.com
Find Quality Products Online at: sales@GlobalTestSupply.com

 Loading...