To replace the component, reverse the removal procedure.
IMPORTANT: Ensure that the new battery is fully seated and that all locking tabs are correctly
engaged.
For more information about battery replacement or proper disposal, contact an authorized reseller
or an authorized service provider.
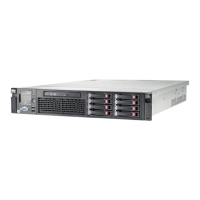
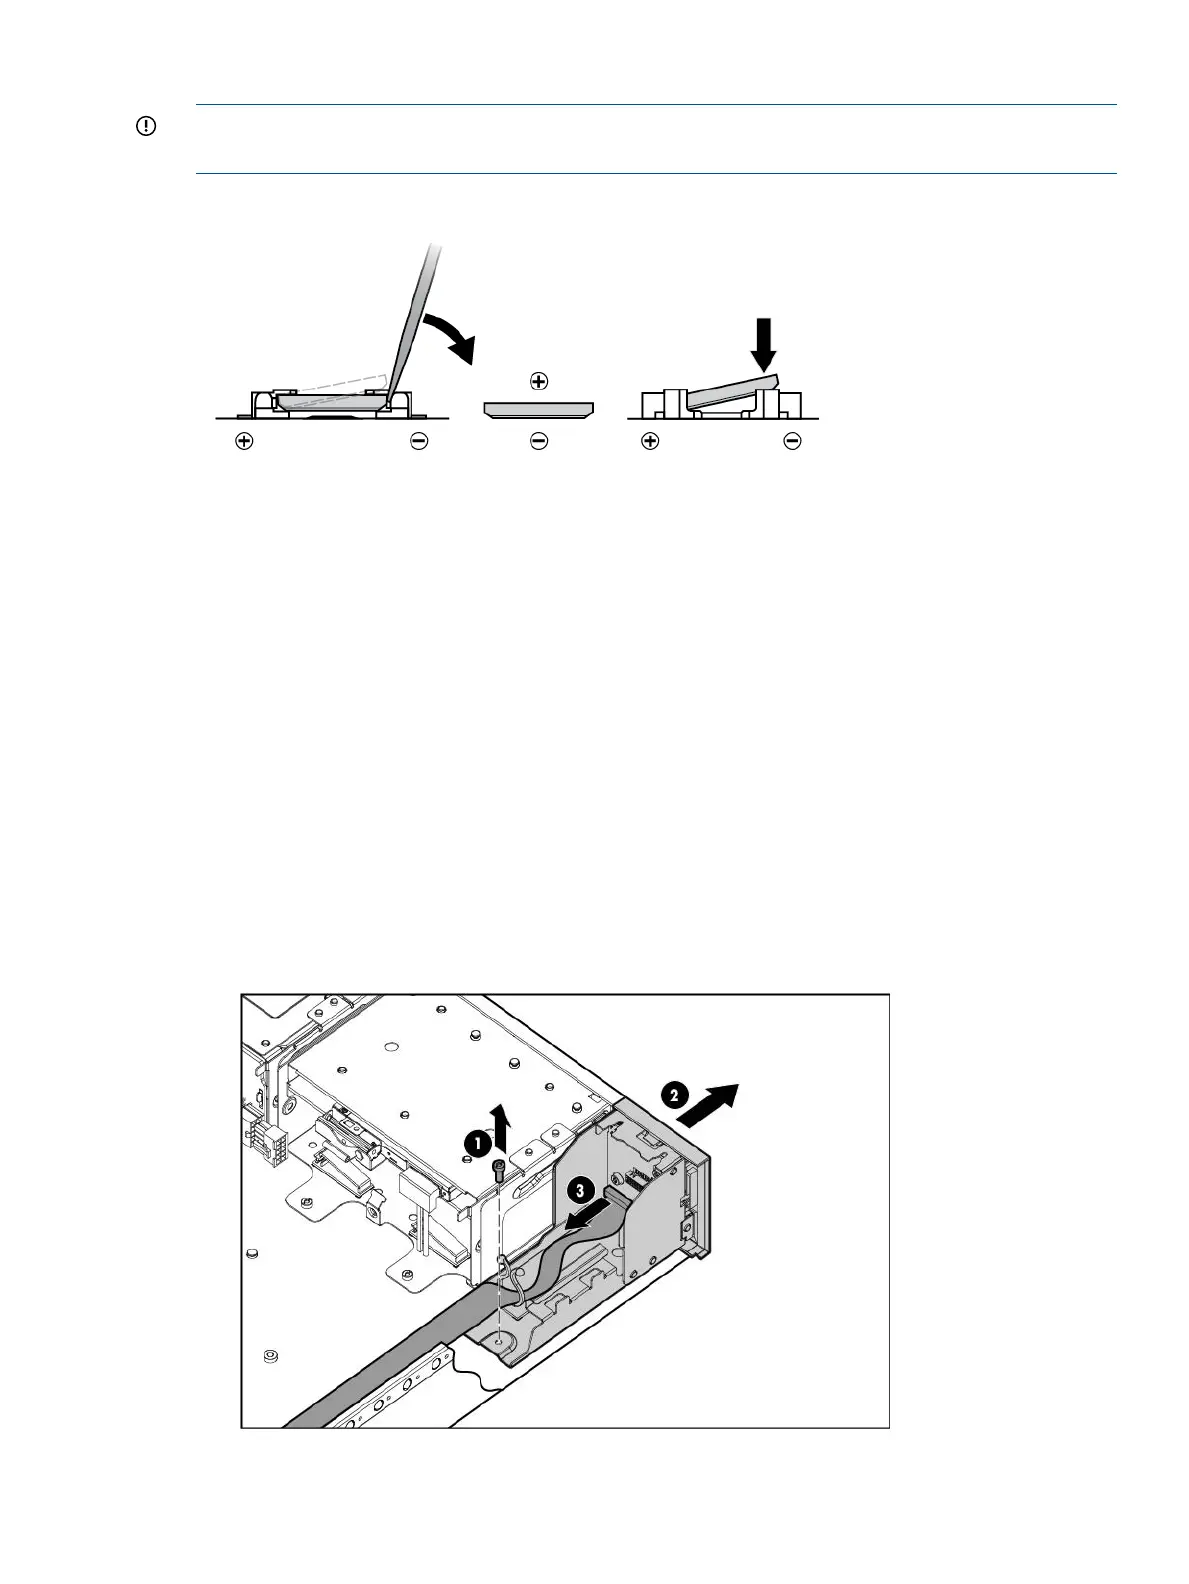
Removing and replacing the SID
1. Power off the server (“Powering off the server” (page 94)).
2. Extend the server from the rack (“Extending the server from the rack” (page 93)).
3. Remove the access panel (“Removing and replacing the access panel” (page 99)).
4. Remove necessary fans 1 and 2.
5. Remove the screw securing the SID inside the chassis.
6. Disconnect the cable clip.
7. Pull the Systems Insight Display module halfway out of the server.
8. Disconnect the Systems Insight Display cable.
9. Remove the Systems Insight Display module.
To replace the component, reverse the removal procedure.
Removing and replacing the SID 115
 Loading...