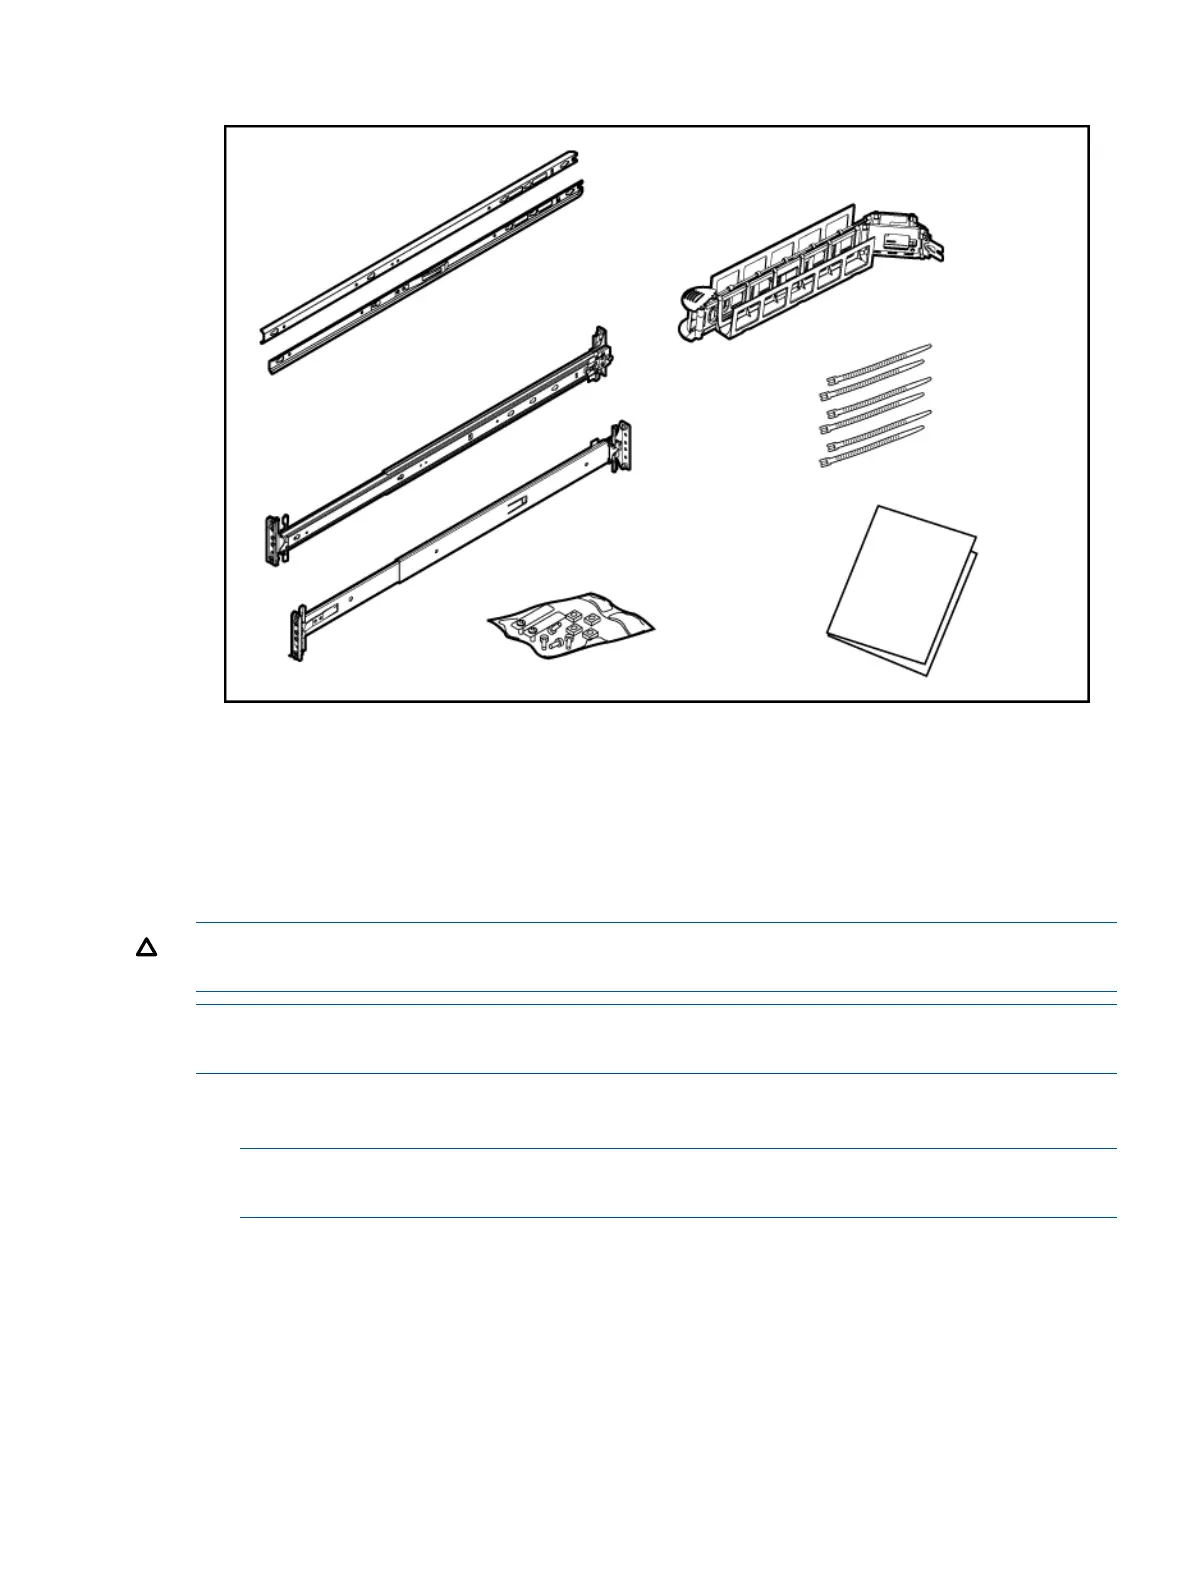
Hardware kit contents
In addition to the supplied items:
• If needed, obtain the HP kit (AT112-2100A) for connecting to a rack that has round holes.
(The kit includes eight round hole cage nuts and eight screws.)
• The appropriate tool for the screws.
Installing the rack mount kit
CAUTION: Plan the rack installation so that the heaviest item is on the bottom of the rack. Install
the heaviest item first, and then continue to populate the rack from the bottom to the top.
NOTE: The following information is provided as an example and a reference to assist in the
installation of the carrier-grade rx2800 i2 server DC solution into a HP seismic rack.
1. Remove the eight snap-in screws from the mounting rails, and discard the screws.
2. Obtain eight round-hole M5 cage nuts that are intended for use with the seismic rack.
NOTE: The square-hole cage nuts that are provided in the rack kit do not fit in the round
holes in the seismic rack.
3. Install the round-hole M5 cage nuts in the appropriate rack hole positions where you want to
install the server:
• Two cage nuts on the front of each rail
• Two cage nuts on the back of each rail
Installing the server into a seismic rack 19
 Loading...