DC input power
The server can receive DC input from two different DC power sources. The power receptacles are
located at the rear of the server.
A maximum of two power supplies can be installed in the server. Installing two power supplies in
the server provides 1+1 redundancy. Therefore, if one power supply fails, enough power is supplied
to the server to operate. To restore 1+1 functionality, you must promptly replace the failed power
supply.
A minimum of one power supply is required to power the server. If only one power supply is
installed in the server, it does not have 1+1 capability.
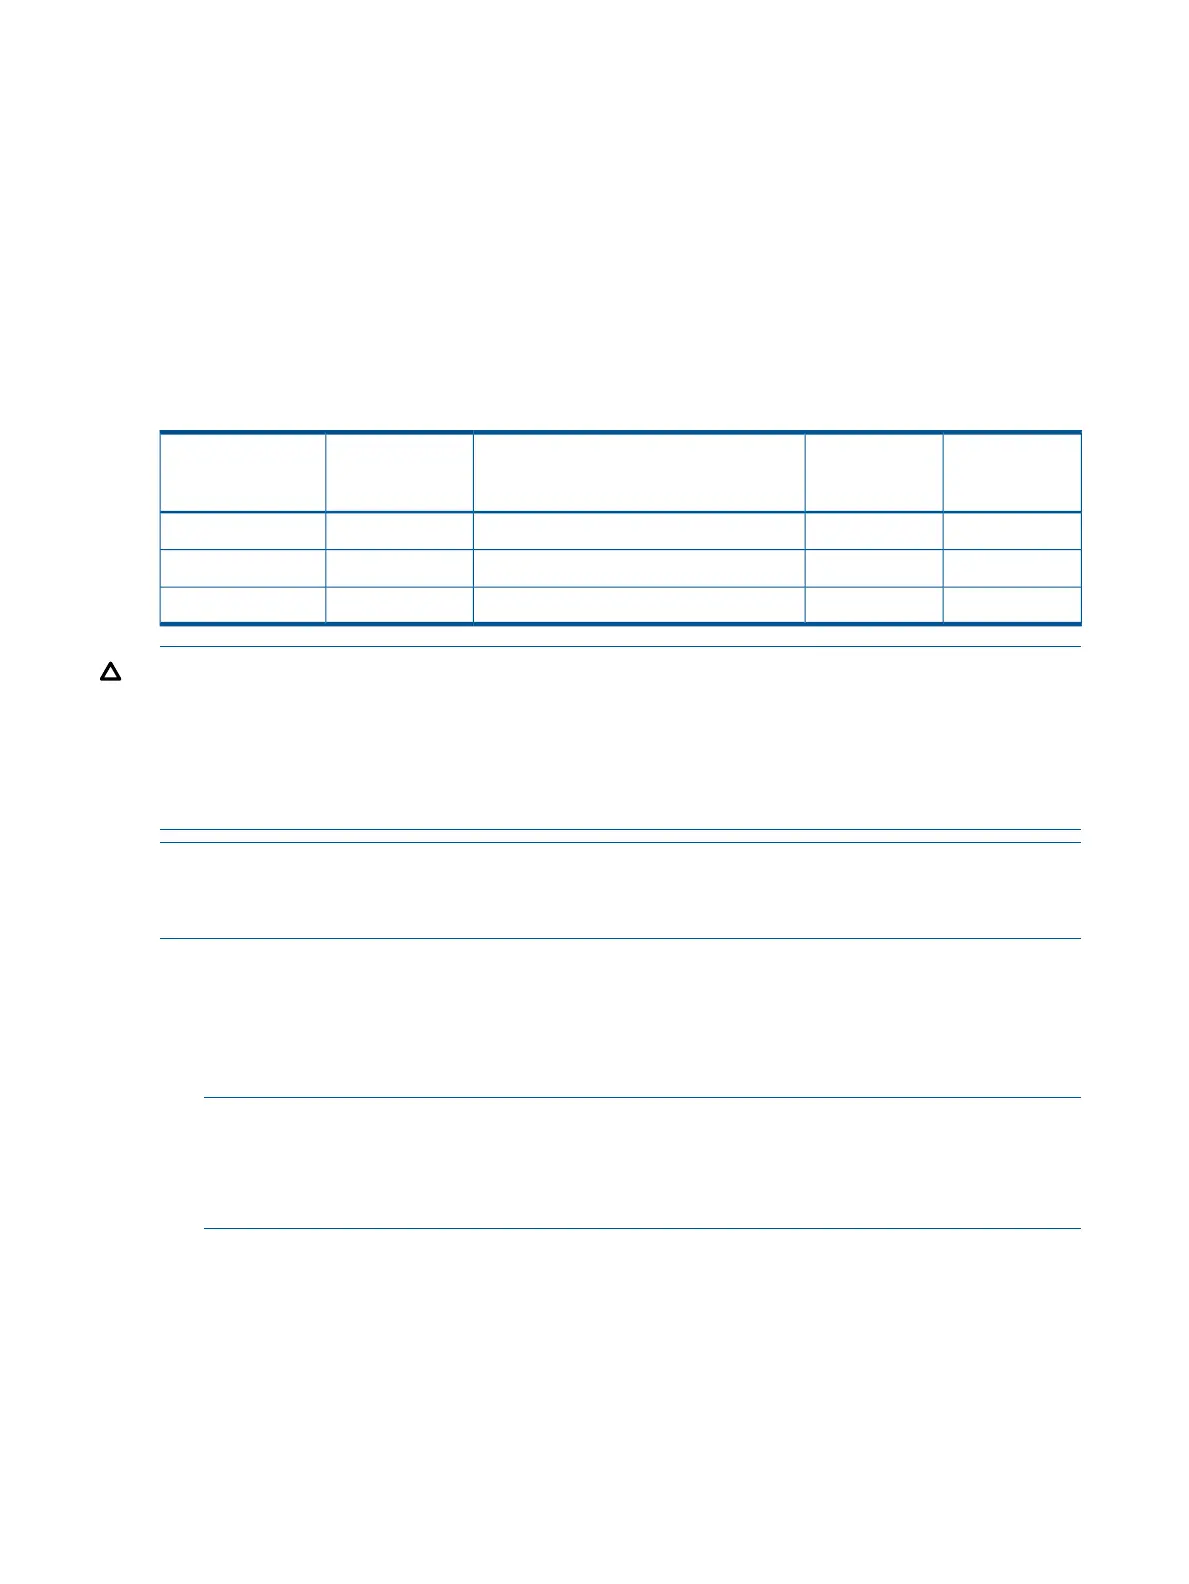
Power states
Table 4 Power states
DC voltage
applied?
Standby DC
voltage applied?
Power activated through the iLO 3PC
command; or front panel power button
activated?
Power cable
plugged into
receptacle?
Power states
NoYesNoYesStandby power
YesYesYesYesFull power
NoNoNoNoOff
CAUTION: If you expect the server to remain in standby mode for more than 30 minutes, HP
recommends completing removing DC power from the server. You can remove the power by
switching off the circuit breakers that are part of the building installation, by disconnecting or
switching off a power distribution unit, or by physically removing the power cords from the server.
Be aware that removing DC power from the server for an extended period can drain the system
battery.
NOTE: If the power restore feature is set to Always On through the iLO 3 MP PR command, the
server automatically powers on to the full power state when the power cord is plugged in to the
server.
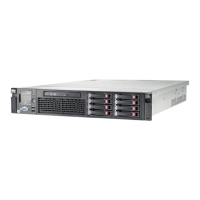
Figure 6 (page 13) shows the ports and power supplies located on the rear panel of the server.
Applying standby power to the server
1. Plug the power cords into the receptacle in the power supplies.
2. Plug the other end of the power cords into a DC outlet.
NOTE: The LED on the power supply does not illuminate in the standby power state. The
LED is green when the server is powered on to full power.
If the power restore feature is set to Always On through the iLO 3 MP PR command, the server
automatically powers on to the full power state when the power cord is plugged into the server.
Connecting to the LAN
The server has four LAN ports that provide network connectivity. Figure 6 (page 13) shows the
available LAN ports for the server.
1. Obtain valid IP addresses for each LAN port you plan to activate.
2. Connect the LAN cable from an available LAN port into a live connection on the network.
24 Installing the server
 Loading...