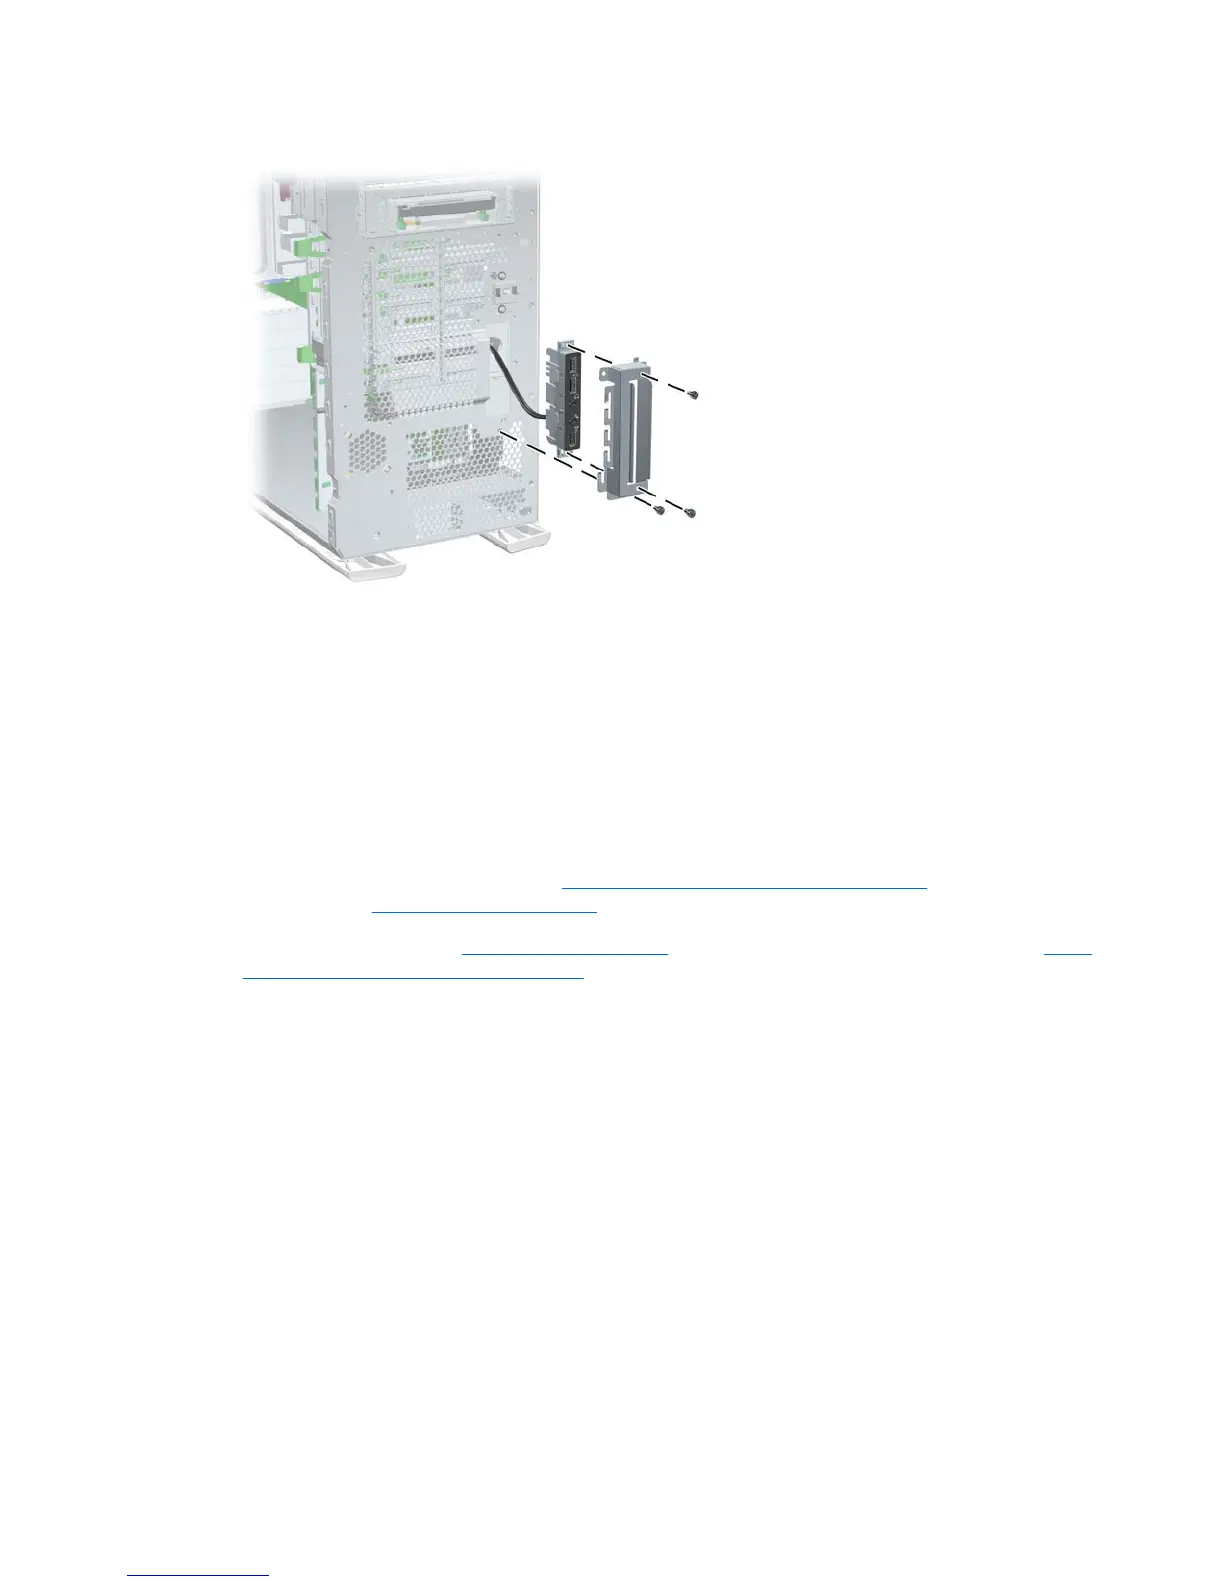
5. Pull the bracket away from the front panel I/O device assembly.
Figure 4-9 Removing the front panel I/O device assembly
6. Slide the front panel cables through the chassis and out the front of the unit.
To replace the front panel I/O device assembly, reverse the previous steps.
Power button assembly and system speaker
The power button and the system speaker are part of the same assembly.
To remove the power button:
1. Disconnect power from the system (
Pre-disassembly procedures on page 53) and remove the
access panel (
Access panel on page 58).
2. Remove the front bezel (
Front bezel on page 59) and the front panel I/O device assembly (Front
panel I/O device assembly on page 61).
3. Disconnect the power button assembly cable from the system board.
4. Disconnect the speaker wire and the hood sensor from the inline connectors on the power button
assembly cable.
5. Remove the screw that secures the power button assembly to the chassis.
6. Pull the power button assembly away from the chassis.
7. Slide the power button assembly out from the front of the chassis.
To remove the speaker:
1. Disconnect the speaker cable from the inline front panel I/O device assembly cable, if you have
not already done so.
62 Chapter 4 Removal and replacement procedures ENWW
 Loading...