Eclipse Additional Information Page 148
6.7 Performing an ASSR
Starting ASSR from OtoAccess™ or NOAH
1. Switch on your PC and wait for Windows® to start.
2. Double click on the OtoAccess™ or NOAH Icon
3. Choose an existing client or enter and save a new client.
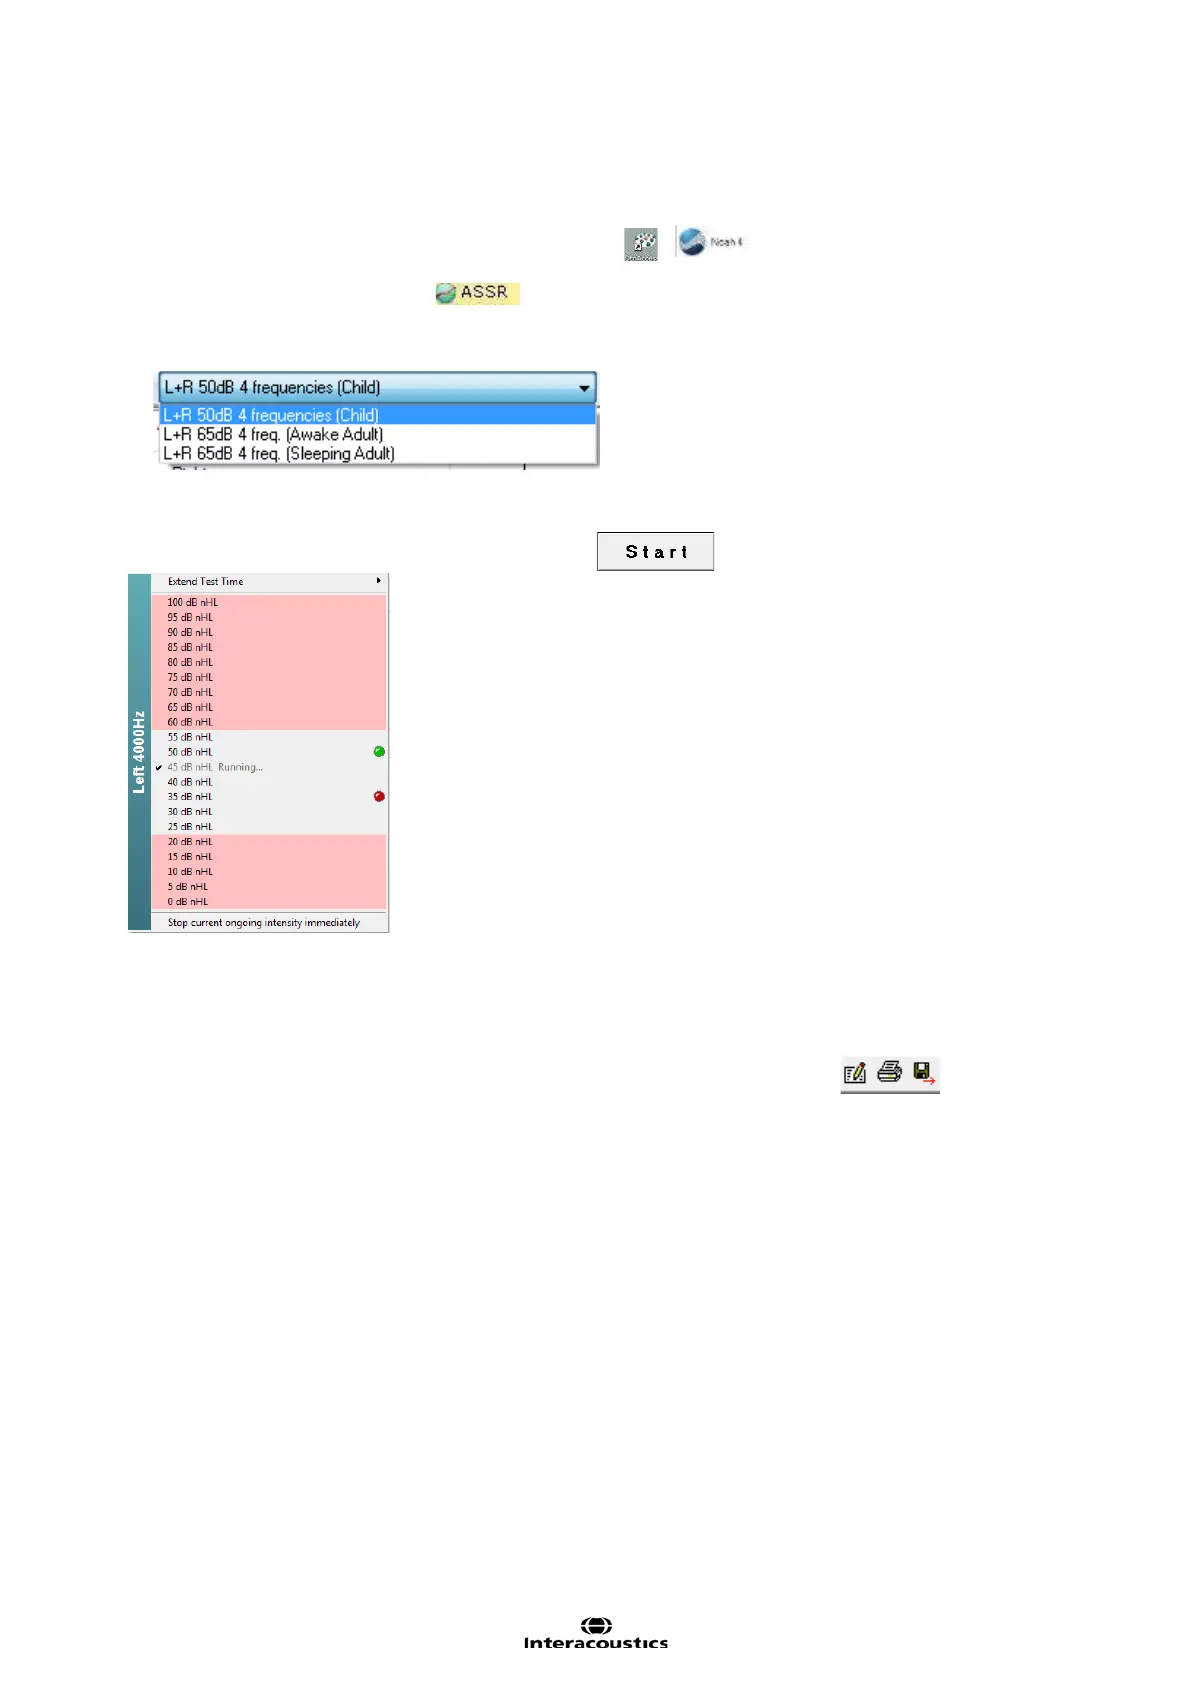
4. Double click on the ASSR icon
Performing an ASSR measurement
1. Select desired ASSR test protocol.
2. Adjust the rejection level. Lower μV settings will yield the most optimal results (20 μV or less is recom-
mended).
3. Click on the Start button to begin the ASSR test.
4. As results are obtained, additional test intensities can be selected by right clicking within the desired fre-
quency panel. From here it is also possible to extend or stop the test.
5. Click on the Audiogram tab, to see the Estimated Audiogram anytime.
6. A correction is typically applied using a correction table or by manually dragging audiogram points with
the mouse.
7. Click on the print button in the toolbar or choose Print under the File menu.
8. Click on the Report button. Select a report template. Modify text if needed.
9. Click on the save and exit button in the toolbar.
 Loading...