Eclipse Additional Information Page 66
If a socket is left open or a cable not connected to the patient via an electrode, rejection will occur and test-
ing will not be possible. Both the ipsilateral and contralateral EEG is evaluated to determine rejection.
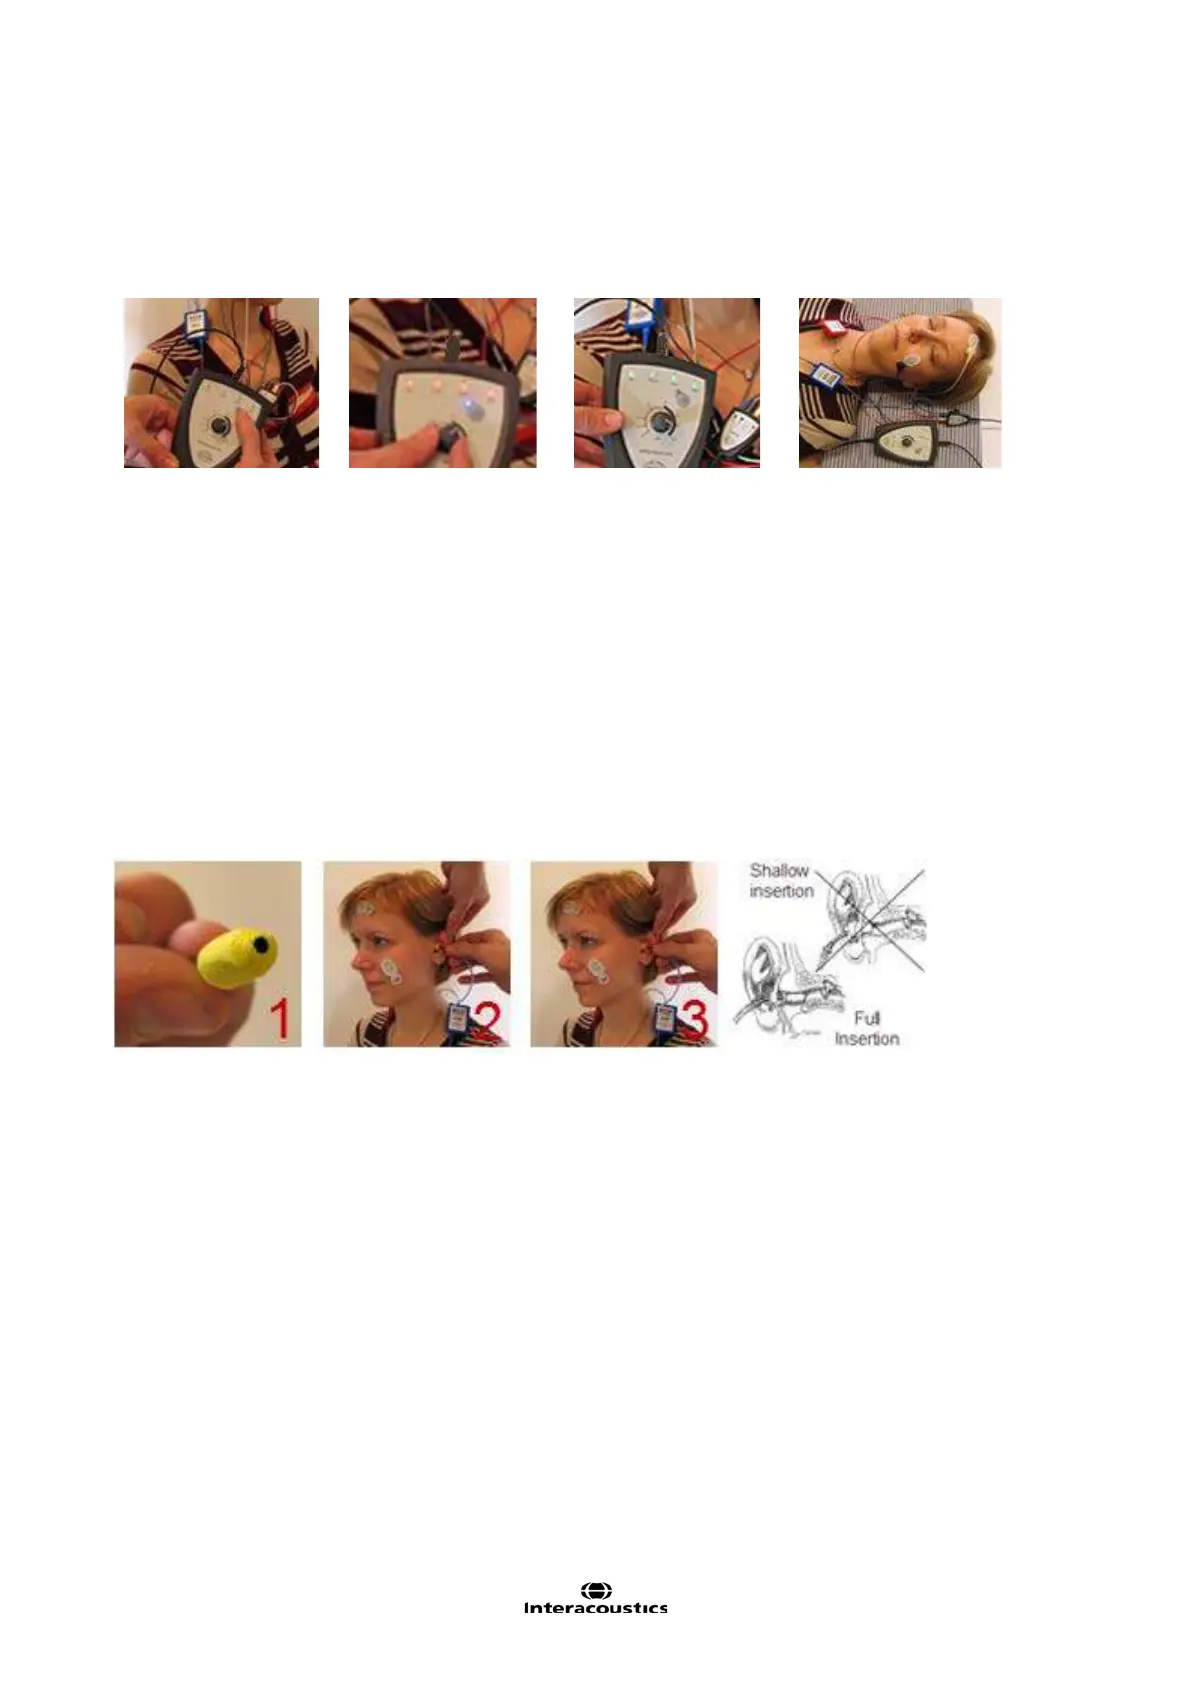
3.10 Impedance Check
Press the Imp. button
and turn the dial fully
clockwise.
Turn the dial slowly
counter clockwise.
The LED for each
electrode will change
from red to green as
the impedance is
found for each elec-
Press the Imp. button
to exit the impedance
mode before testing.
Low and balanced electrode impedances are typically more efficient in reducing interference.
If the impedance of one or more electrodes is too high, consider rechecking the bond between the skin and
electrode. If this does not help you may need to remove the electrode and repeat the skin preparation proce-
dure using a new electrode.
Return to recording mode by pressing down the IMP button again. All Preamplifier LED turns off.
3.10.1 Insertion of eartips
The final element before starting the test it to insert the eartips. Alternatively headphones or a bone conduc-
tor can be used as transducer.
1. Make sure that the end of the black tube is not covered by the yellow foam when you roll the tip into
the smallest diameter possible.
2. Insert the tip well into the ear canal. The correct insertion depth into the ear canal is obtained when
the rear edge of the tip is 2-3 mm inside the entrance of the ear canal.
3. Secure the tip in the ear canal until foam expands.
Use a new pair of ear tips for the next patient.
 Loading...