12. Secure the rear-mounng brackets to the rear post of the rack by using four screws appropriate for
your rack.
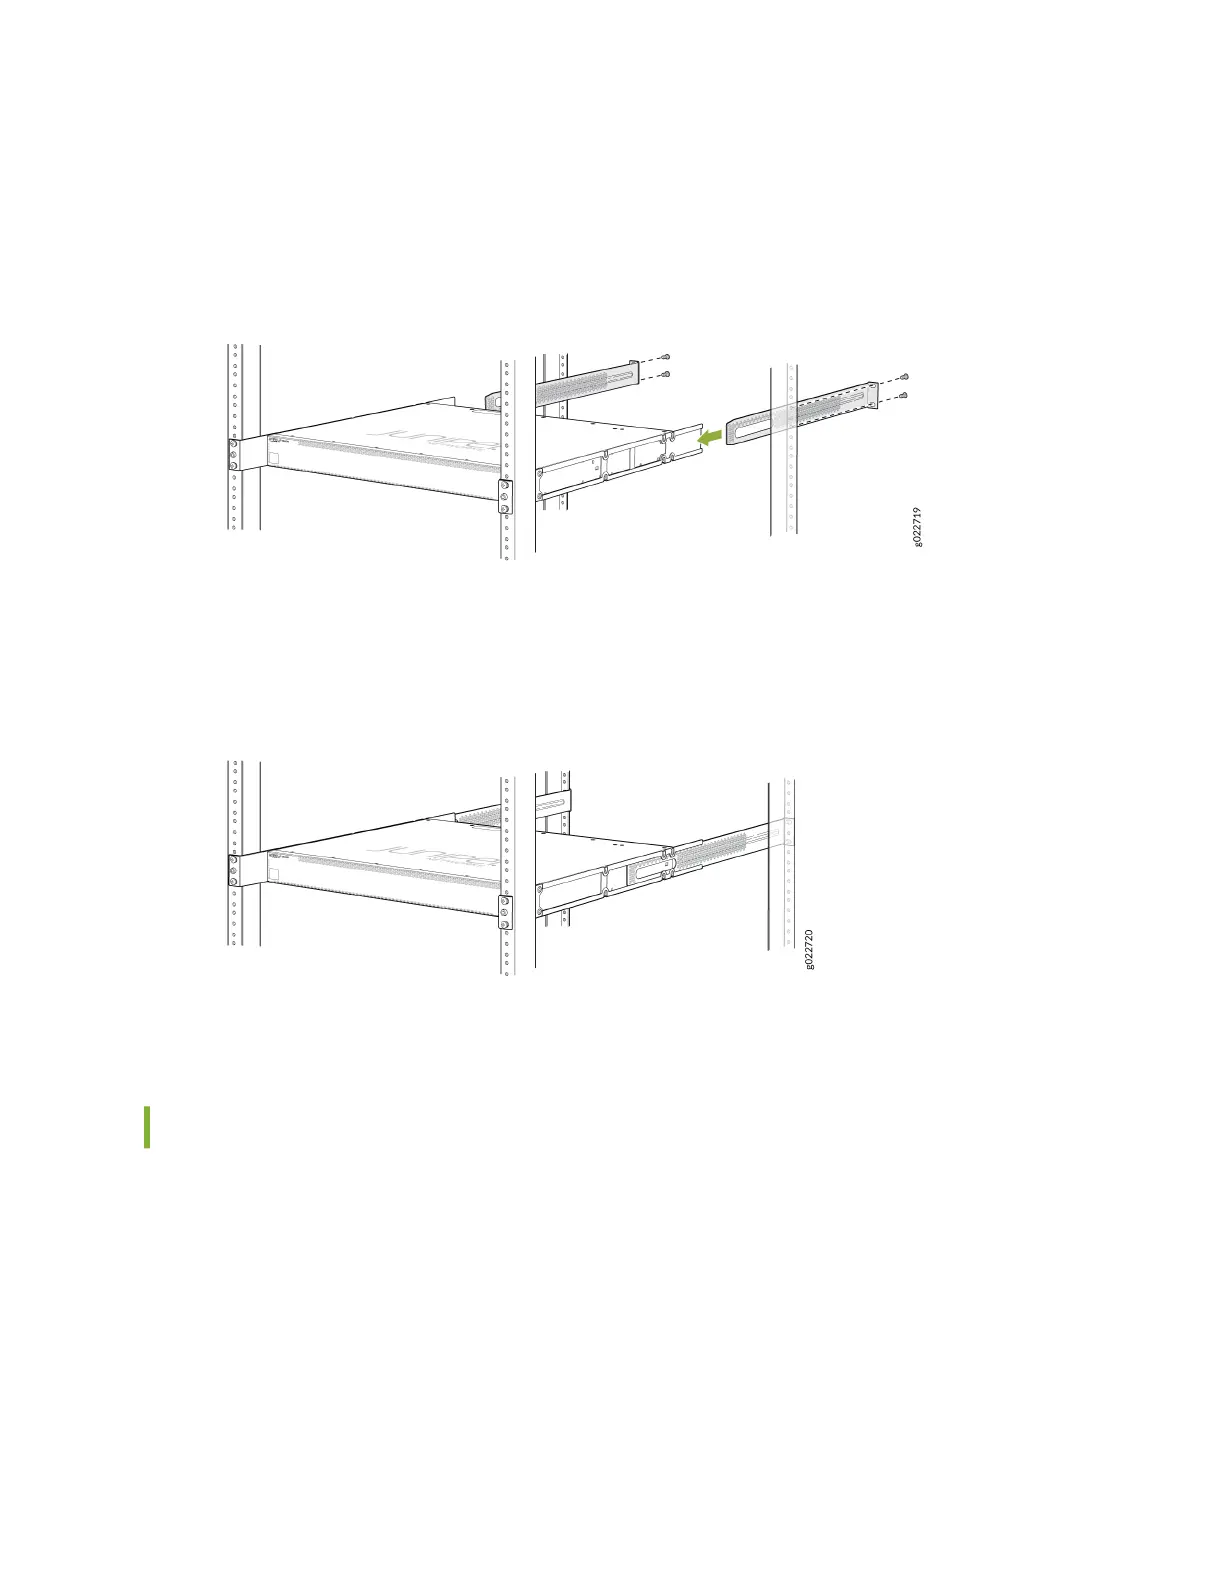
Figure 79: Secure the Switch to the Rear Post of the Rack by Using the Rear-Mounng Brackets
13. Look around the installed switch to ensure that the switch is installed correctly.
Figure 80: Chassis Fully Installed in Rack
14. If required, cover the SFP ports with the dust covers.
Mount an EX4100 and EX4100-F Switch on a Wall
Before mounng a switch on a wall:
• Verify that the site meets the requirements described in "Site Preparaon Checklist for EX4100 and
EX4100-F Switches" on page 85.
• Read
General Safety Guidelines and Warnings
, with parcular aenon to
Chassis and Component
Liing Guidelines
.
Ensure that you have the following parts and tools available:
133
 Loading...


